Quick Pic
Overview
Reference material for the Quick Pic tool/feature in ATAK, sourced from the official ATAK 5.8 Software User Manual (chapter 20, "Quick Pic").
Manual Reference
Select the Quick Pic icon to access the Android device’s camera or another camera application. After taking a picture, it can be discarded by selecting Retry or saved by selecting OK or Done. Saving the picture returns to the map view and places a camera marker at the self-marker’s location. The image taken is attached to the marker.

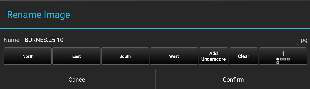
The image can then be renamed, sent to other TAK users on the same server, marked-up (if the Image Markup application has been installed and loaded), have overlay metadata added to the image (if the TAK GeoCam application is installed and loaded) or panned-to the Quick Pic marker on the map. If the user selects the Rename Image icon a dialog box with different predefined options is displayed. Once confirmed, the file name is updated to reflect this change.
Select the Quick Pic marker to activate its radial. Options include: Delete, Polar Coordinate Entry, R&B line, Image View and Details (long press to access the sub-radial menu to quickly send the marker). Select Image View to view the image along with the marker and the approximate field of view of the still image. The image can also be accessed by selecting Details, the Attachments (paperclip) icon and then selecting the image thumbnail.

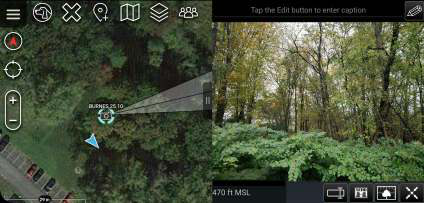
The integrated Gallery Tool can be used to view media attachments. The attachment image’s file name and the associated map item will be displayed. Captions can be added to the image file by opening the specific image in the gallery and tapping the line at the top of the image.


Source
ATAK 5.8 Software User Manual, 07 July 2026 (Unclassified), pages 74–74.