Geofencing
Overview
Reference material for the Geofencing tool/feature in ATAK, sourced from the official ATAK 5.8 Software User Manual (chapter 18, "Geofencing").
Manual Reference
The Geo Fence Tool allows users to create a virtual fence that triggers entry/exit notifications if map items of interest cross the virtual boundary lines. Geo Fence options are added to the existing drawing tools.

After a Geo Fence has been added to a shape, it can be accessed by selecting the Geo Fence icon from the additional tools menu or by selecting it from the shape’s radial. The Geo Fence radial option will be highlighted when a Geo Fence has been added to a shape.
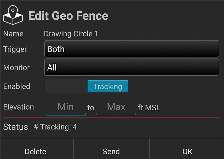
The Enabled field slider will move to Tracking by default when a new Geo Fence is created. Toggle the slider between Tracking and Off to enable/disable the Geo Fence. Use the Trigger field to define which types of Geo Fence breaches to monitor. Choose between Entry, Exit or Both. Use the Monitor field to define which entities the Geo Fence will track.
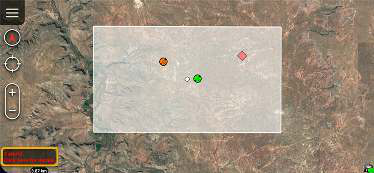
Choose between TAK Users, Friendly, Hostile, Custom or All. Elevation boundaries for the entities being tracked can be defined using the shape’s characteristics. If a height value has been set for the shape, the Min value will use the shape’s elevation, and the Max will be the elevation plus the height. Select the OK button to finish creating the Geo Fence. Select the Send button to create the fence and send it to another user. Select Delete to close the Create Geo Fence window and discard changes.
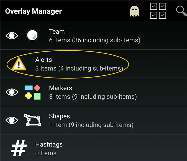
Geo Fence breaches will trigger an alert in the lower left corner of the map and will also be listed in the Overlay Manager.
Source
ATAK 5.8 Software User Manual, 07 July 2026 (Unclassified), pages 72–72.