Installing ATAK
Overview
Covers installing the Android Team Awareness Kit (ATAK) app on an Android device, granting it the permissions it needs to run in the field, then installing the AuthFlow plugin and logging in to the MCHMR TAK server (tak.mchmr.us) with a Tactical ID account. Do this before working through AuthFlow Configuration or the ATAK Software User Manual — those assume ATAK is already installed.
Prerequisites
- An Android device running Android 8.0 (Oreo) or later.
- At least 750 MB of free storage.
- An internet connection (Wi-Fi or cellular) for the download.
- A Tactical ID account (email and password) to log in with once AuthFlow is configured.
Steps
Part 1: Installing ATAK
Step 1: Scan the QR code to download the ATAK APK
- On your Android device, open your camera and scan the QR code below. This downloads the ATAK app.

The warning message shown below may appear — tap Download anyway to continue.

Step 2: Open the file and tap Install
- Find the file: Open your Files by Google app or your phone's file manager and look in the Downloads folder.
- Tap to open: Touch the
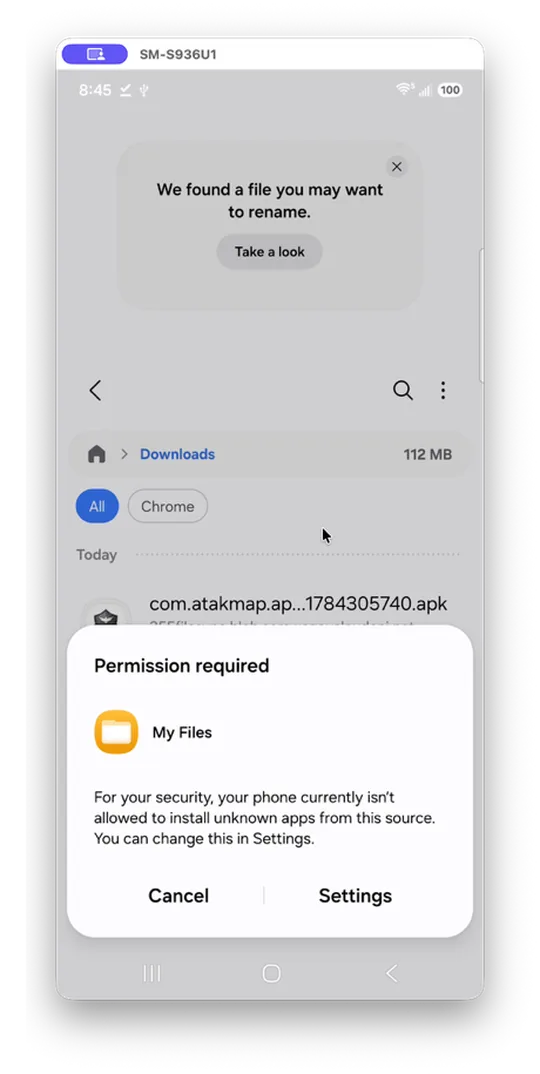
com.atakmap.app.civ-1784305740.apkfile name to start the setup process.

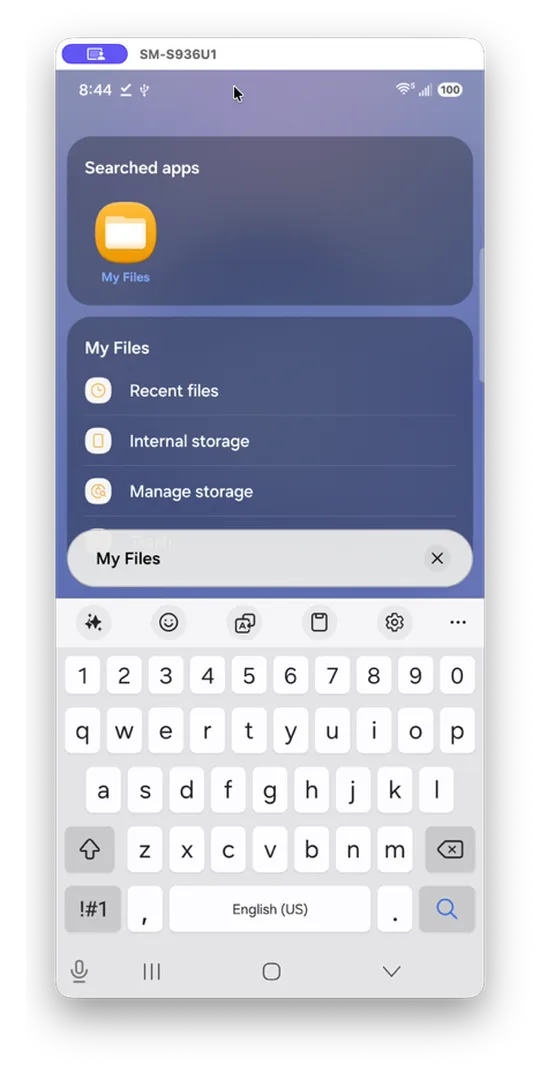
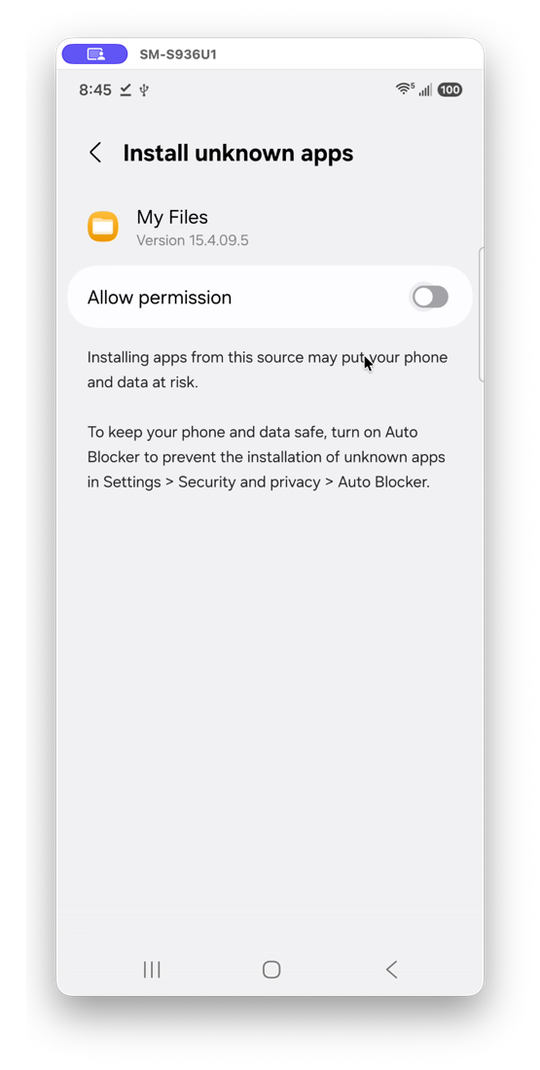
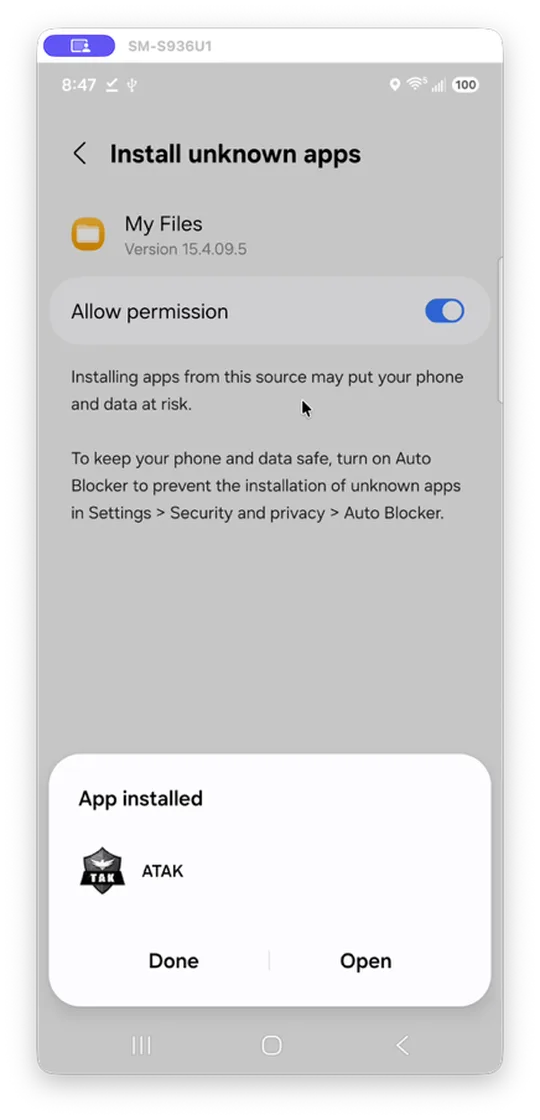
- Allow permissions: If prompted, go to Settings and turn on "Allow from this source" for that browser or file app.
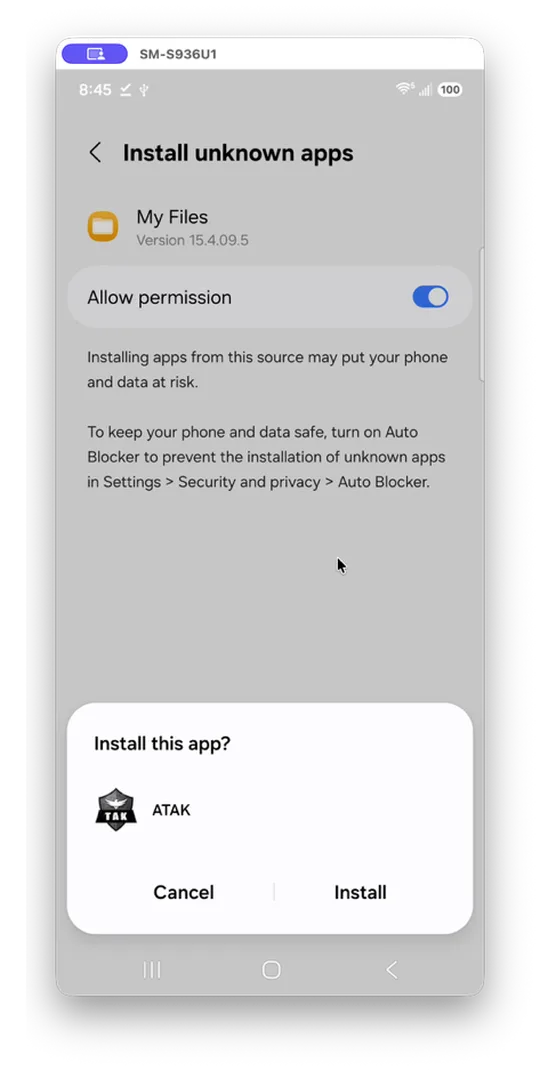
- Confirm installation: Tap Install on the screen to finish adding the app to your phone.
Step 3: Read and accept the End User License Agreement
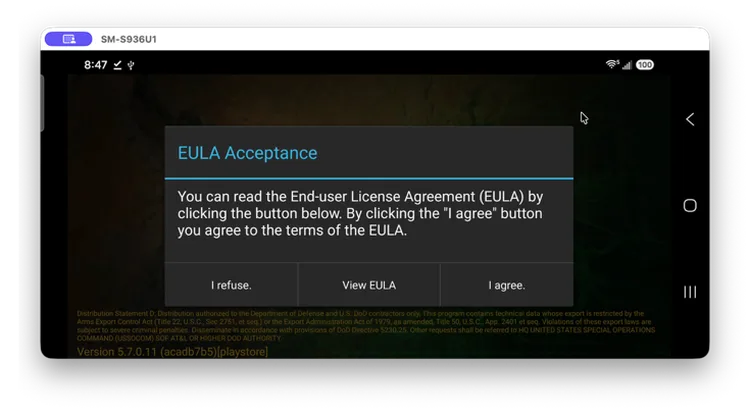
- Tap Open (or find ATAK in your app drawer) to launch it. On first launch, ATAK shows its EULA. Scroll through it, check the acceptance box, and tap Accept & Continue — you can't proceed past this screen without accepting.
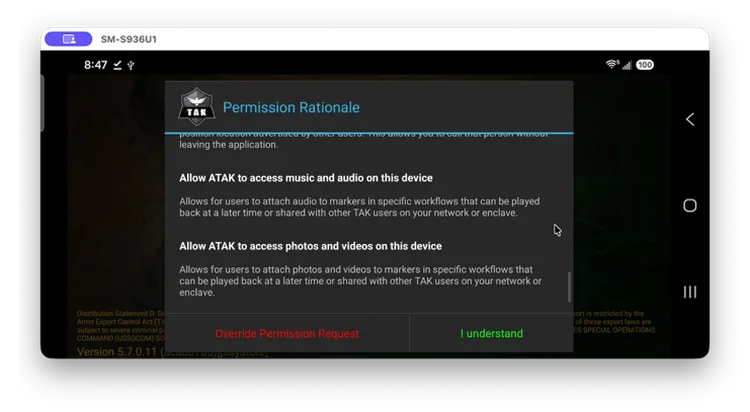
- Tap I Understand on the Permission Rationale screen.
Step 4: Grant permissions on first launch
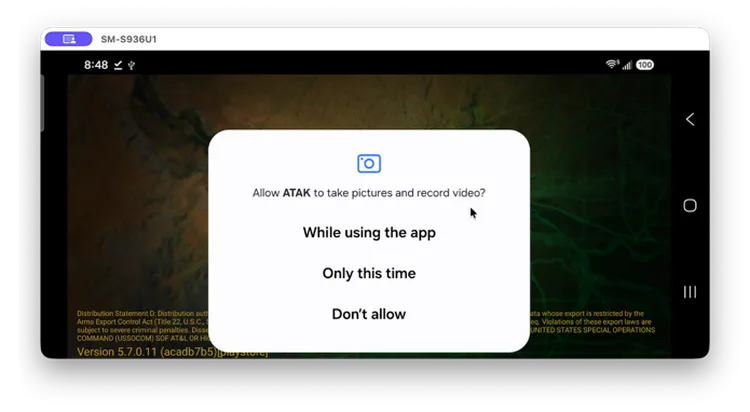
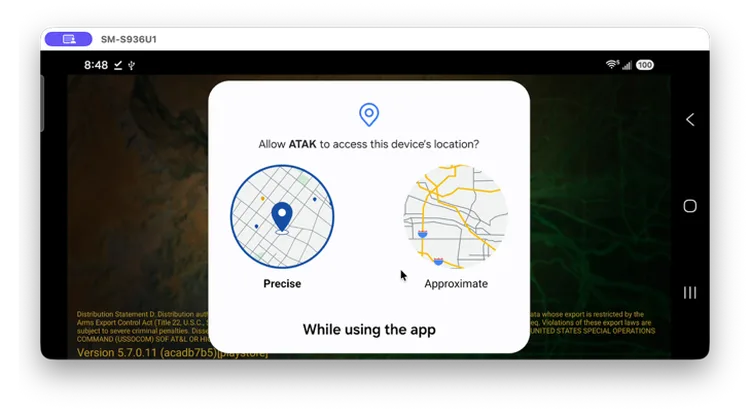
- Android prompts for location access, which ATAK needs for GPS positioning and mapping. Choose While using the app for normal use.
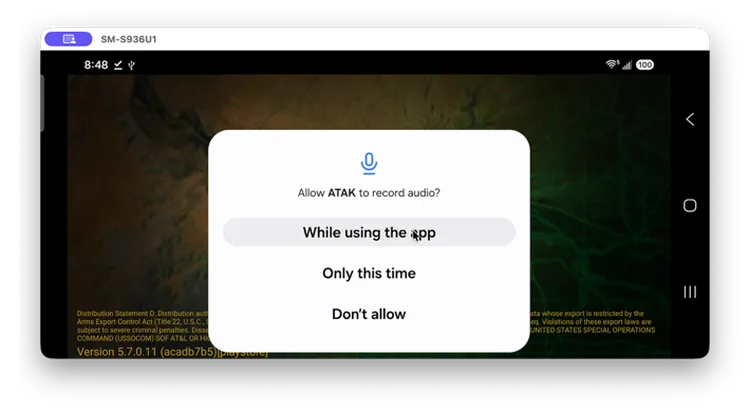
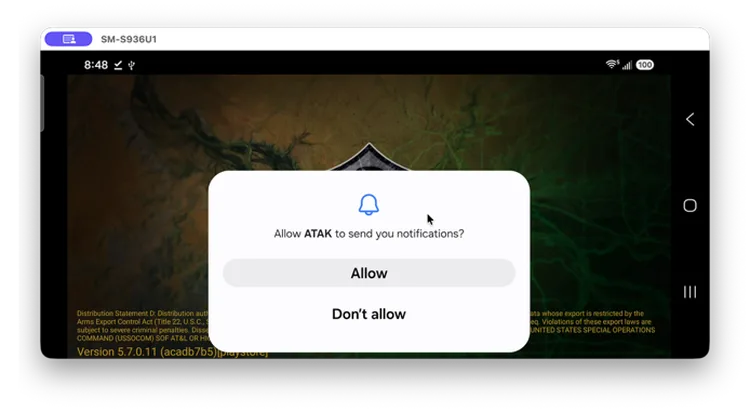
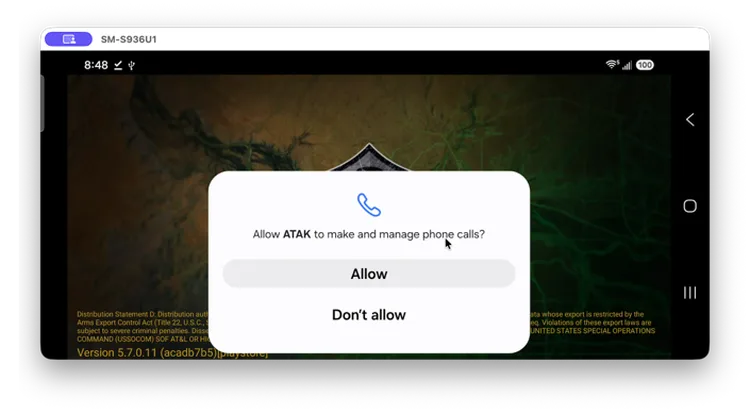
- You'll also see prompts for camera, microphone, nearby devices, notifications, and phone access. For full functionality, select While using the app or Allow for each prompt.

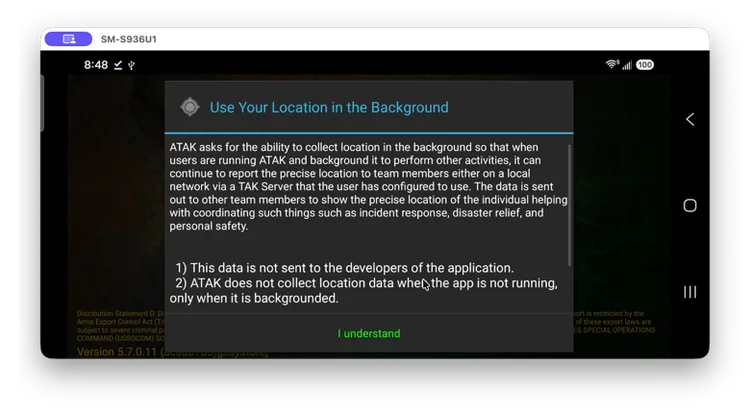
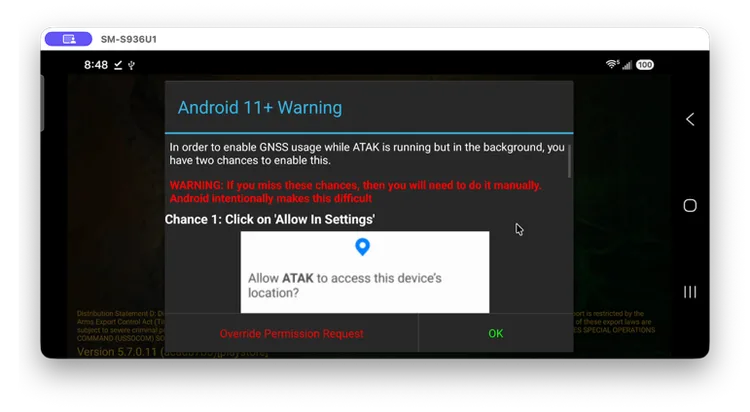
Step 5: Allow ATAK to access device location in the background
- ATAK needs to use your location in the background — review the following prompts and tap I understand and OK.
Step 6: Manually grant location access in the background
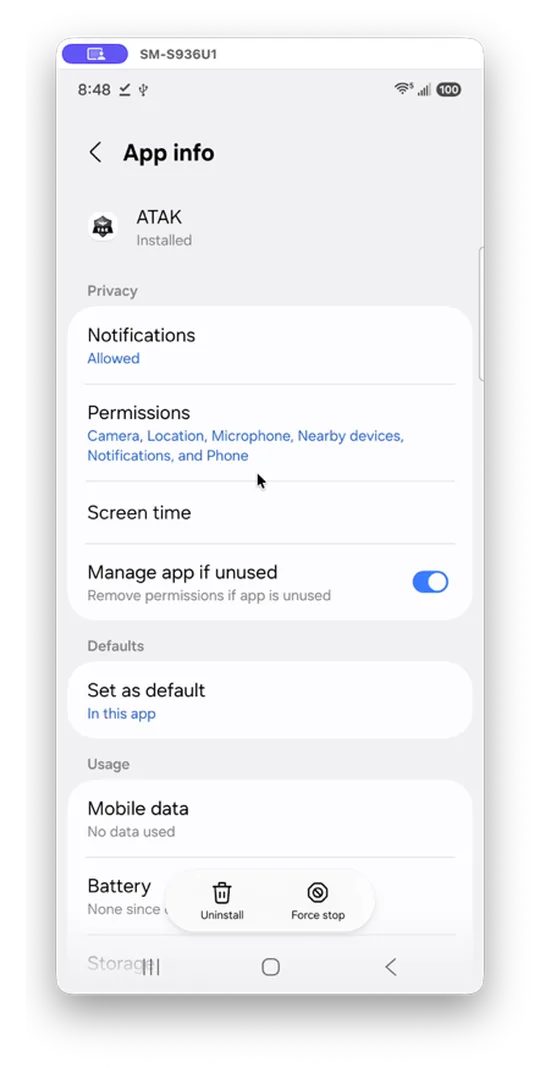
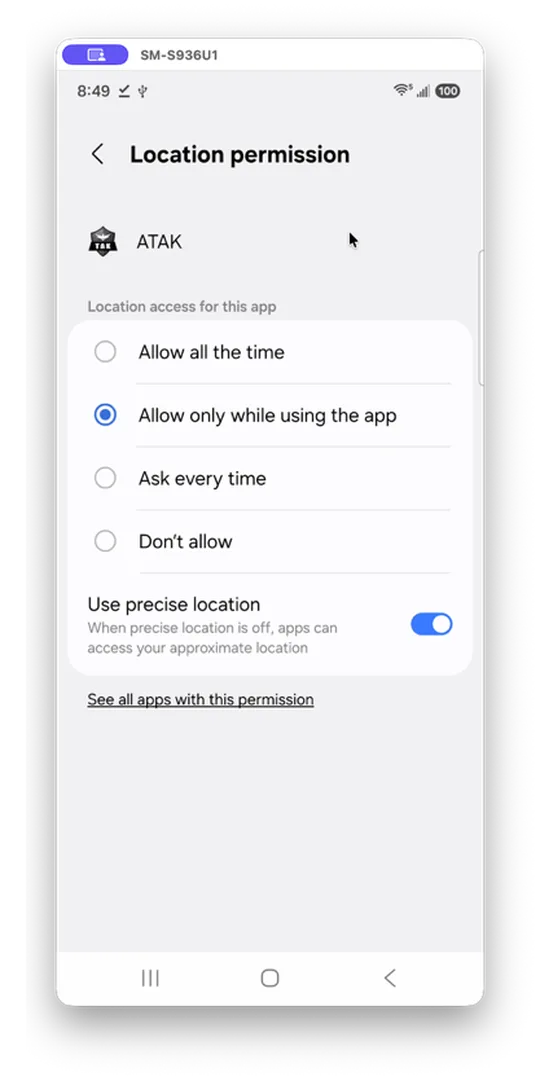
If Step 5 didn't stick, set it manually:
- Navigate to ATAK → App info → Permissions → Location → Allow all the time.


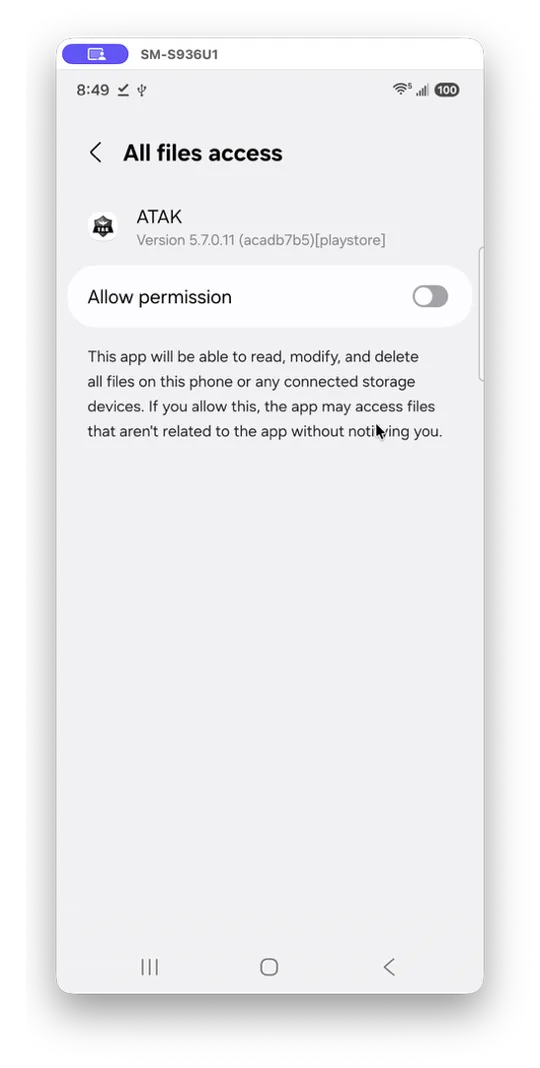
Step 7: Grant ATAK file system access
- Tap I understand, then tap Allow permission, to let ATAK read and write the files it needs.

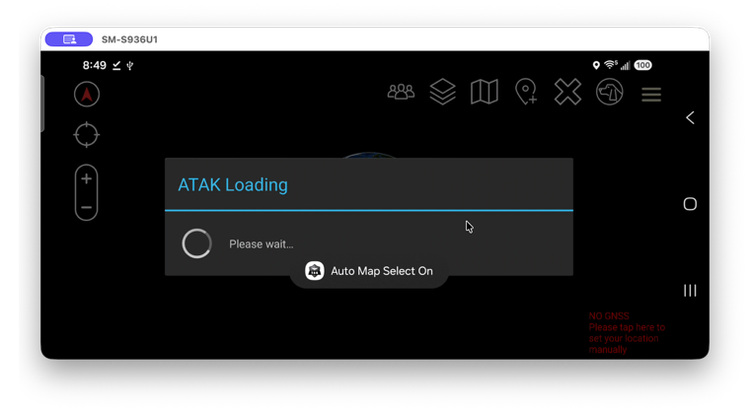
Step 8: Confirm the app loads to the main map
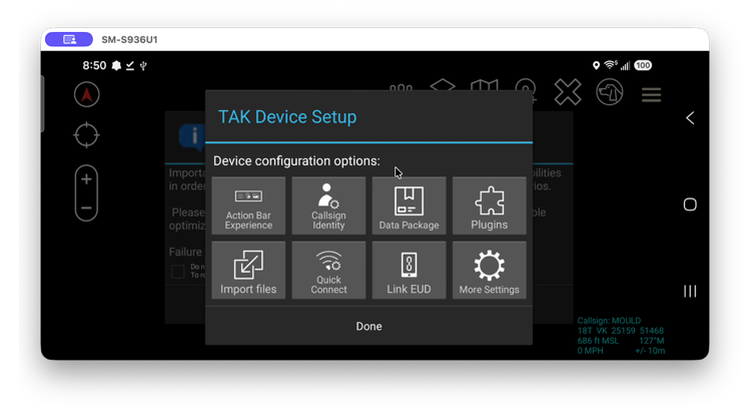
- Once setup finishes, ATAK opens to its main screen and prompts you to set up your device. Tap Done.
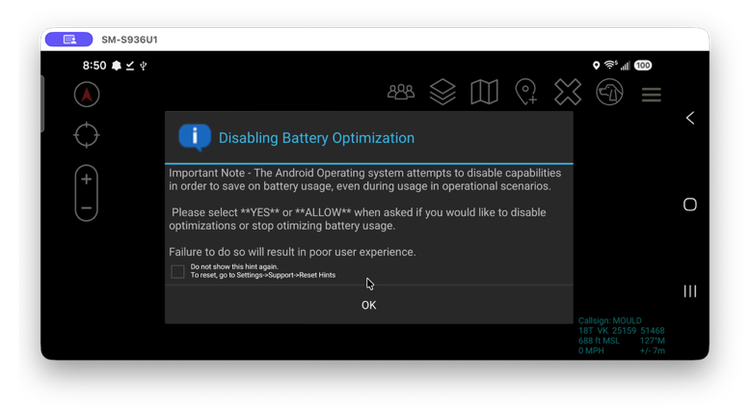
- You'll next be prompted to stop optimizing battery usage. Select OK for maximum functionality with ATAK.
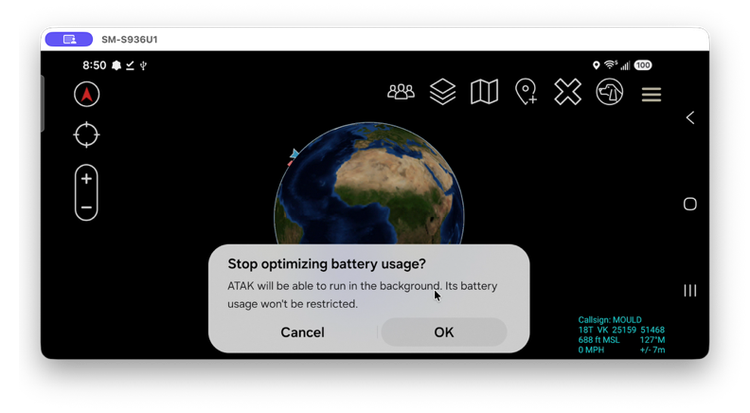
Part 2: Installing the AuthFlow plugin and logging in
Step 1: Scan the QR code to download the AuthFlow plugin
- On your Android device, open your camera and scan the QR code for the version of AuthFlow you need. This downloads the AuthFlow plugin required to log in to MCHMR.

The warning message shown below may appear — tap Download anyway to continue.
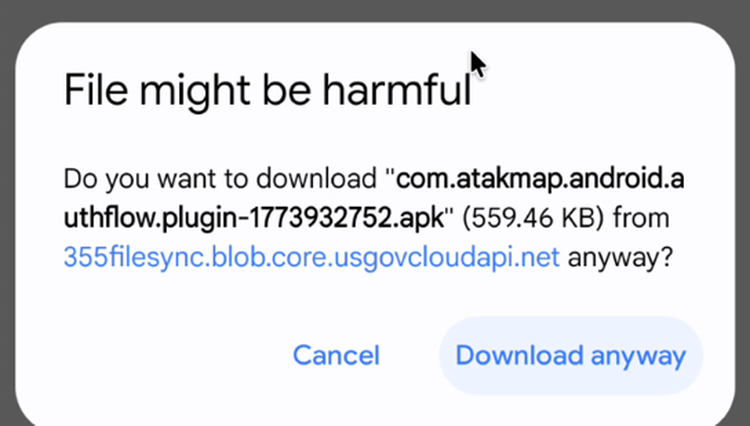
Step 2: Permission required notice
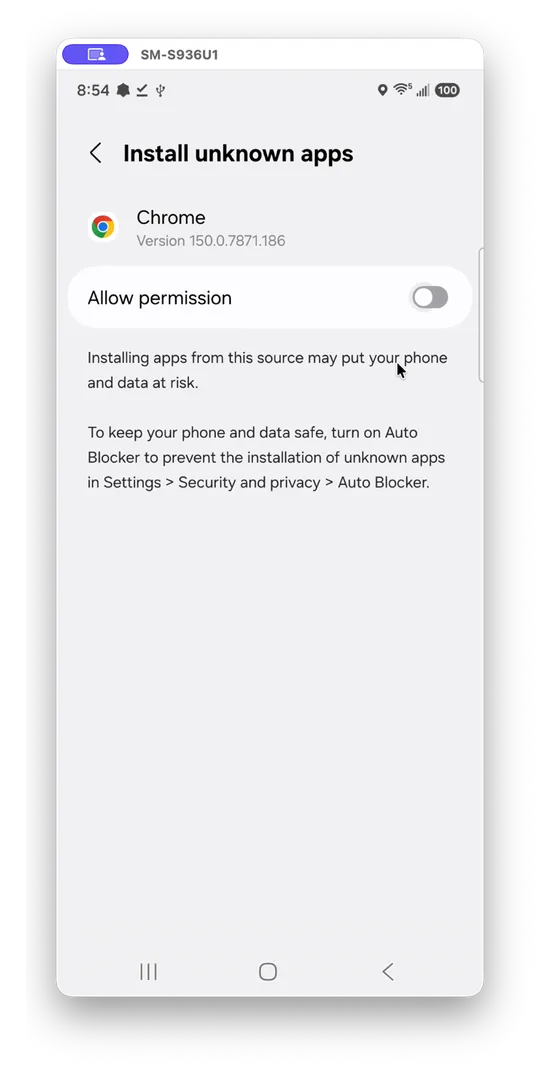
- Once the file is downloaded, tap Open. A prompt appears requiring permission to continue — tap Settings.
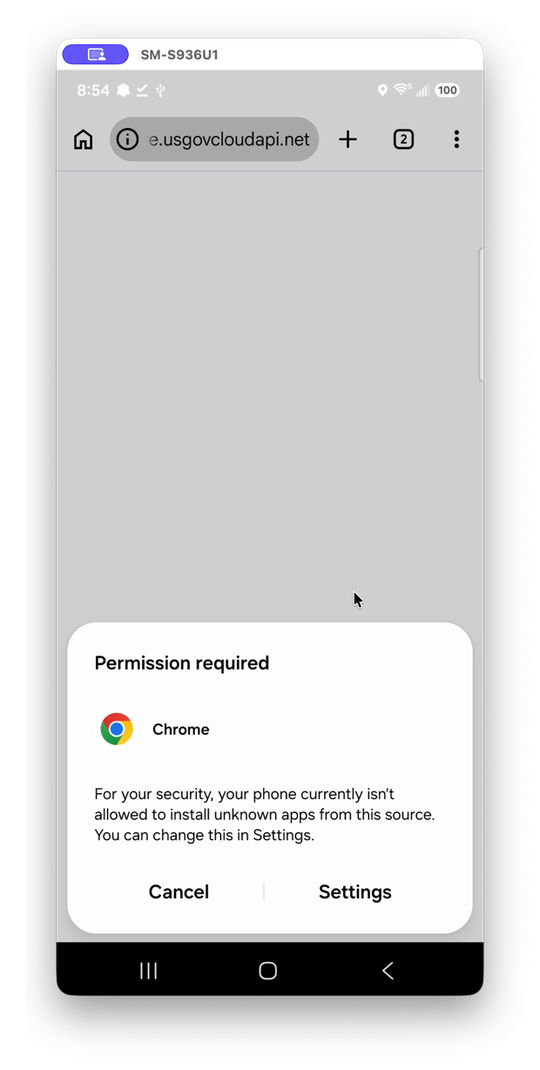
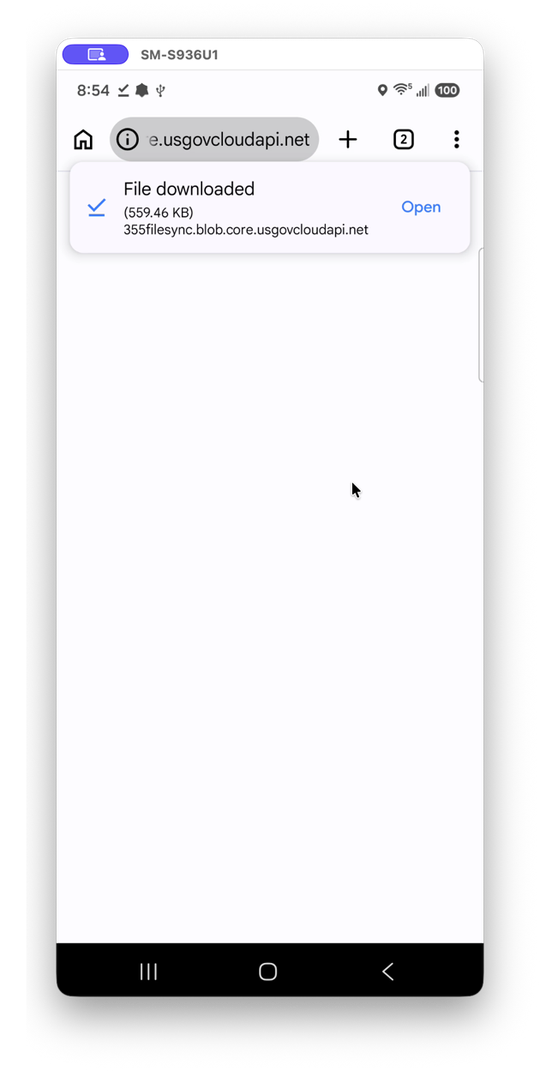
- From the "Install unknown apps" screen, select Allow Permission and then tap Install or Update.

Step 3: Open the file and tap Install
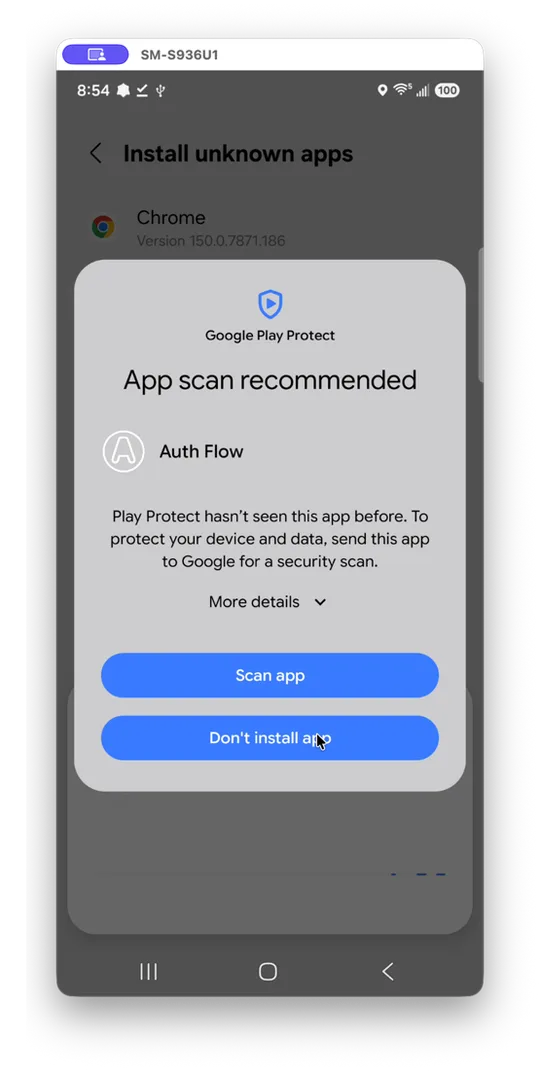
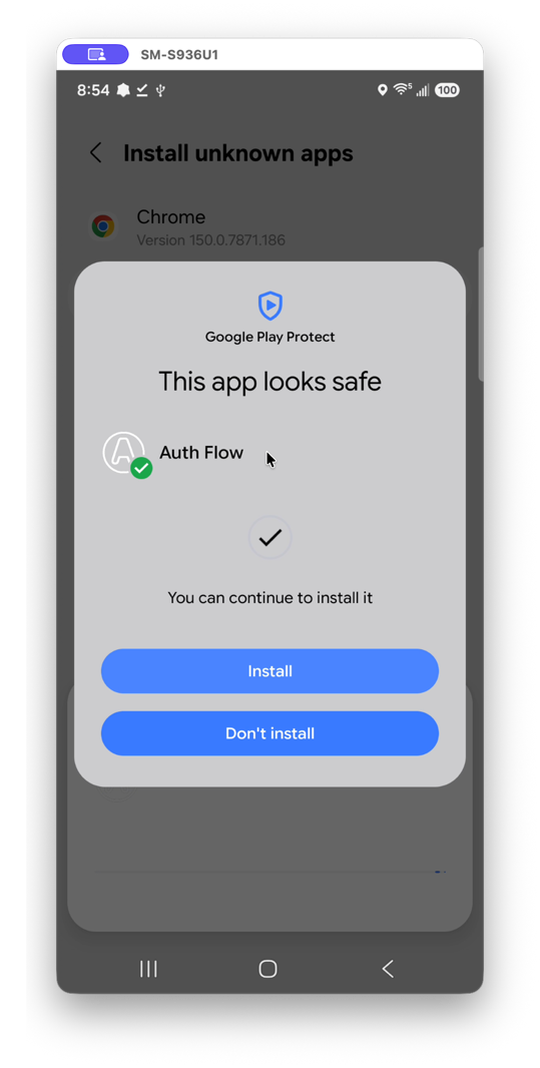
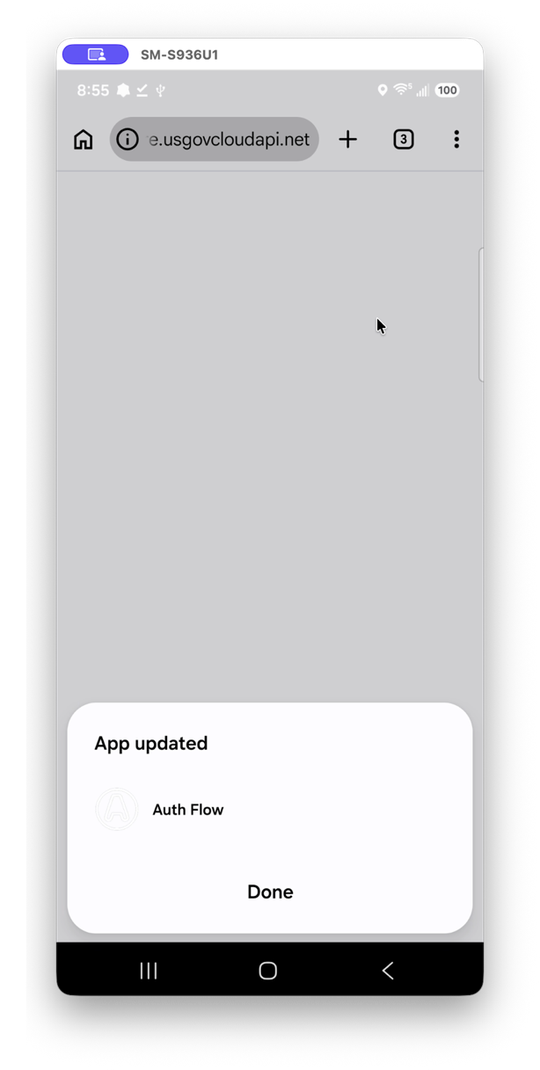
- A prompt appears recommending that you scan the app for security. Tap Scan App and then tap Install. The plugin has not finished installing until this step completes.
Step 4: Configuring the AuthFlow plugin
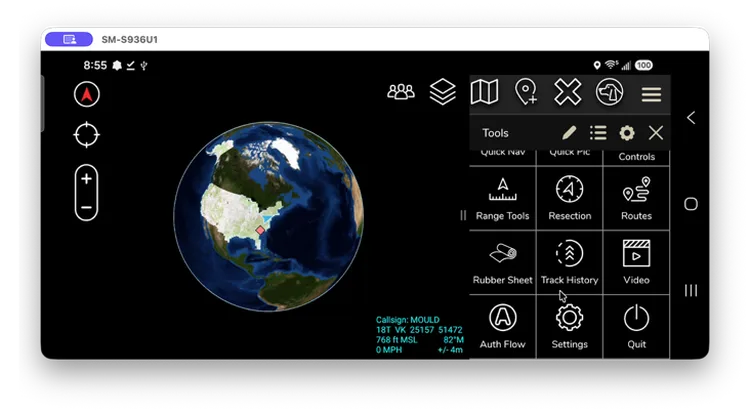
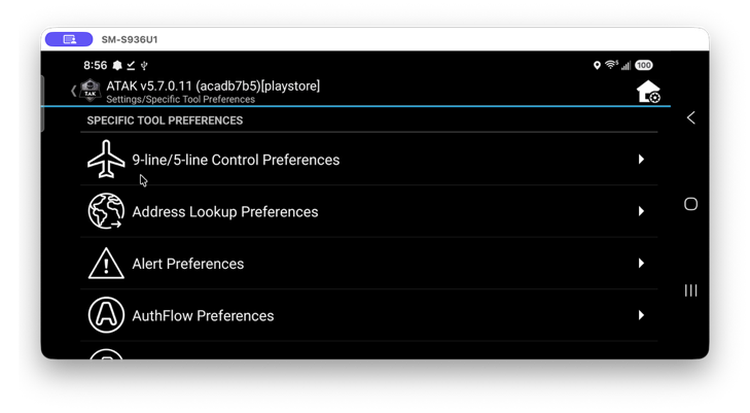
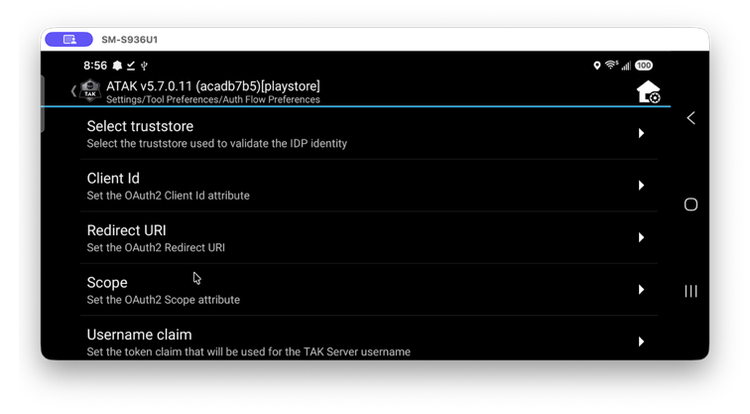
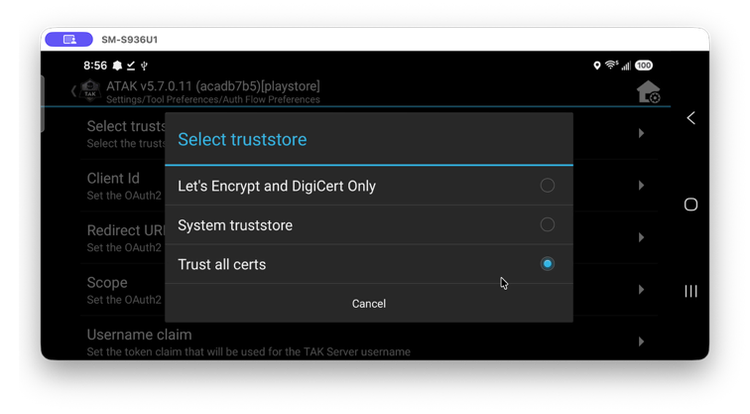
- Open ATAK and navigate to Settings → Tool Preferences → Specific Tool Preferences → AuthFlow preferences → Select trust store. Select Trust all certs.


Step 5: Connecting to MCHMR and logging in
- Enter
tak.mchmr.usand tap Connect.
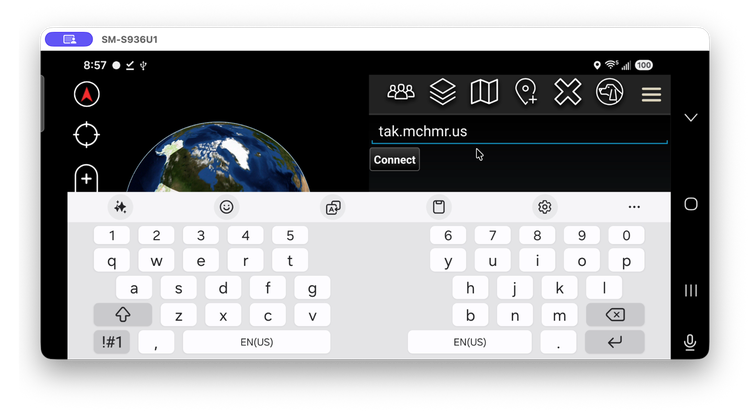
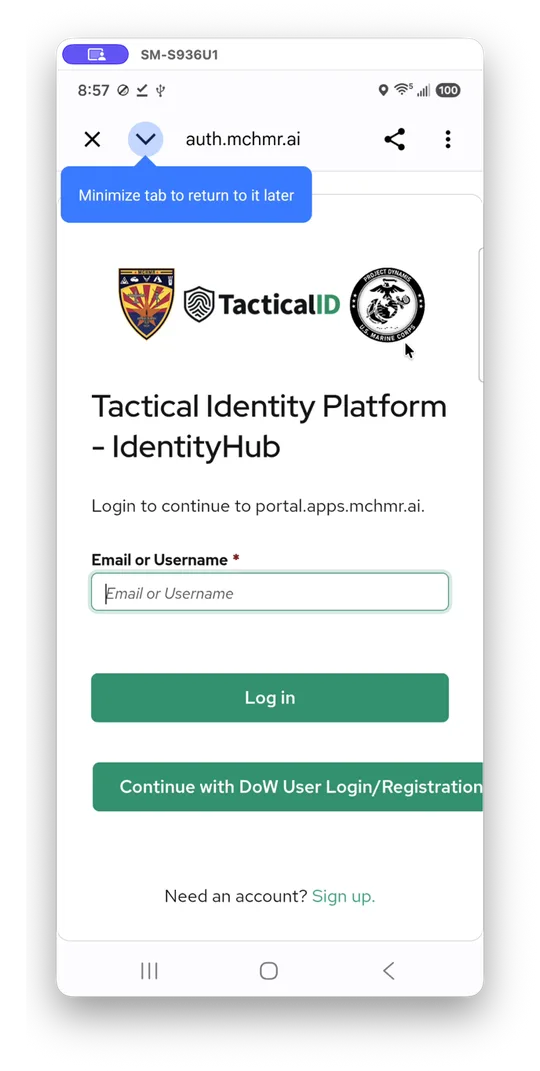
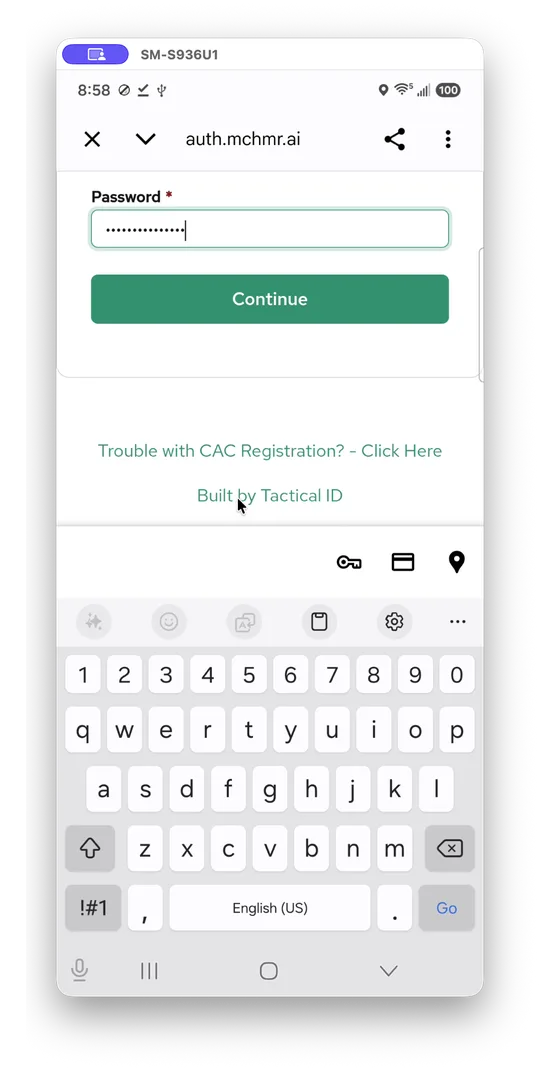
- Log in using the credentials you set up on Tactical ID — the same email and password.
Step 6: Registration complete
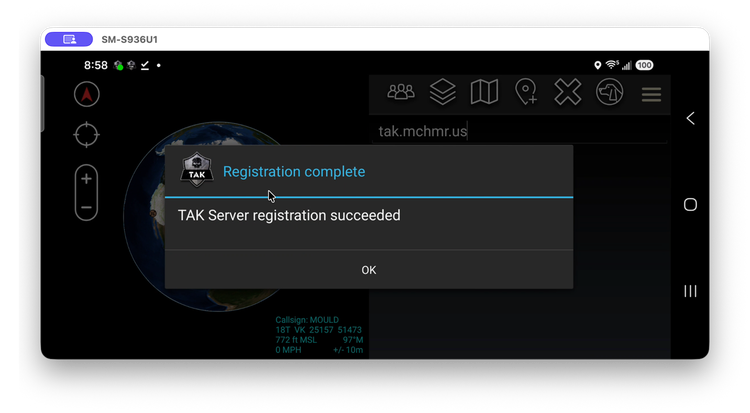
- Upon login, you should see the "TAK Server registration succeeded" message. You can now use ATAK.
Troubleshooting
- Android blocks the install ("your phone isn't allowed to install unknown apps from this source"): go to Settings and turn on Allow permission for the app you used to open the file (Files app or Chrome), then try again.
- ATAK repeatedly asks for a permission it should already have: check under ATAK → App info → Permissions that each permission is set to Allow, and that Location is set to Allow all the time, not just "while using the app".
- AuthFlow fails to connect or reports a certificate error: confirm Select truststore under AuthFlow preferences is set to Trust all certs.
- Login to
tak.mchmr.usfails: confirm you're using the same email and password you registered with on Tactical ID (auth.mchmr.ai) — not a different account. - No CAC / can't log in: use the "Trouble with CAC Registration" link on the Tactical ID login page, or ask your administrator about coalition/partner registration.