AuthFlow 1.1 Configuration
Overview
Covers setting the AuthFlow 1.1 preferences in ATAK and using AuthFlow to log in to the MCHMR TAK Server (tak.mchmr.us) with your Tactical ID credentials.
AuthFlow 1.1 will not run on ATAK versions earlier than 5.7. If you haven't installed AuthFlow 1.1 yet, start with Upgrading to AuthFlow 1.1.
Prerequisites
- ATAK 5.7 or higher with AuthFlow 1.1 installed — see Upgrading to AuthFlow 1.1.
- A Tactical ID account — see New User Registration.
- Network connectivity to
tak.mchmr.us.
Steps
Set the AuthFlow preferences
-
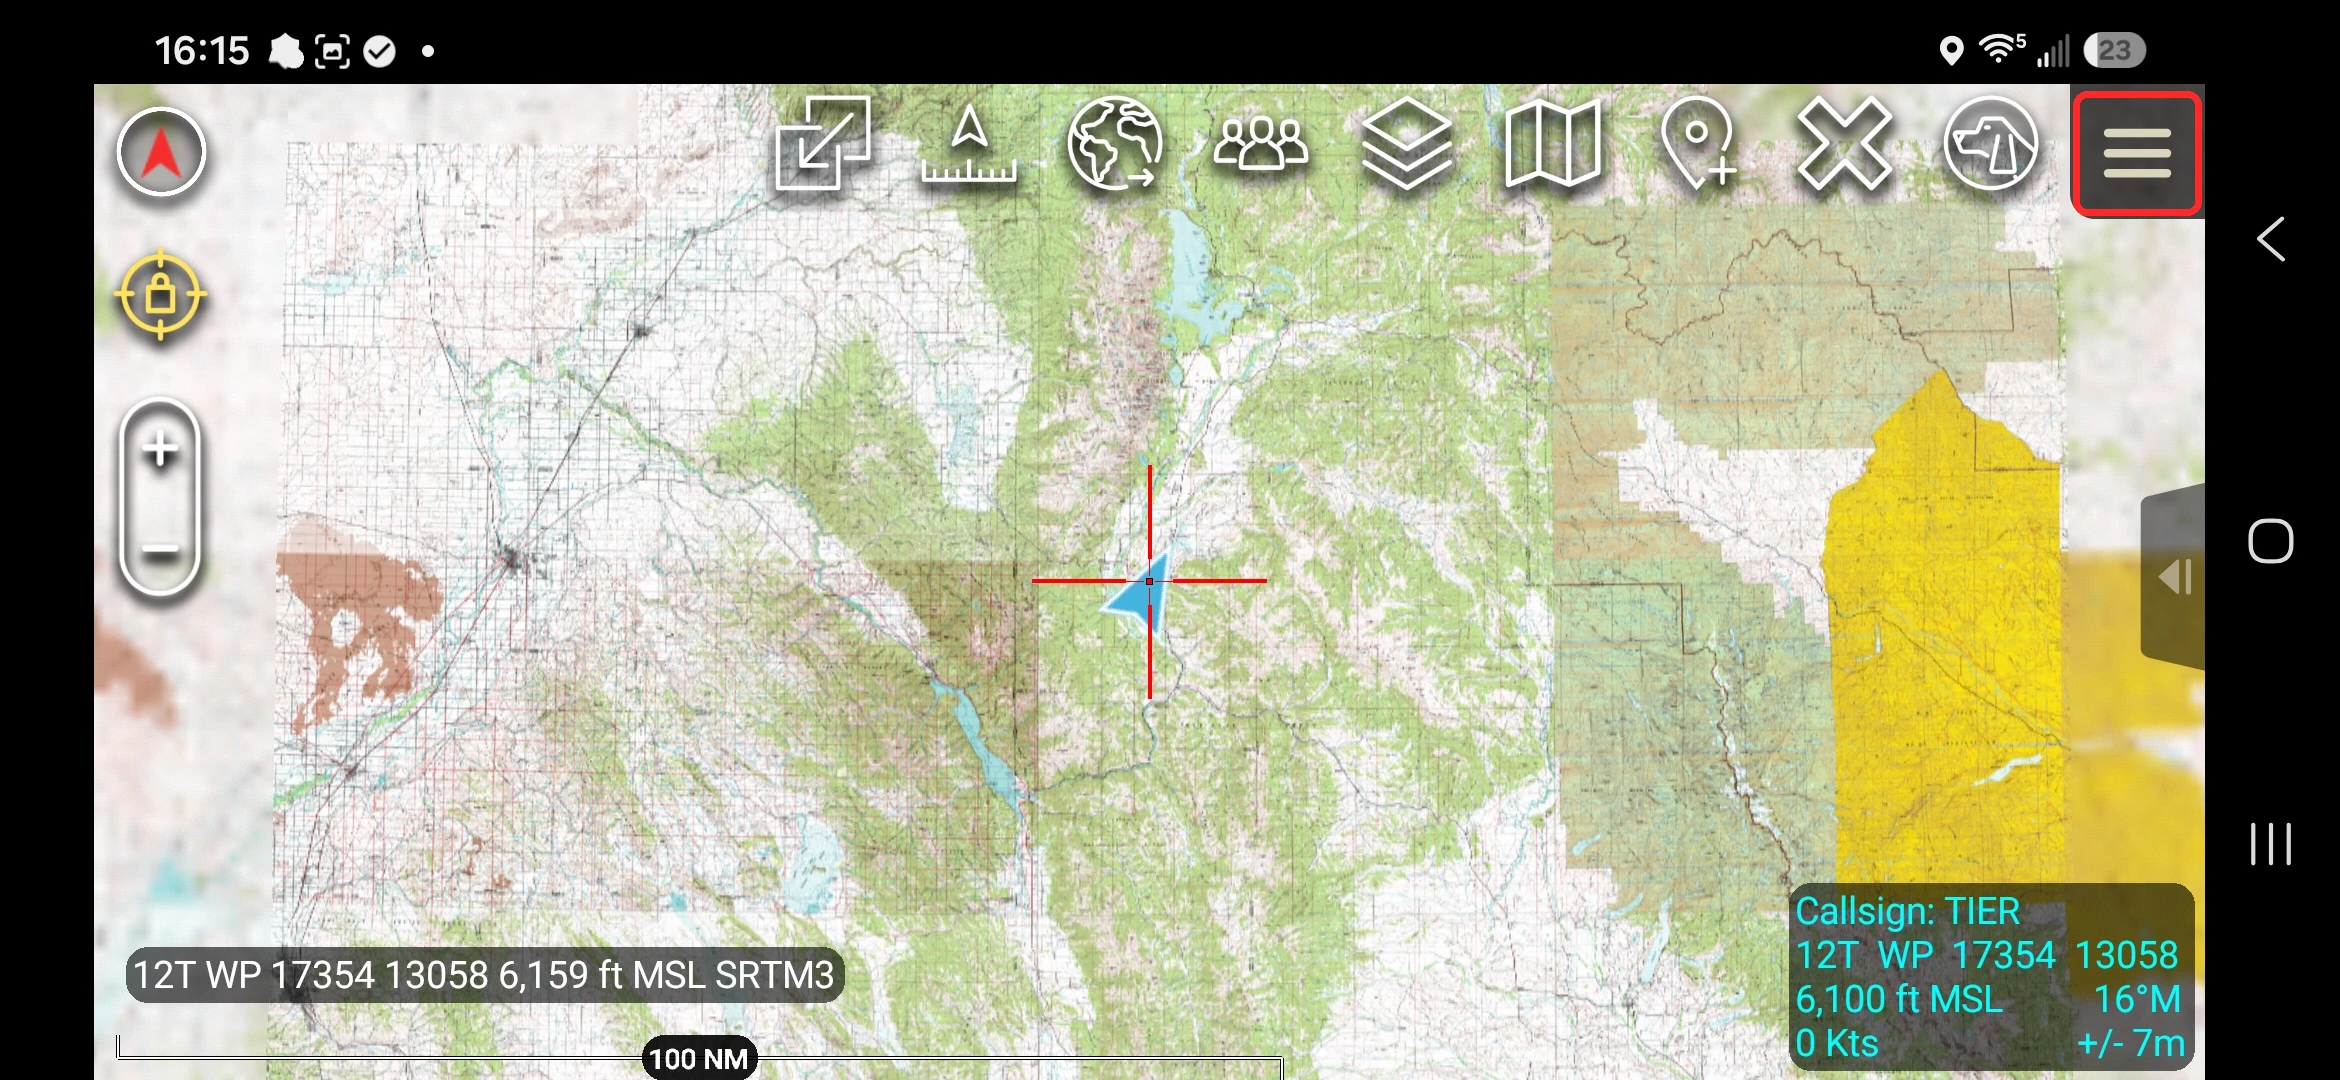
Open ATAK and tap the hamburger menu in the top-right corner of the map.
-
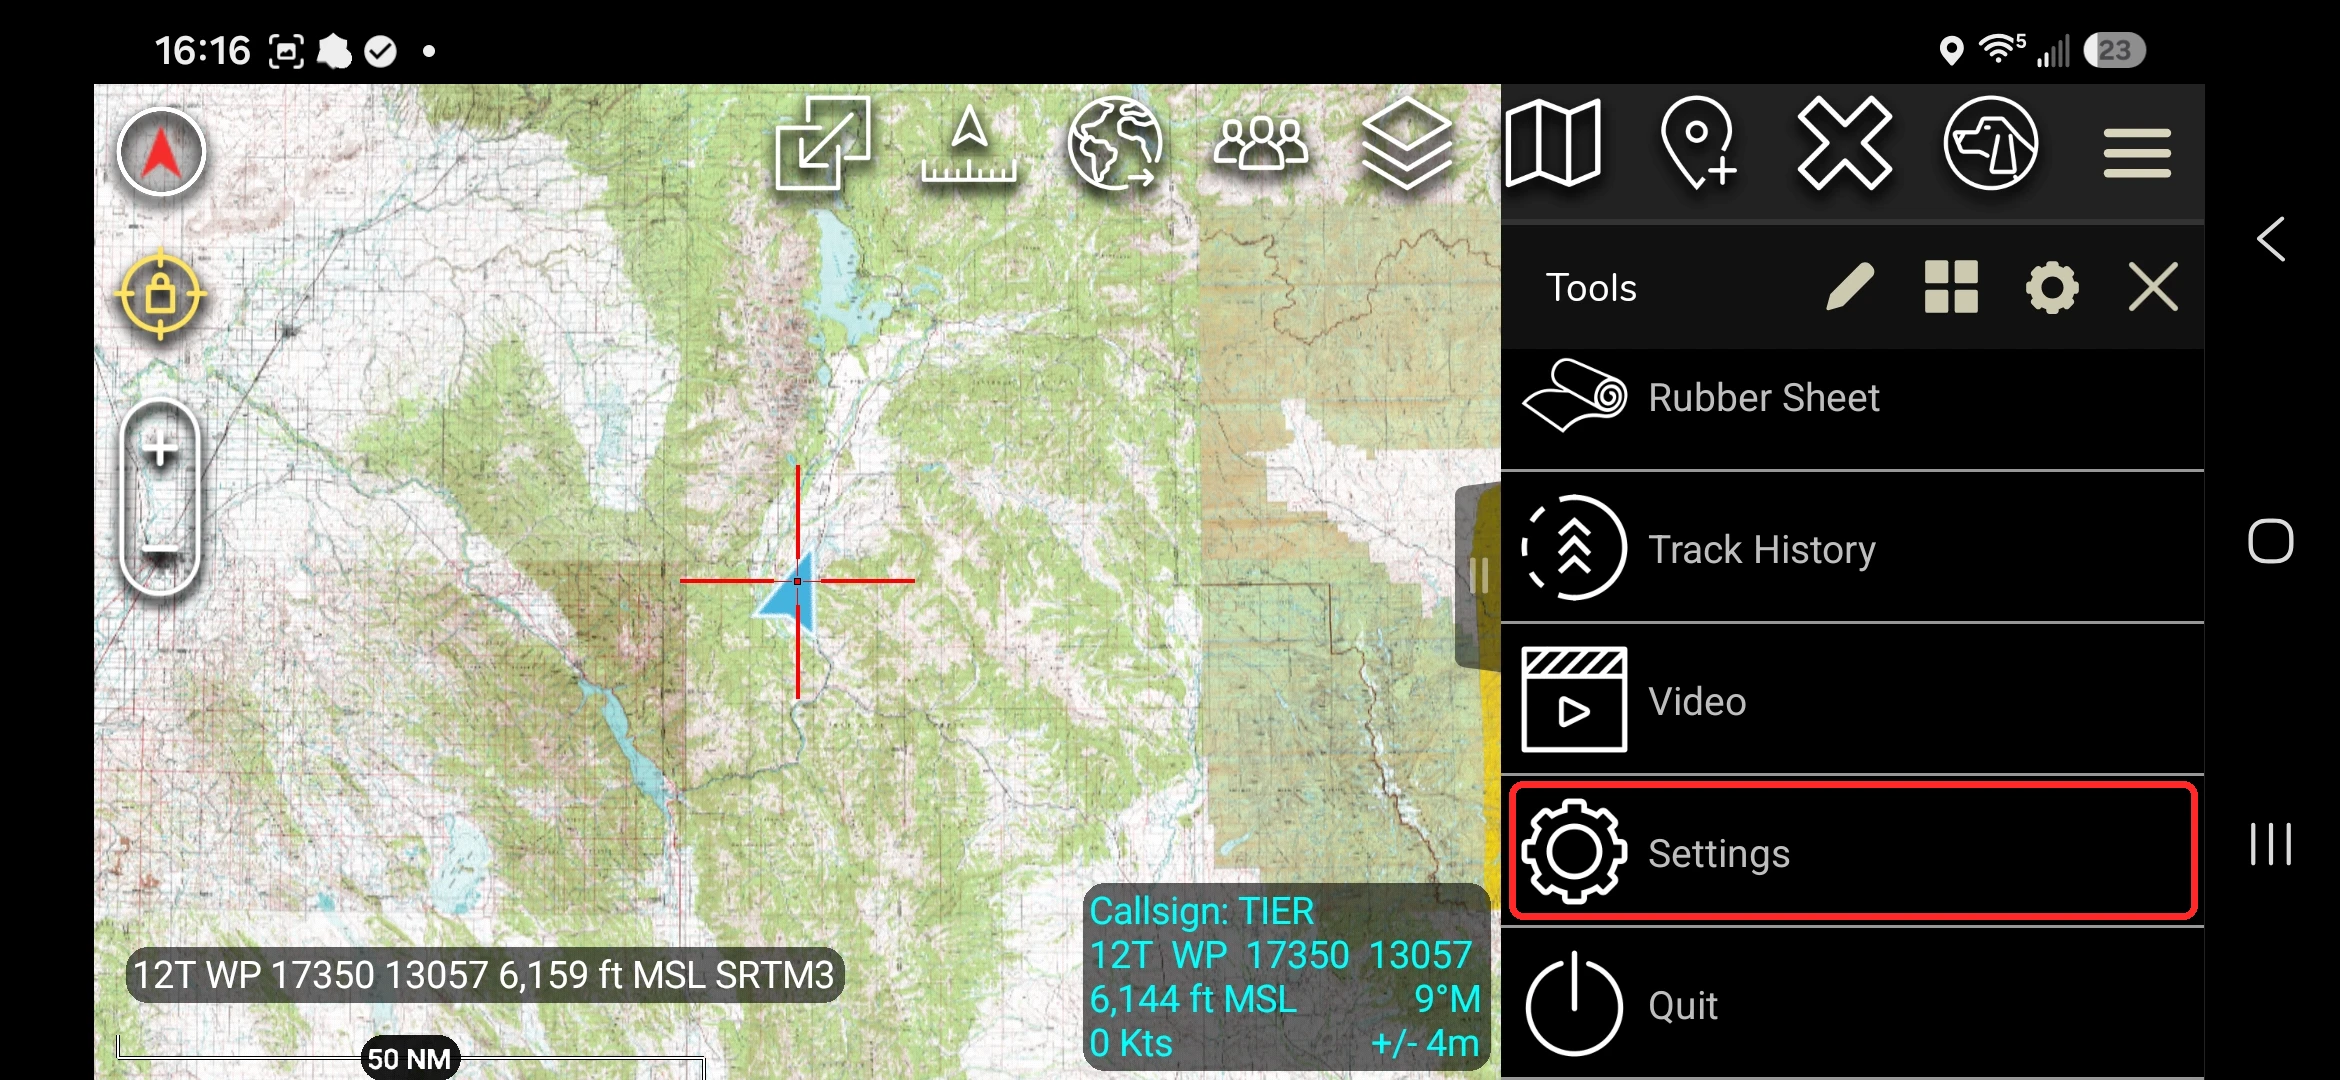
In the Tools panel, scroll down and tap Settings.
-
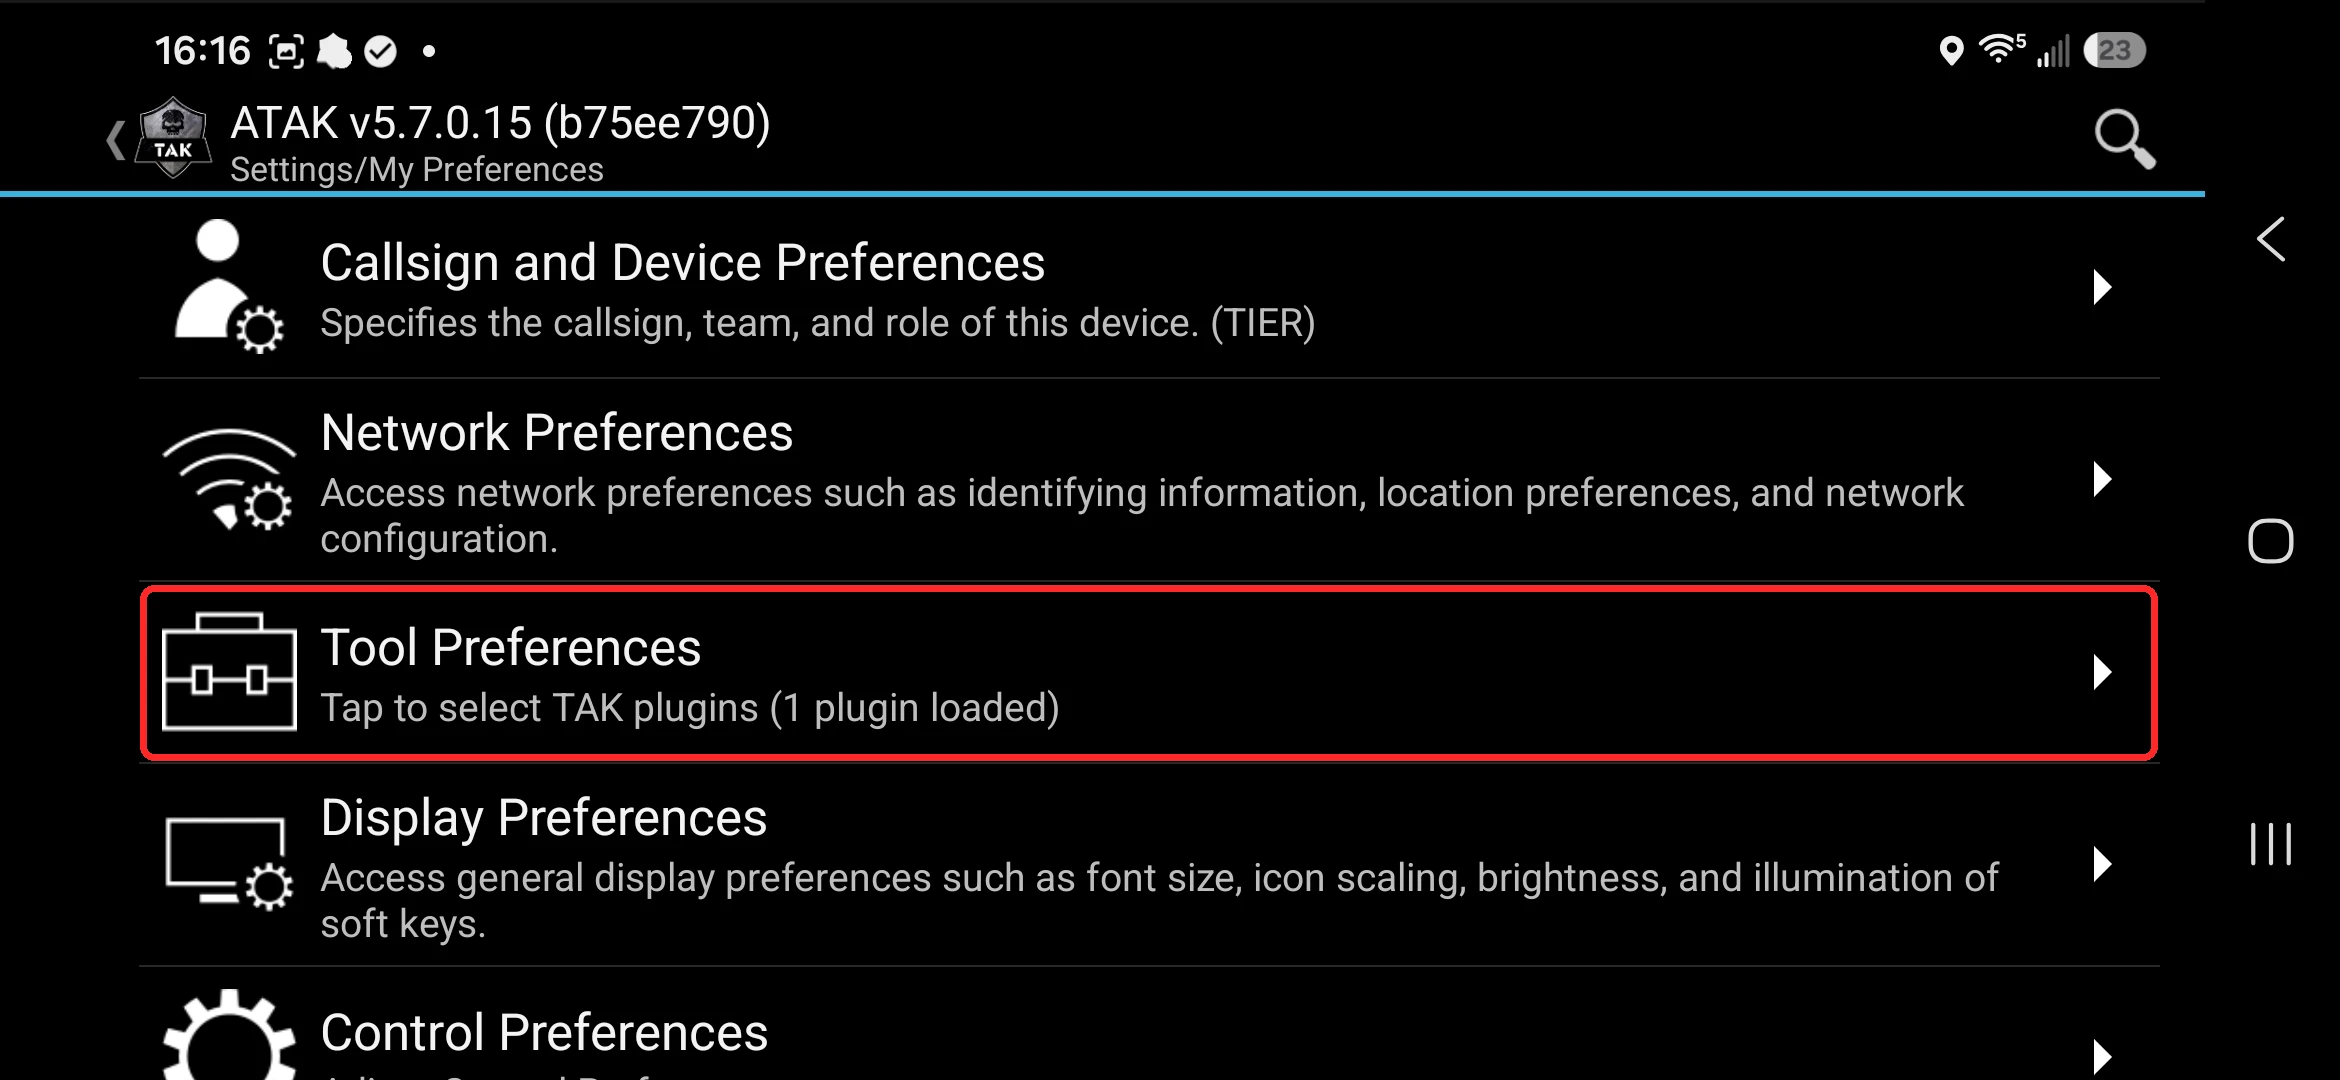
On the My Preferences screen, tap Tool Preferences.
-
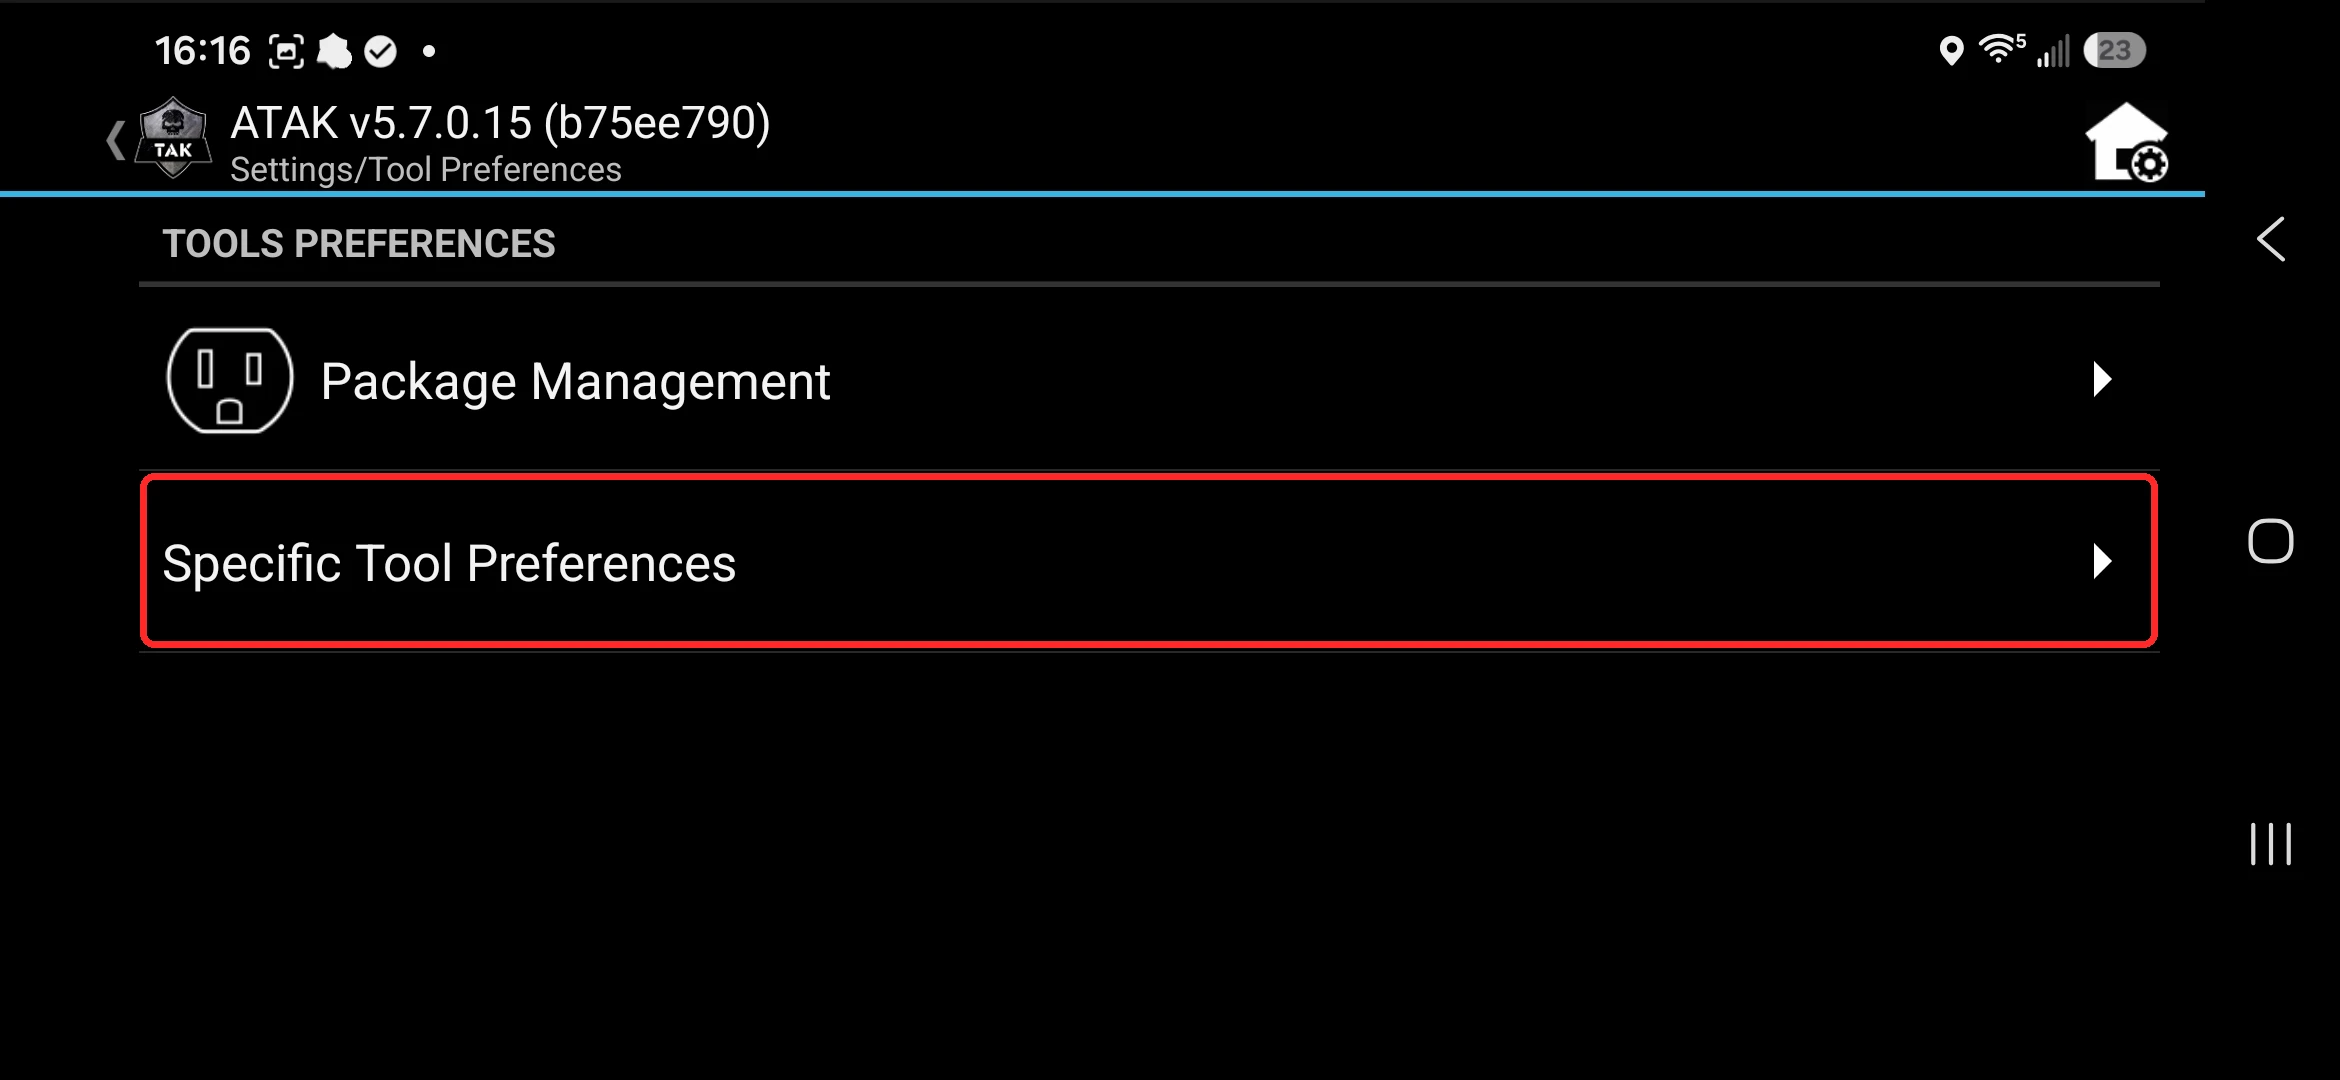
On the Tool Preferences screen, tap Specific Tool Preferences.
-
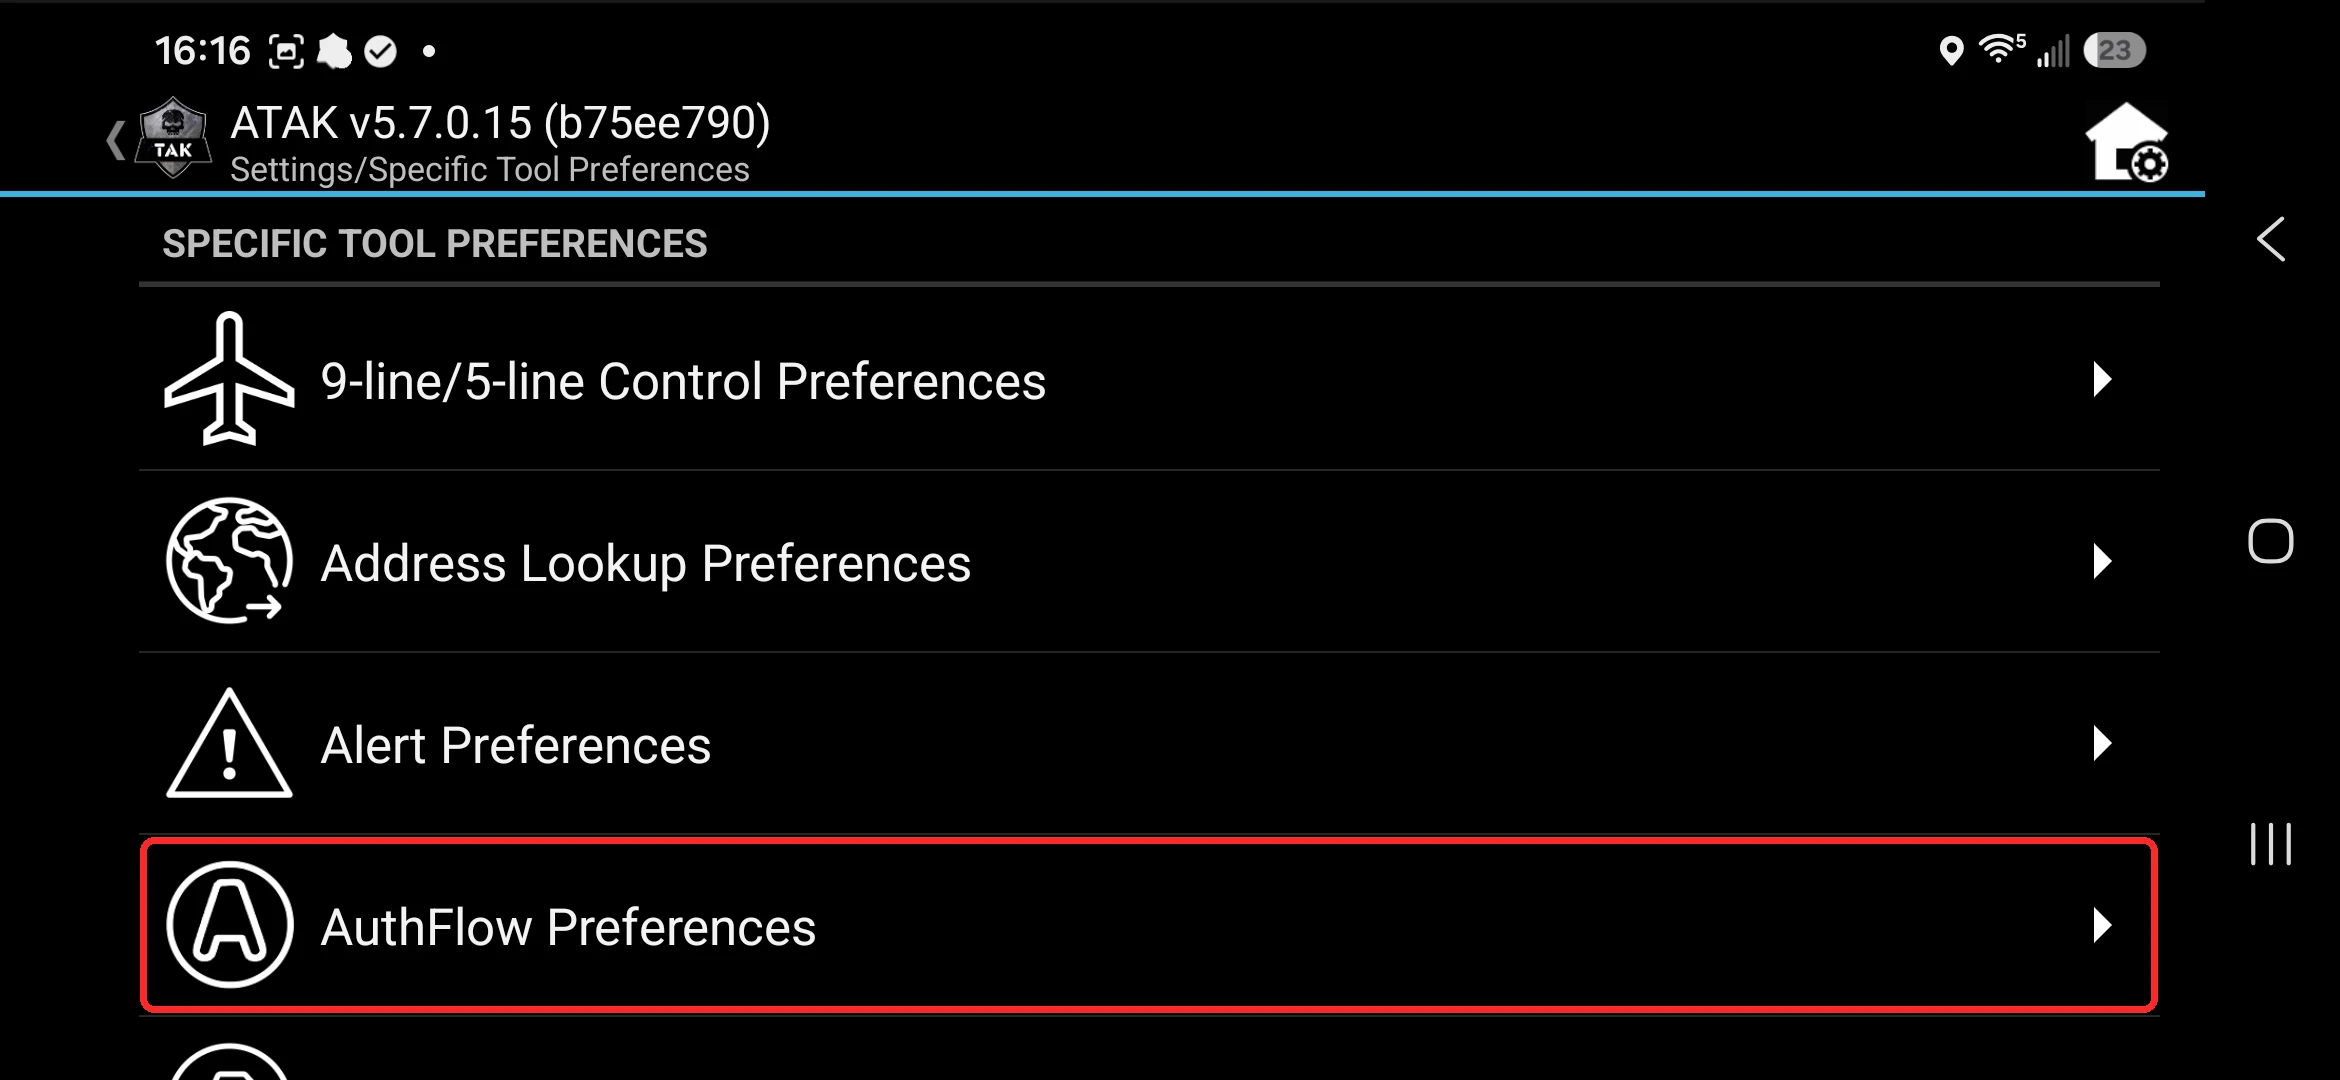
On the Specific Tool Preferences screen, tap AuthFlow Preferences.
-
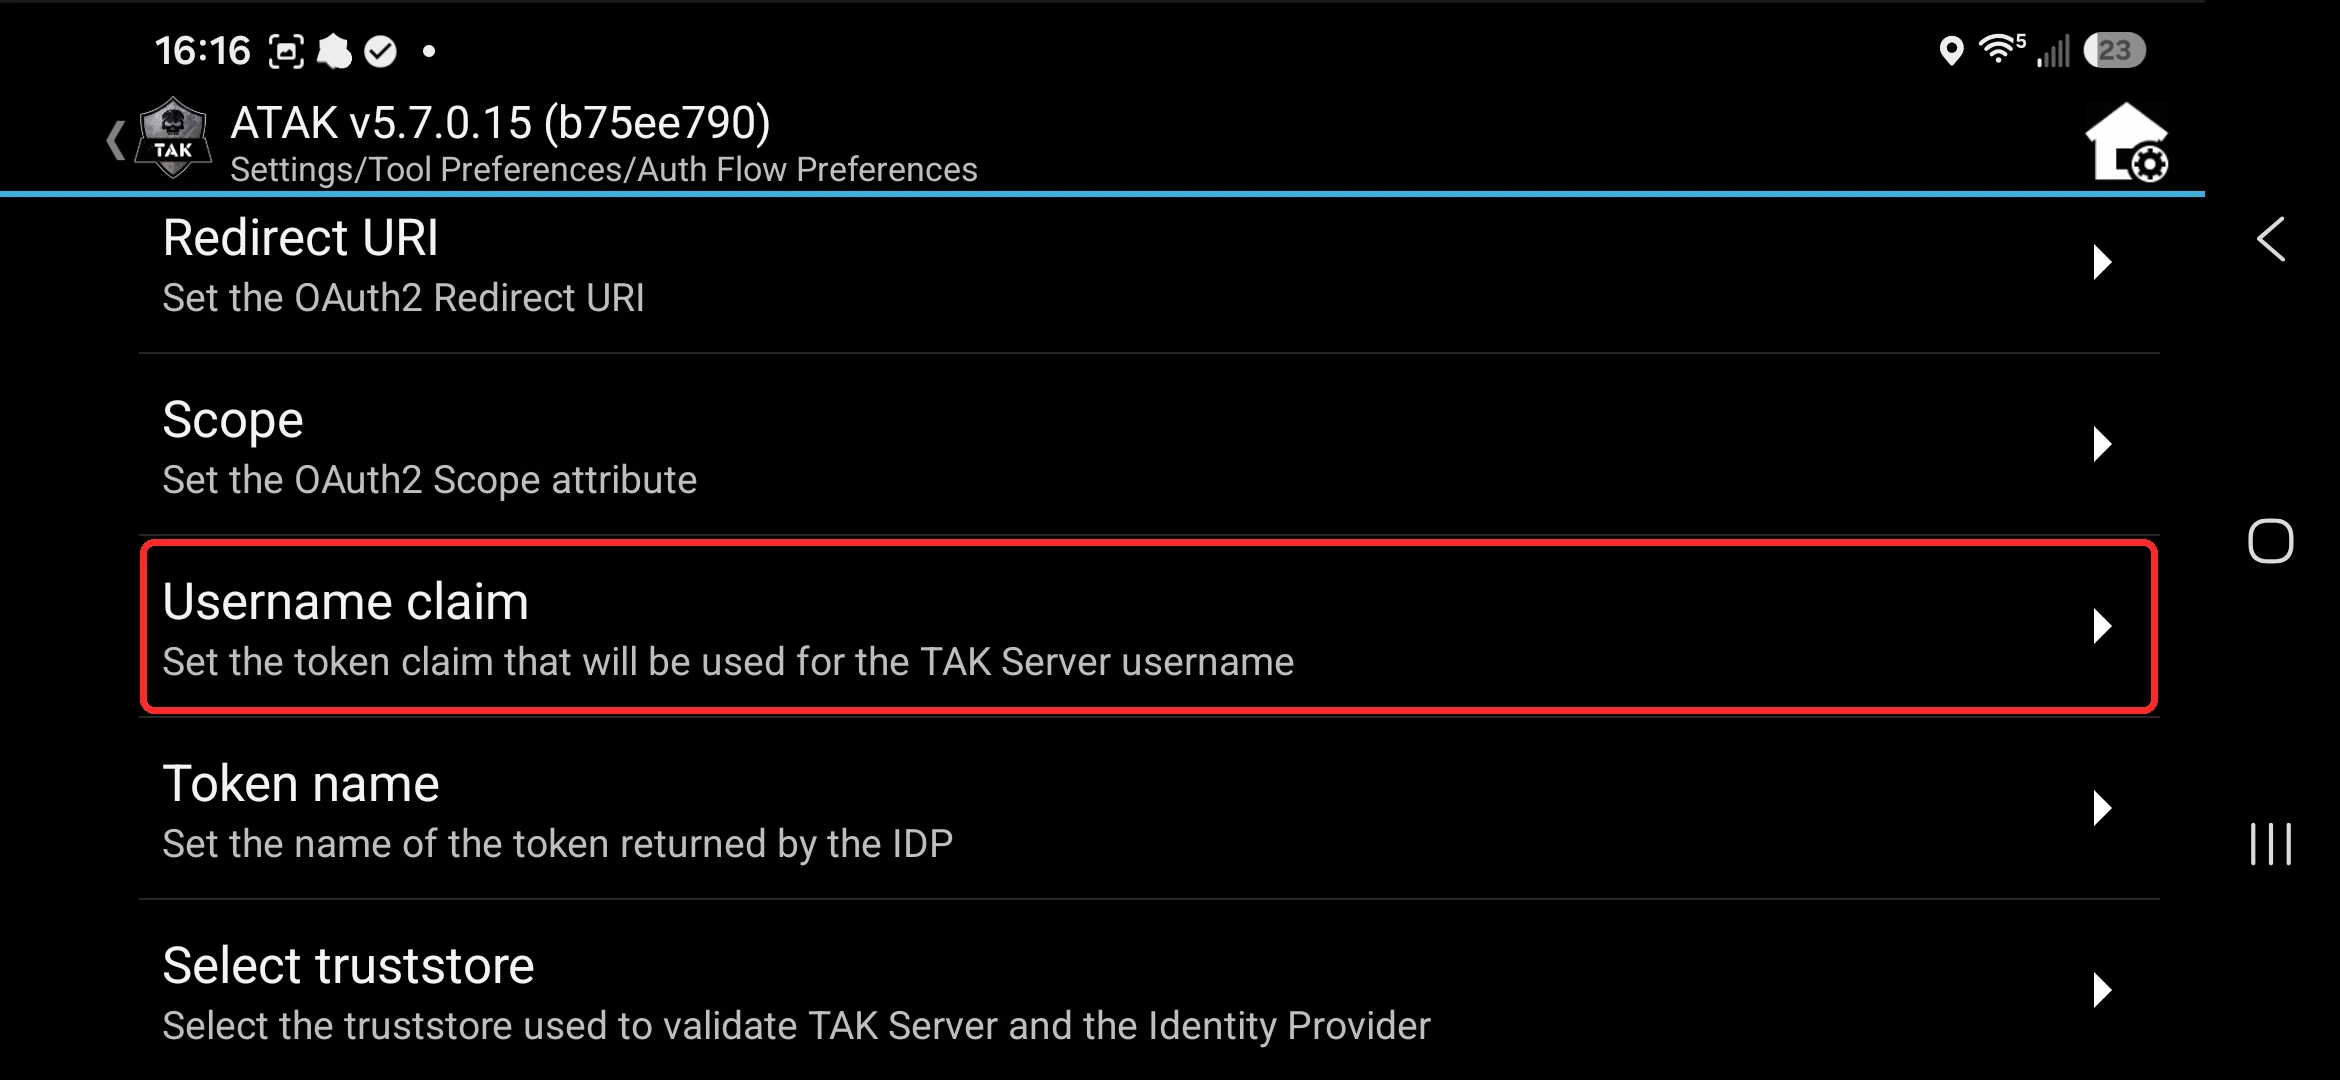
On the AuthFlow Preferences screen, tap Username claim.
-
Make sure Username claim is set to the literal word
email(type the word "email", not your actual email address), then tap Done.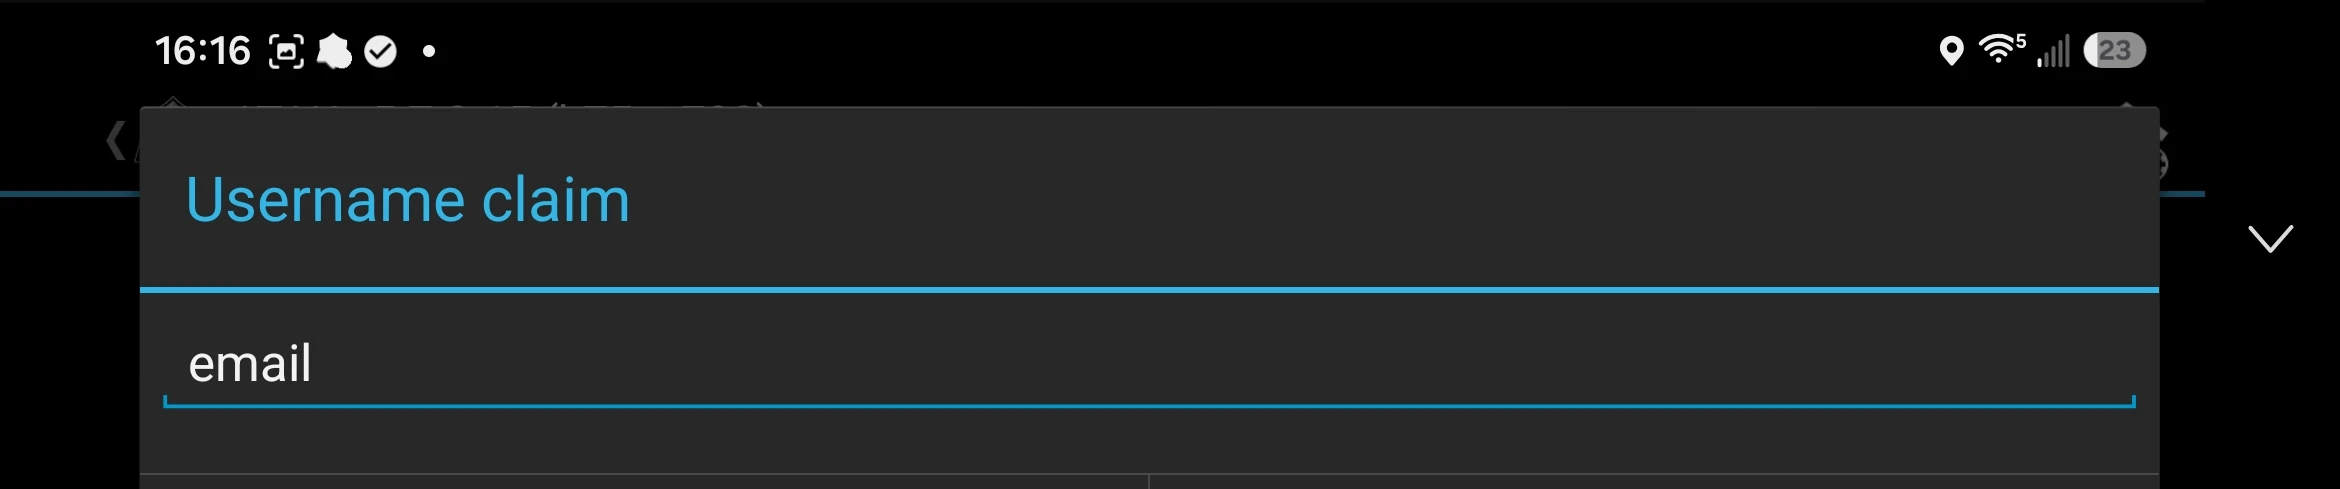
-
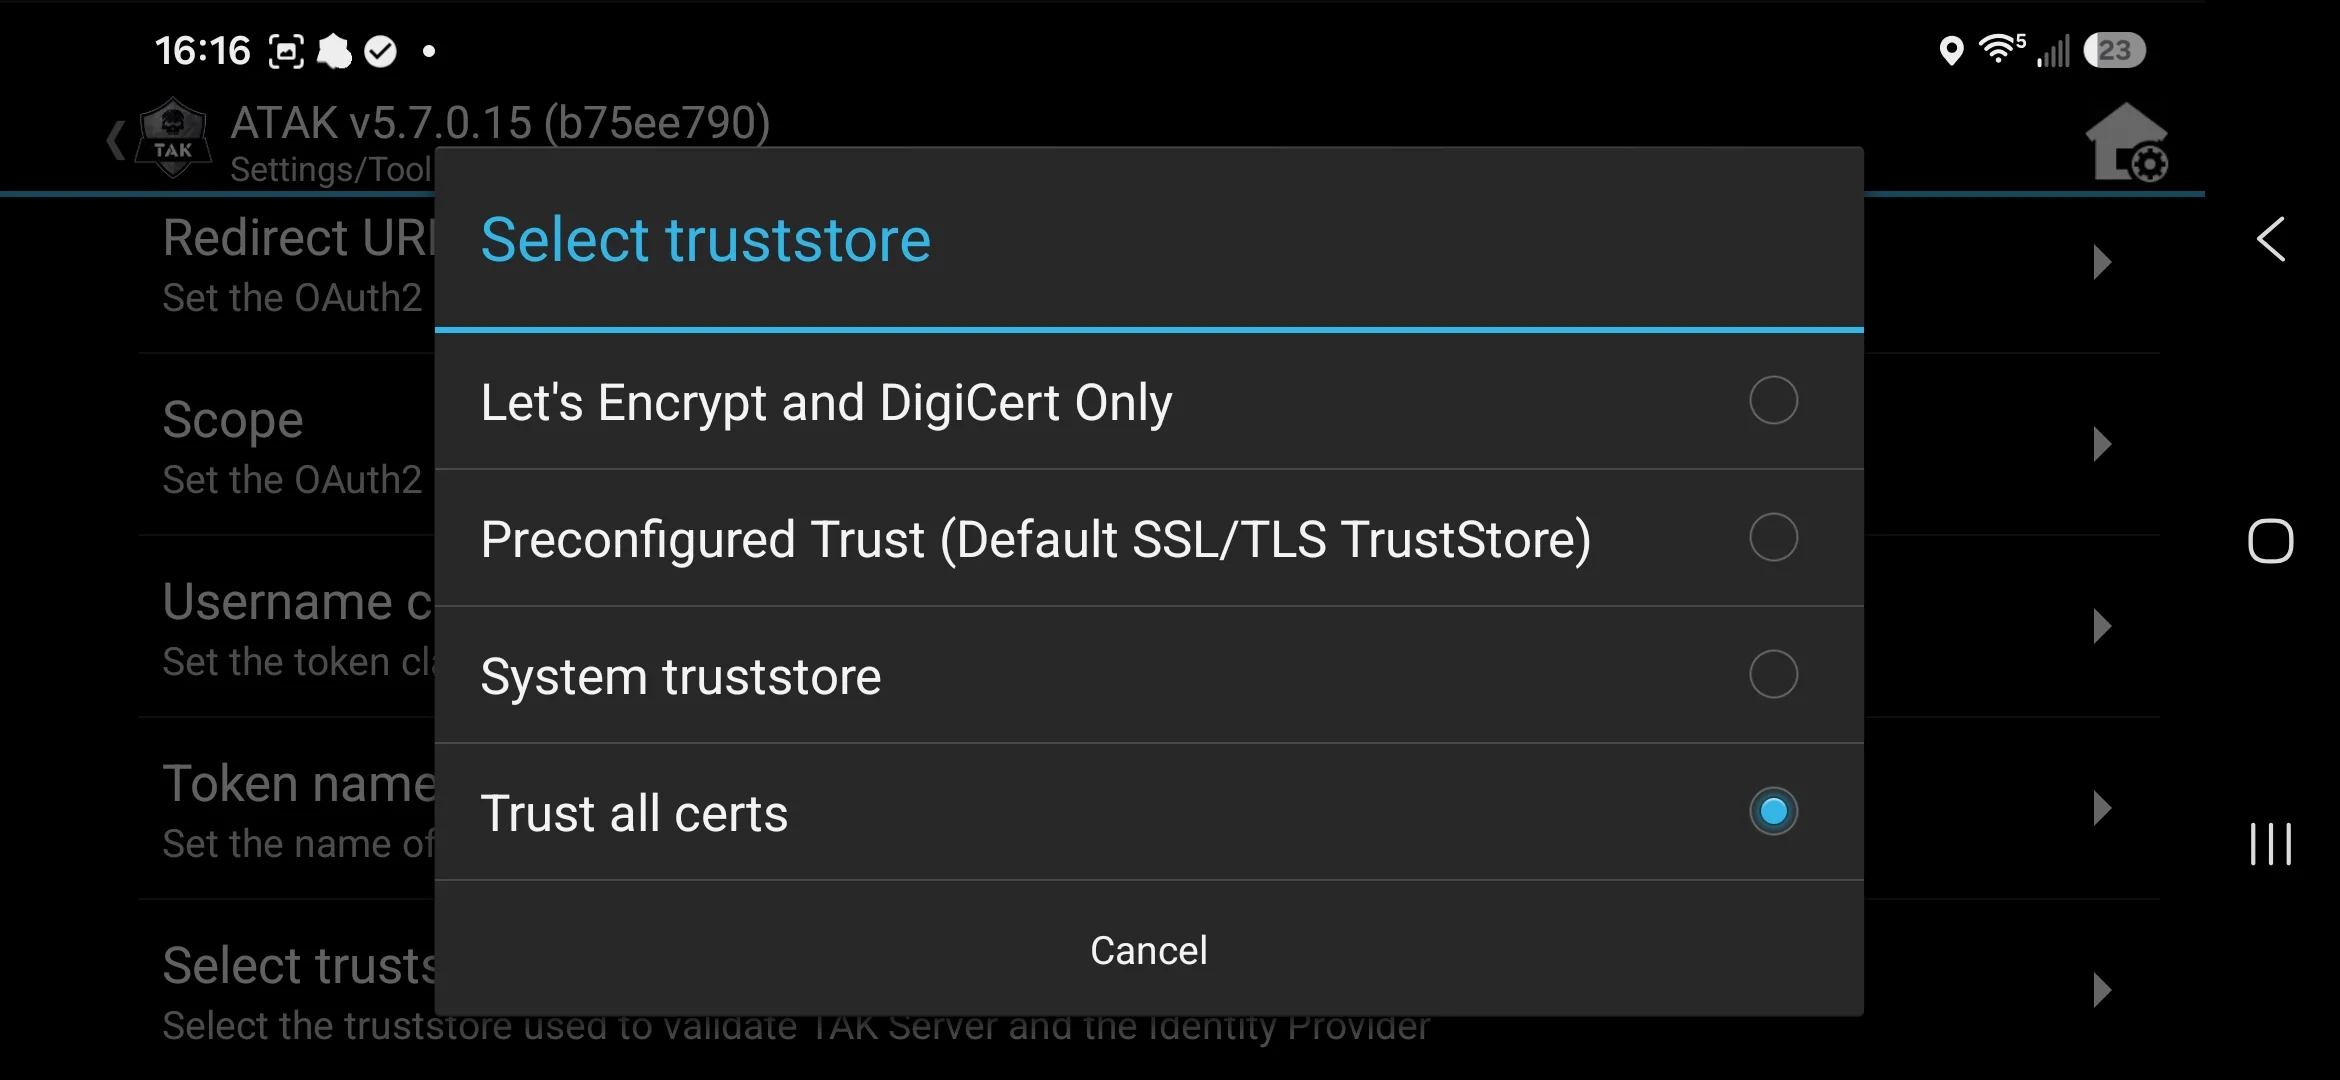
Back on AuthFlow Preferences, tap Select truststore and choose Trust all certs.
Log in with AuthFlow
-
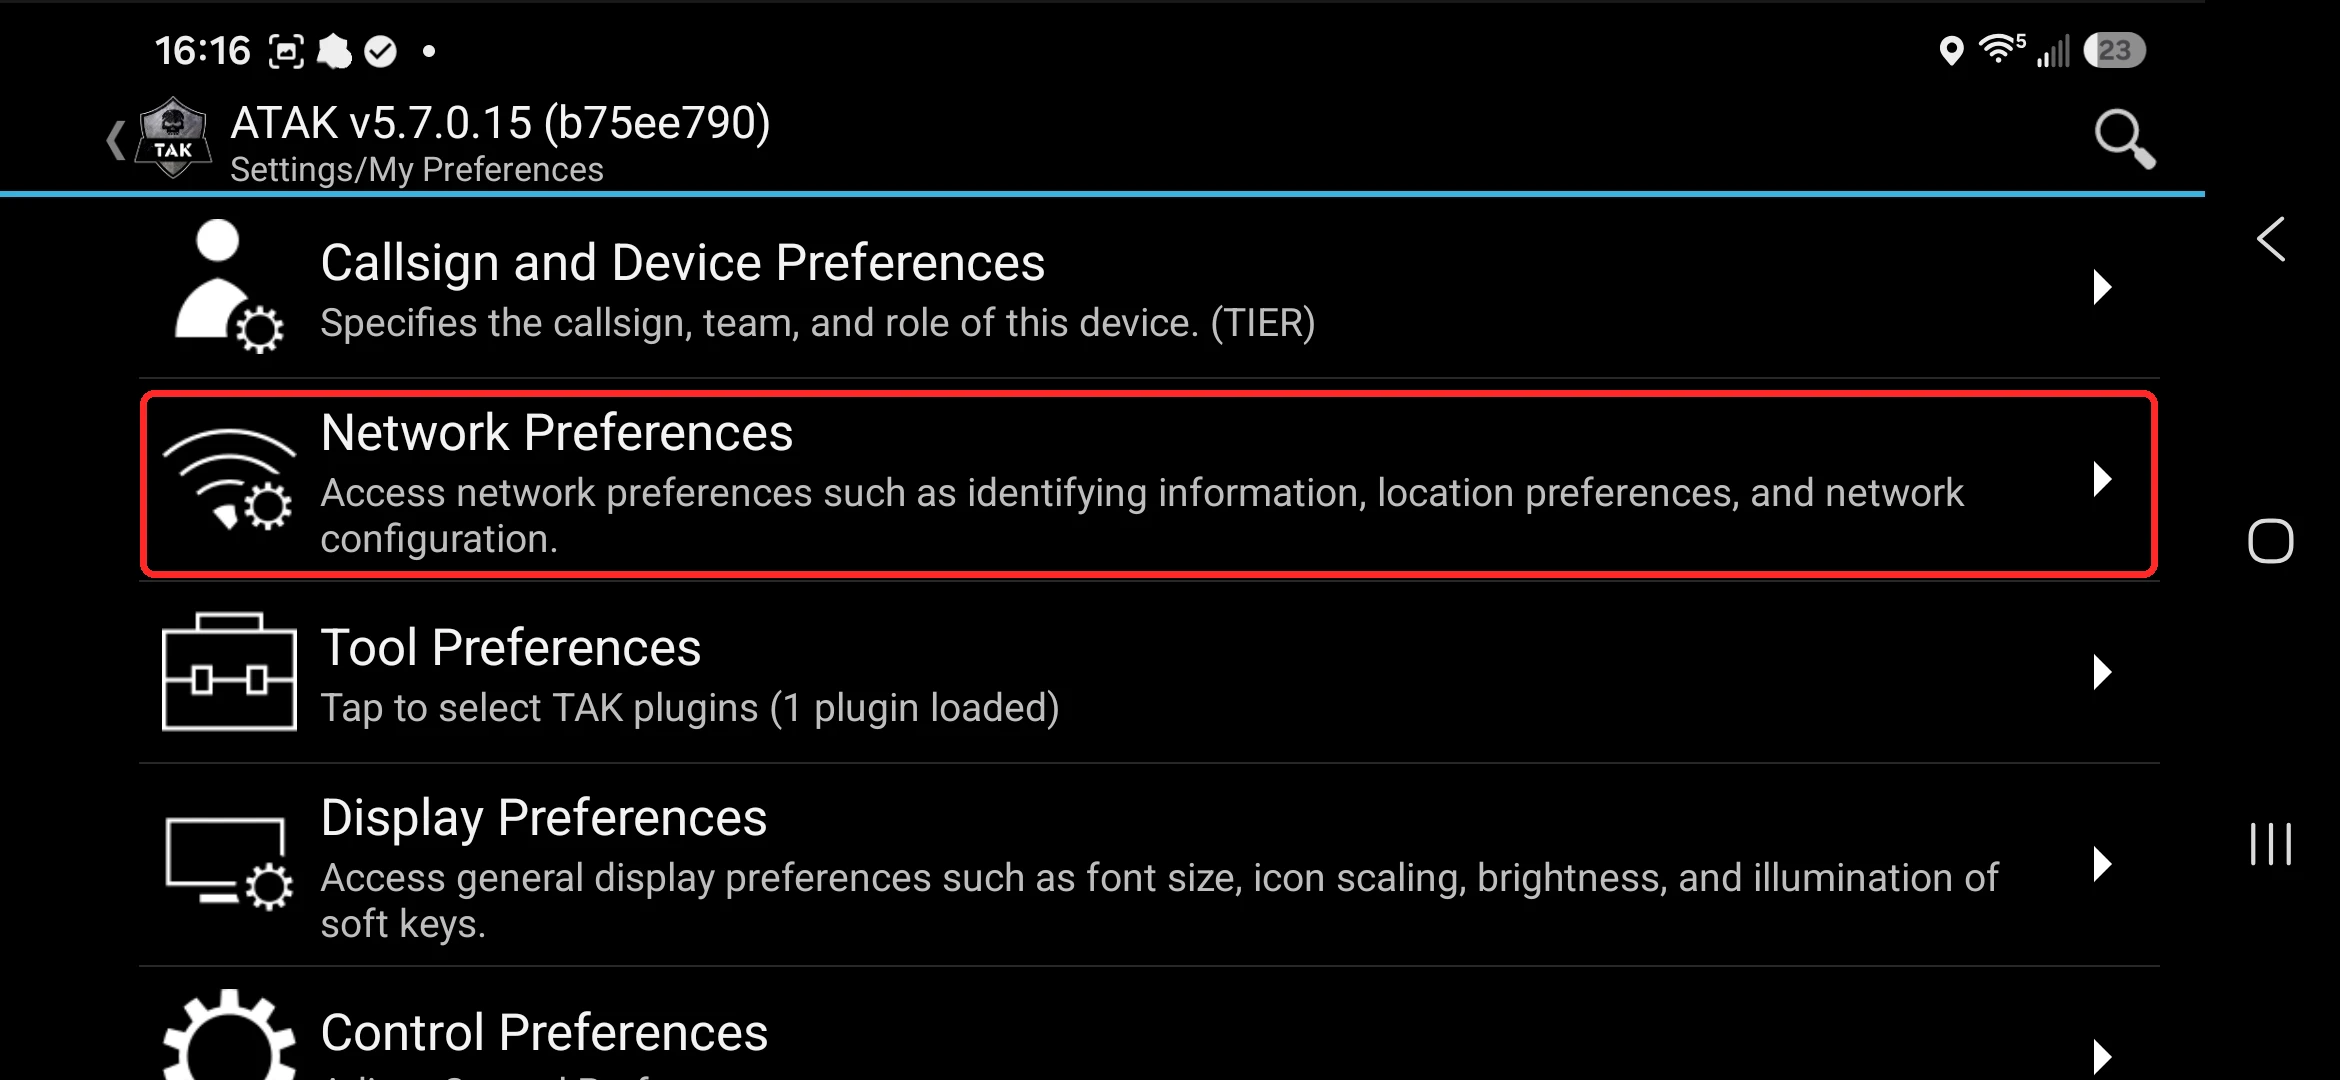
Return to Settings and tap Network Preferences.
-
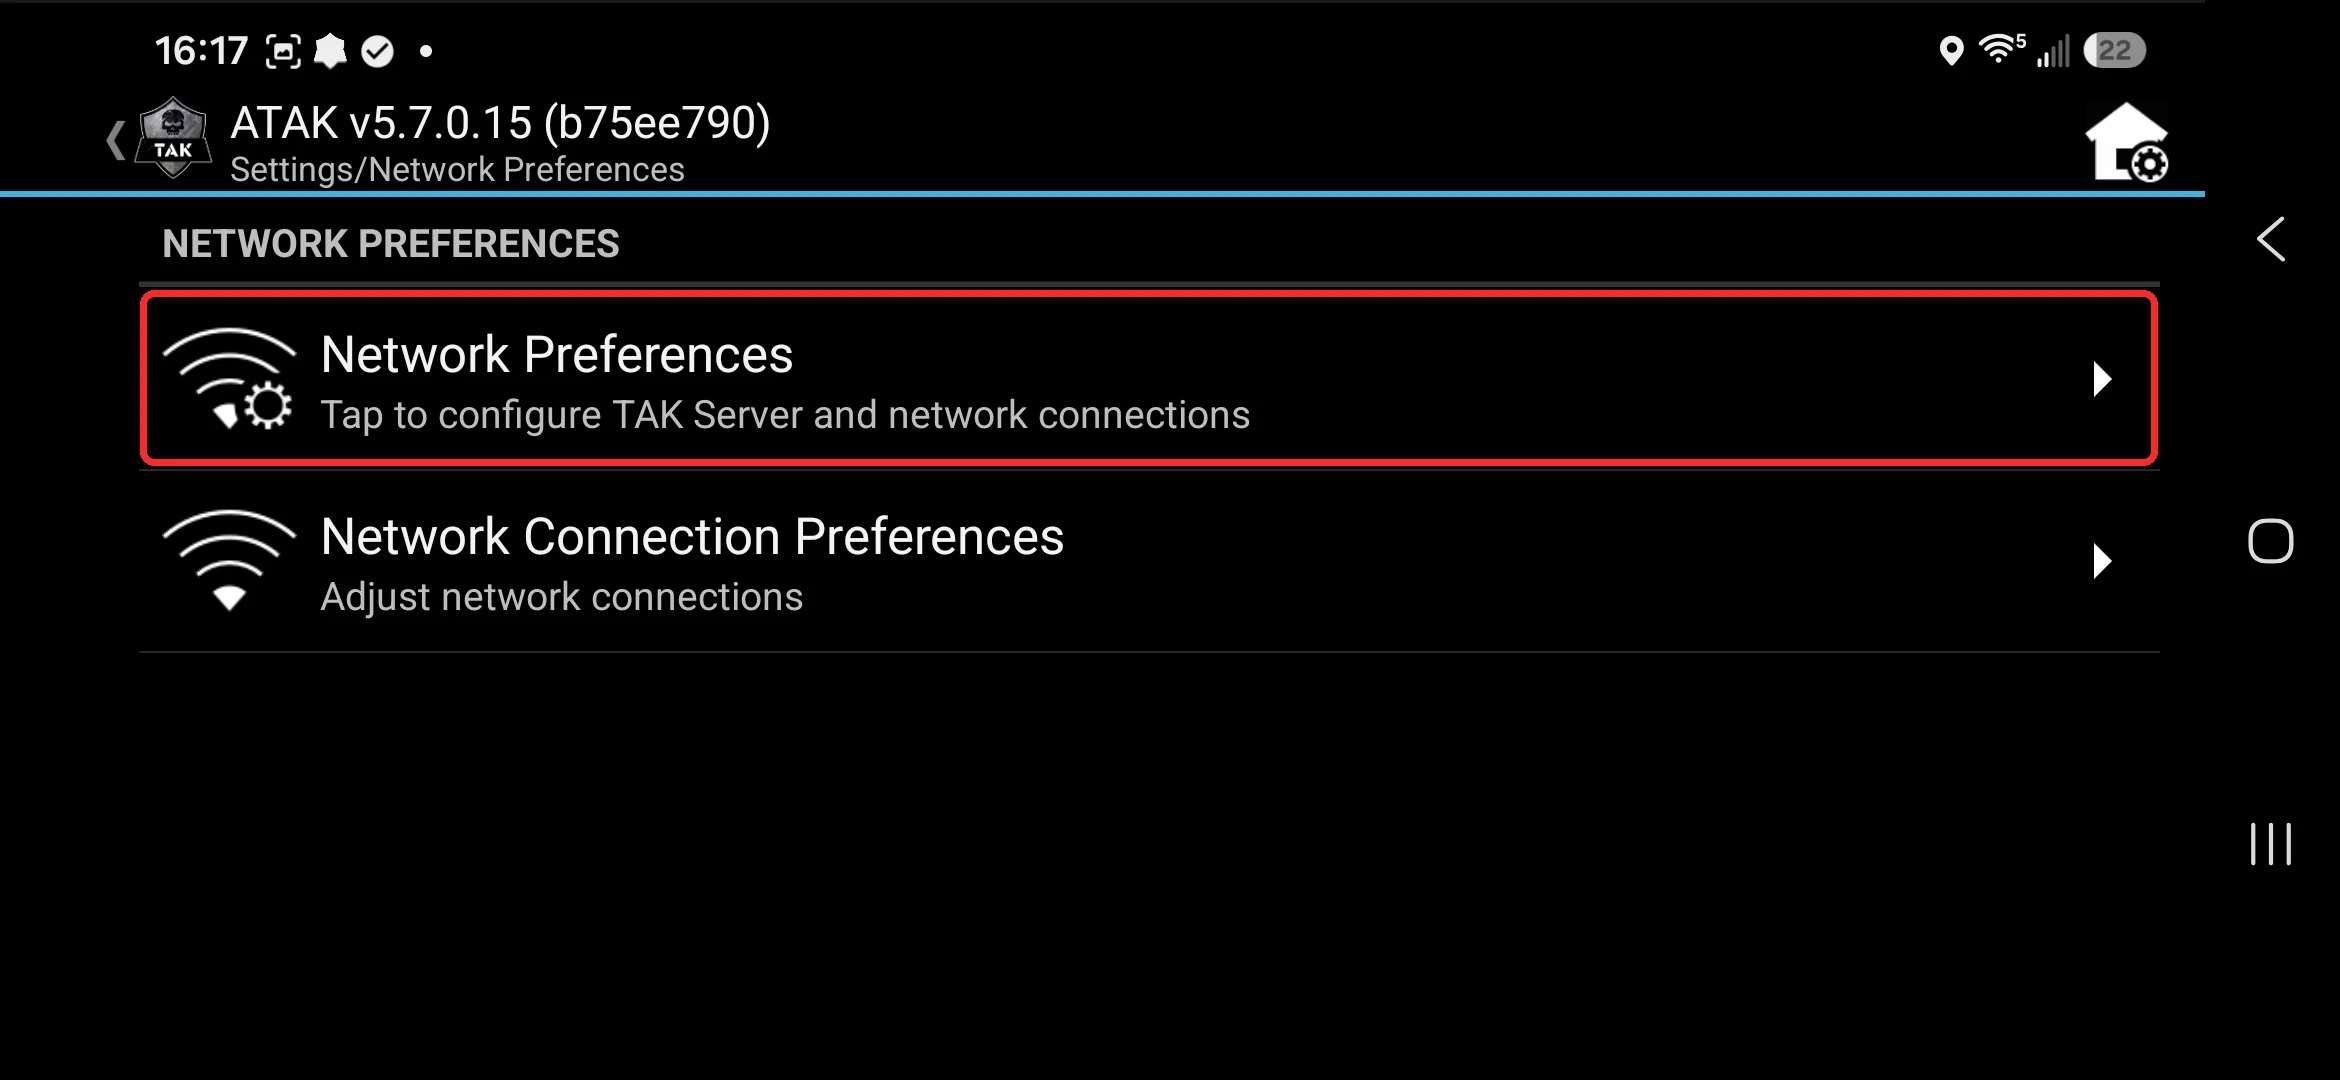
On the Network Preferences screen, tap Network Preferences.
-
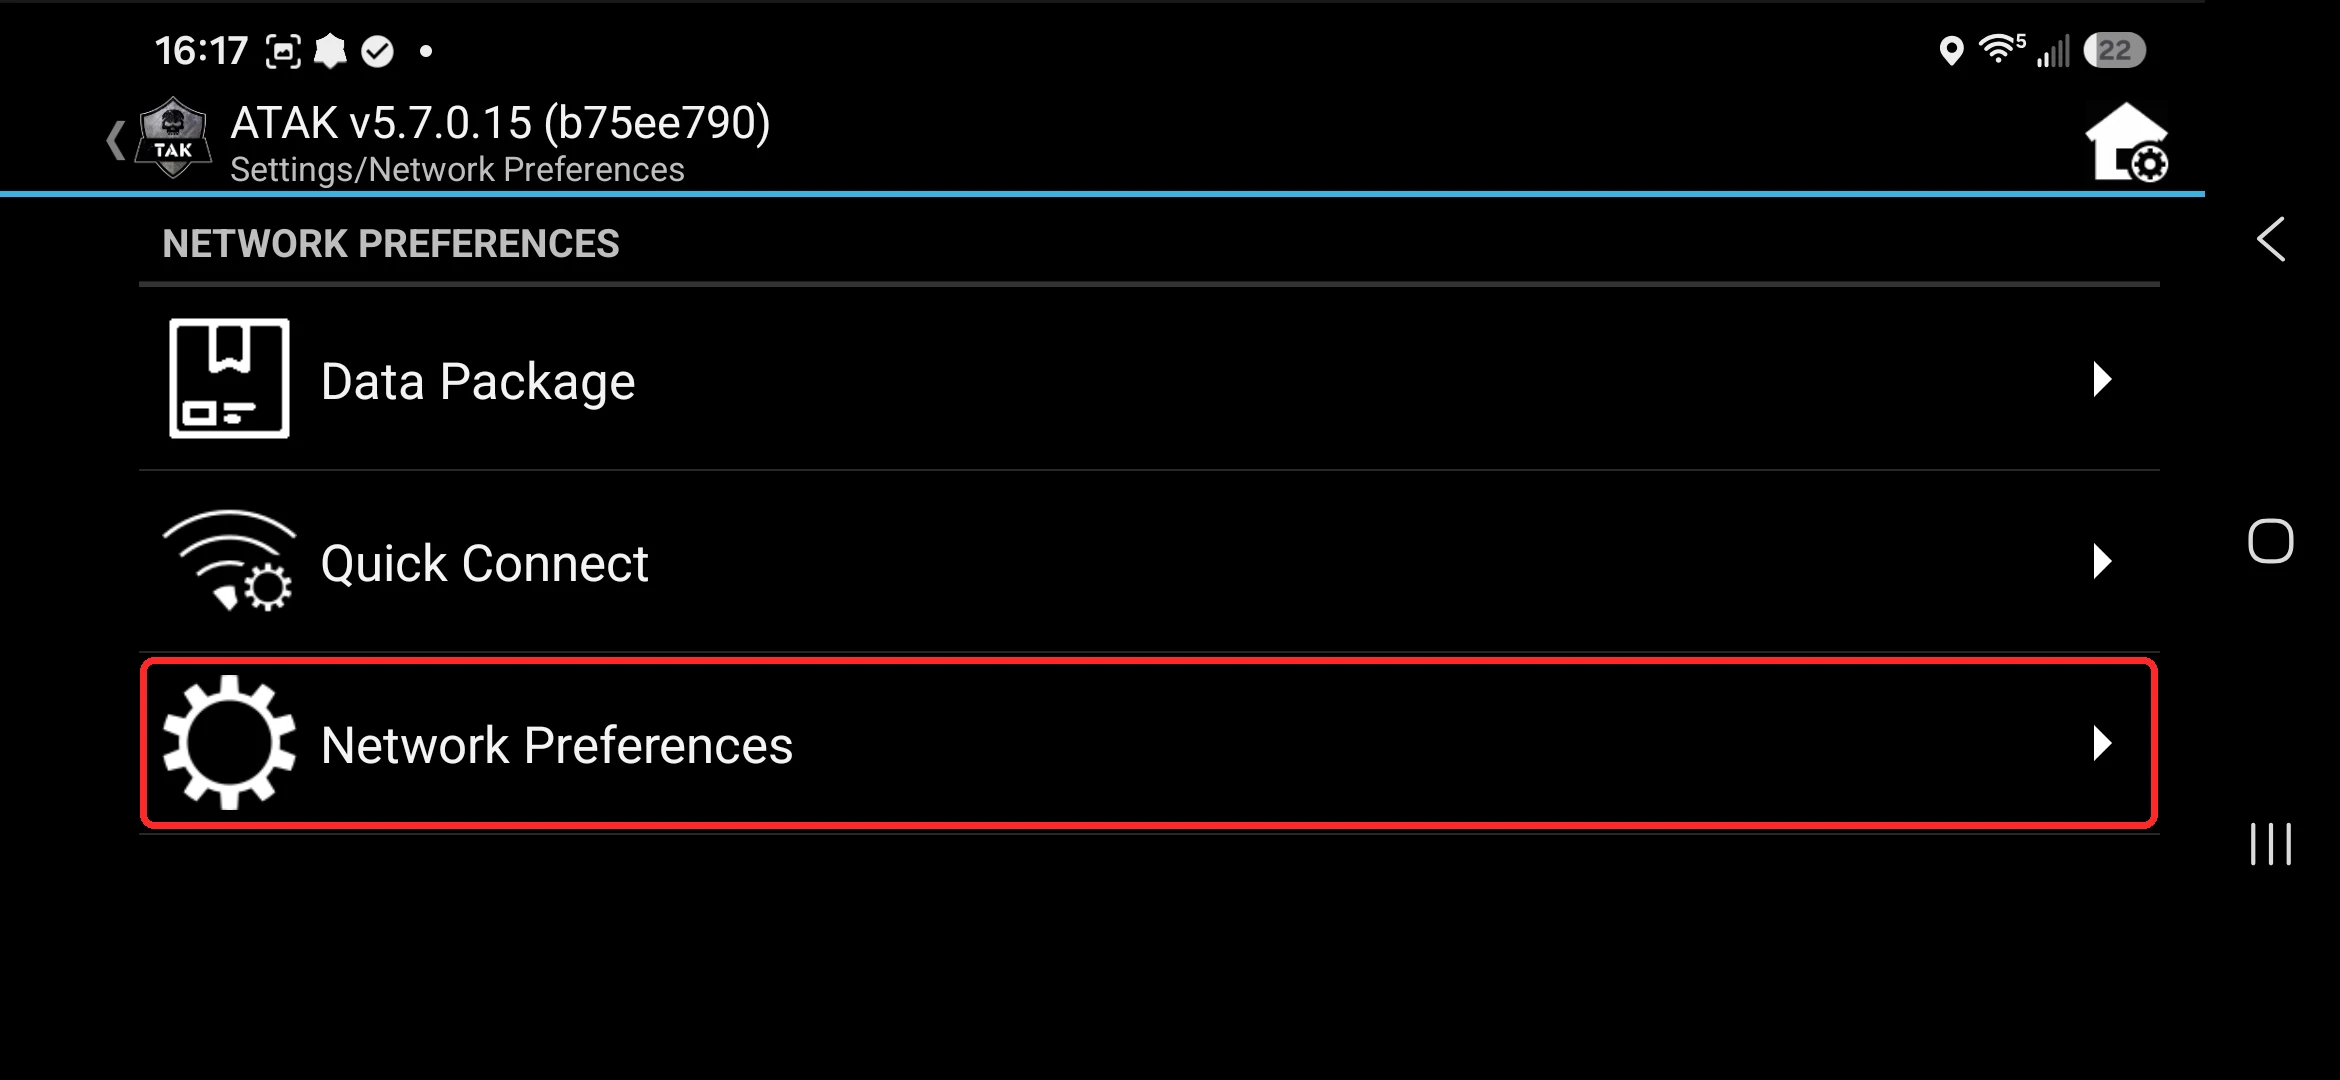
Tap Network Preferences again.
-
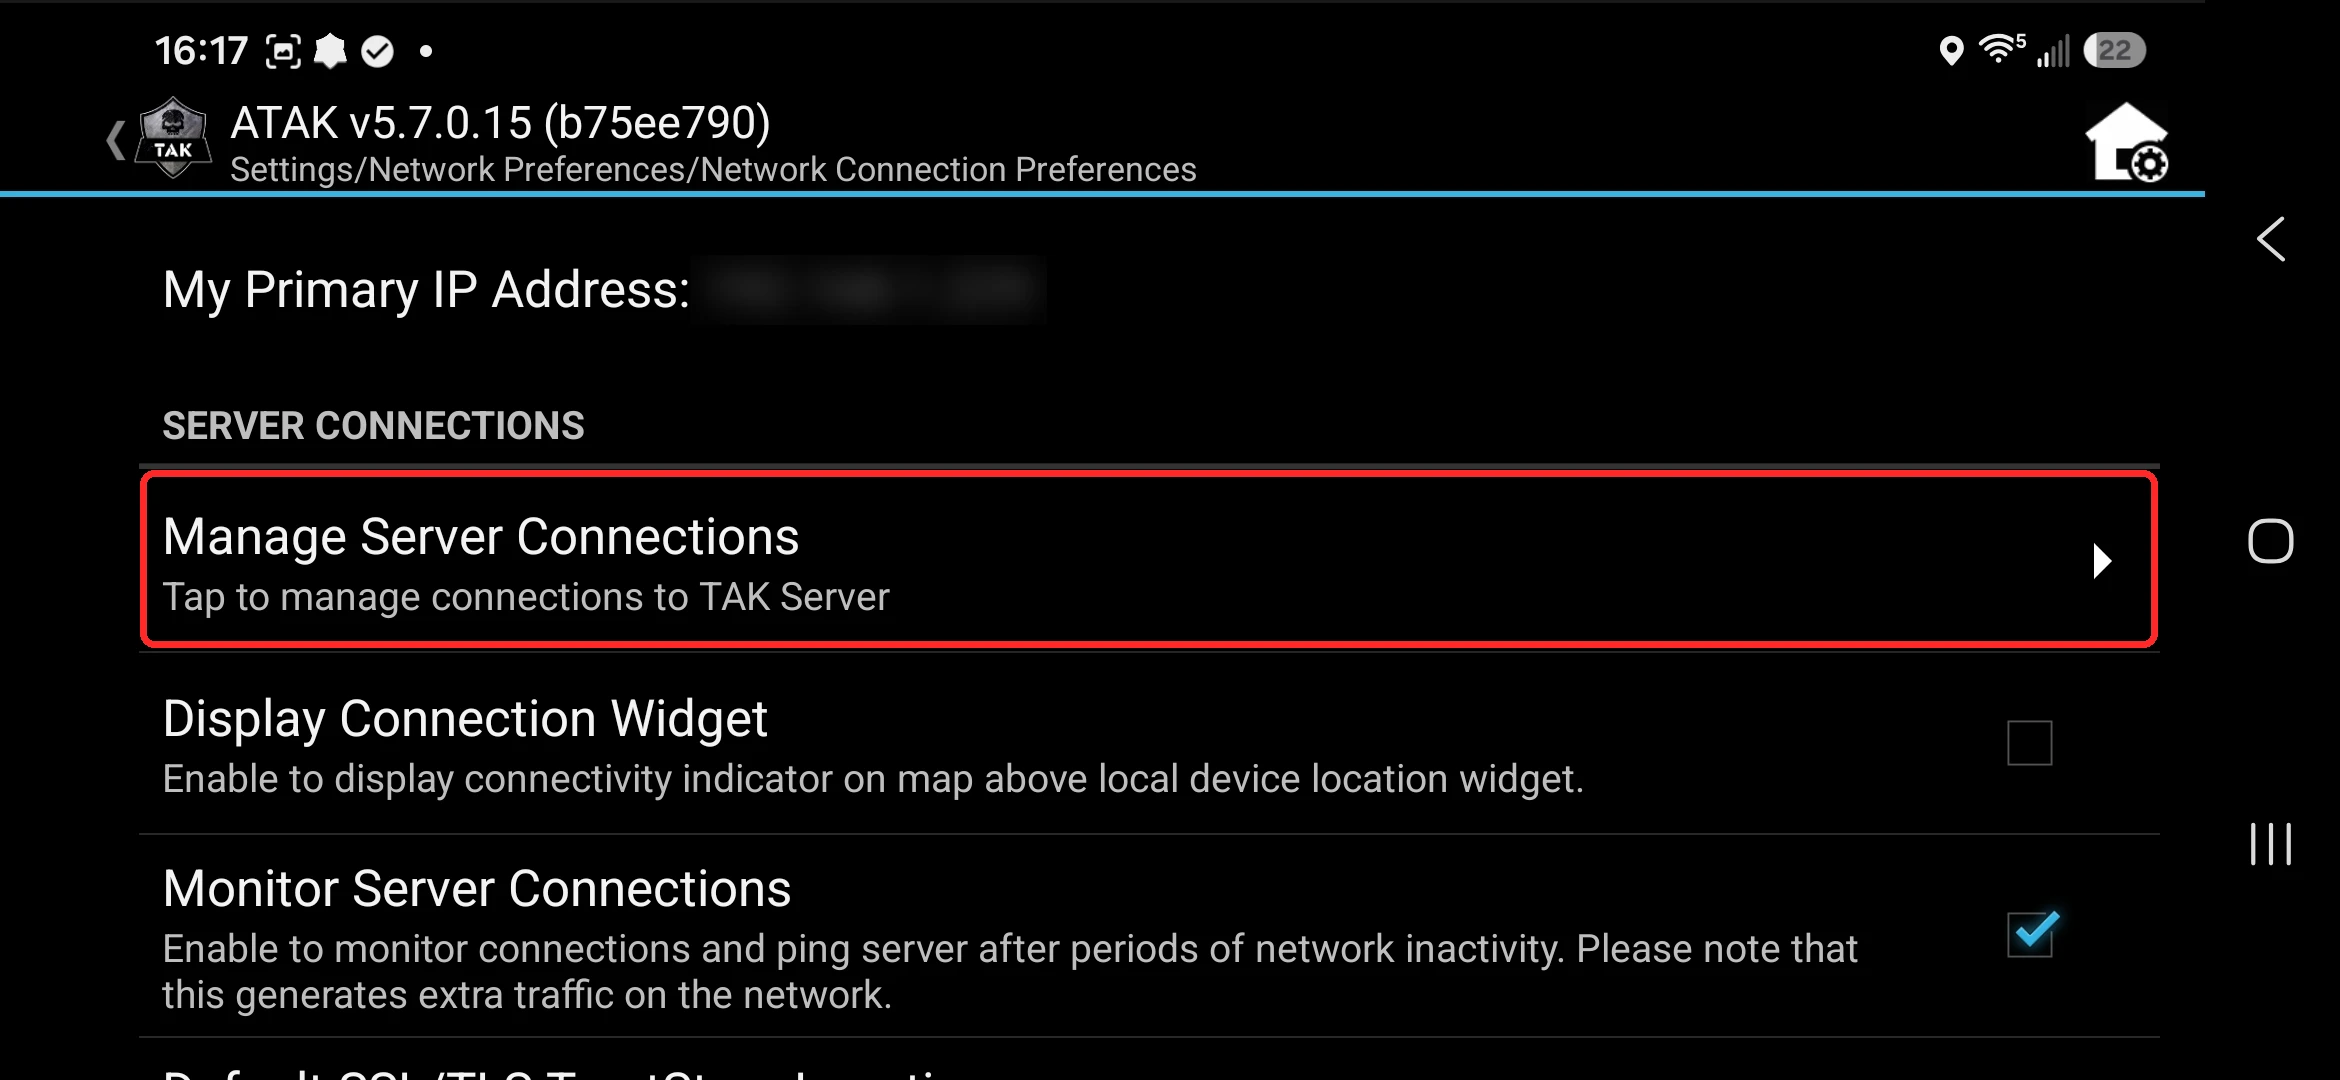
Under Server Connections, tap Manage Server Connections.
-
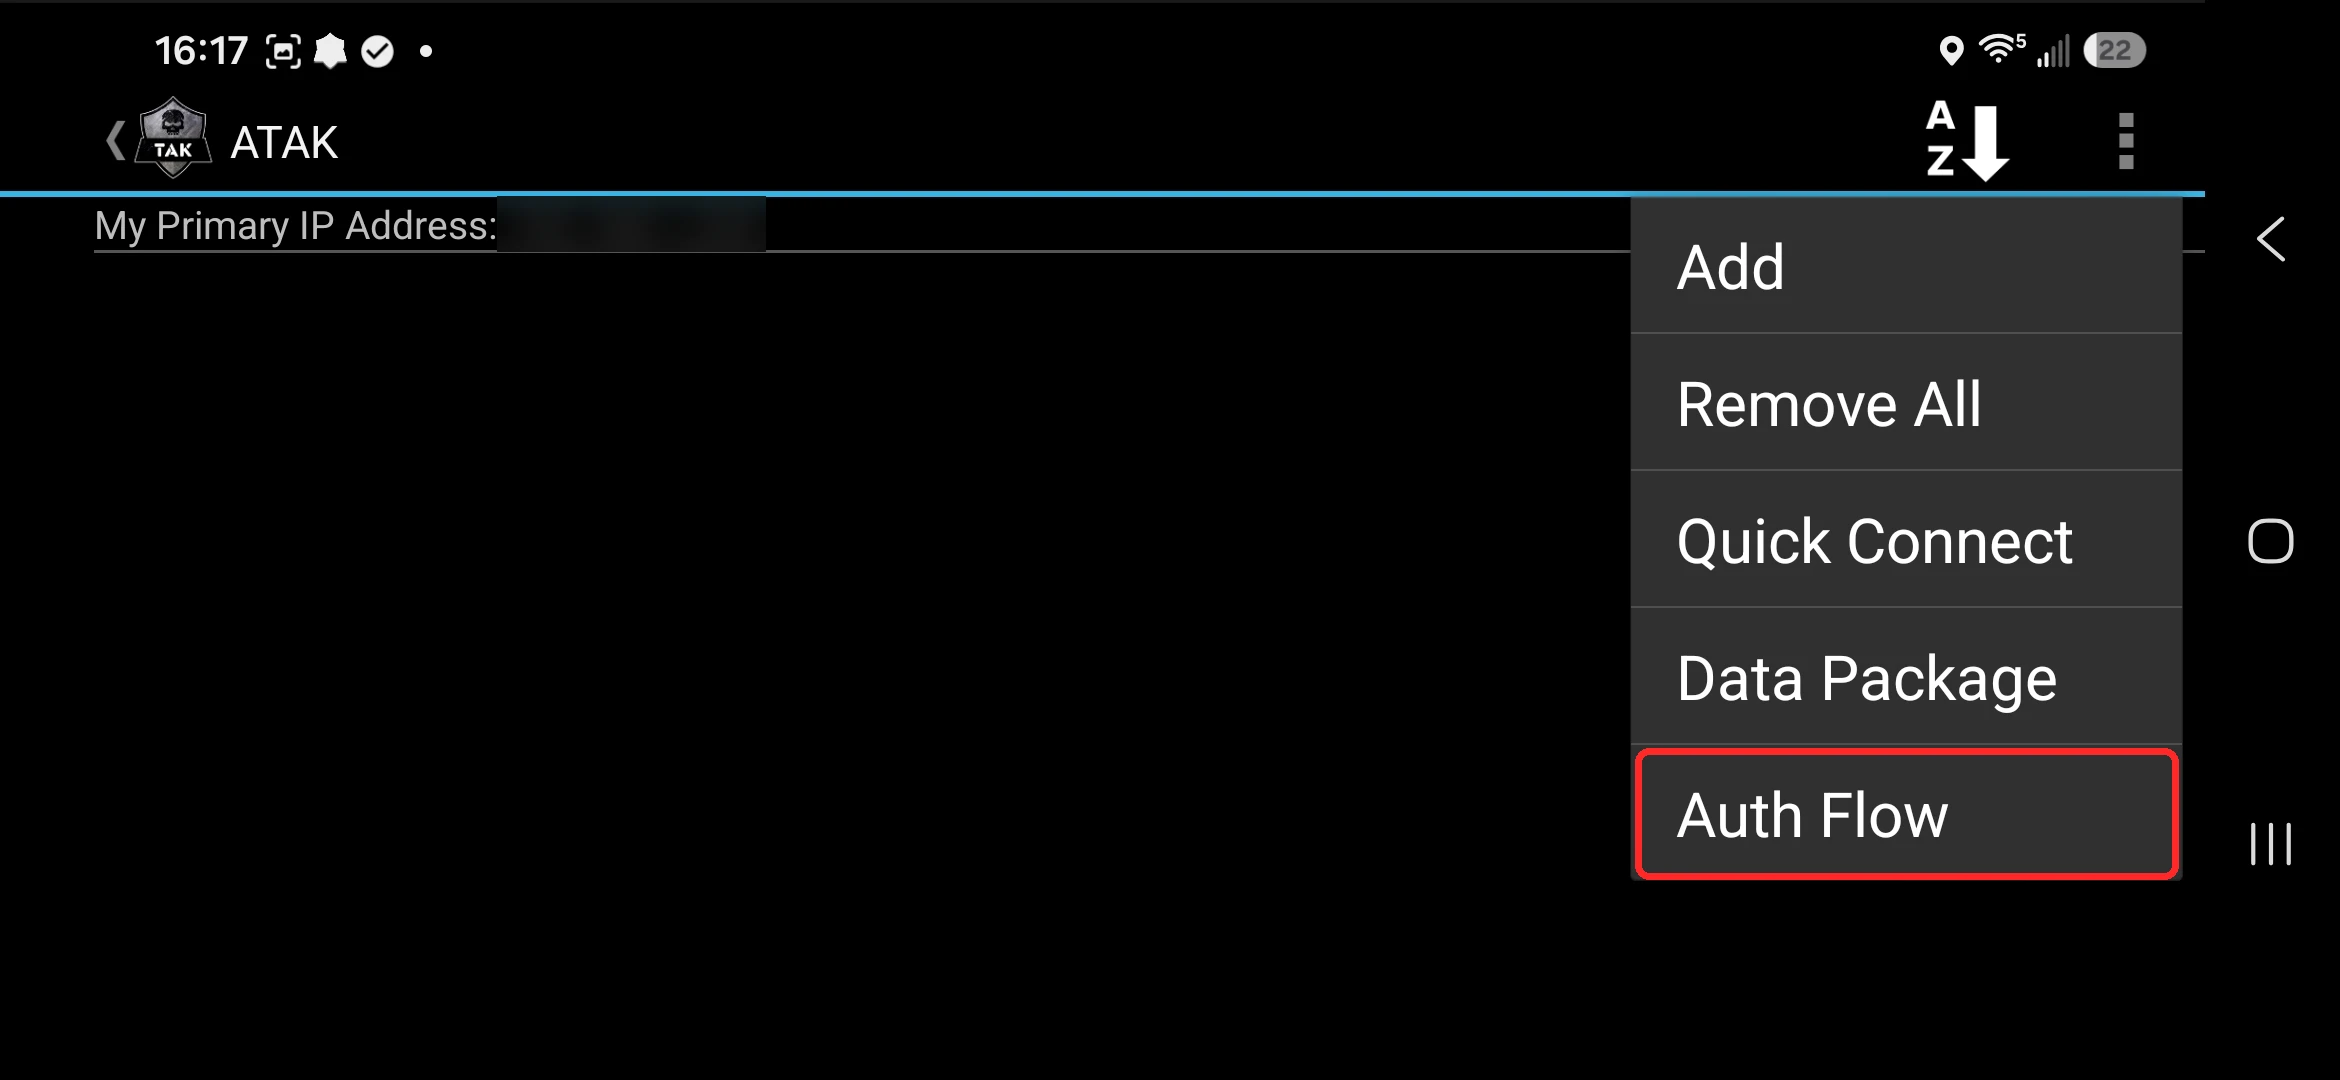
Tap the three-dot menu in the top-right corner.

-
Tap Auth Flow.
-
Enter
tak.mchmr.usas the server address and tap OK.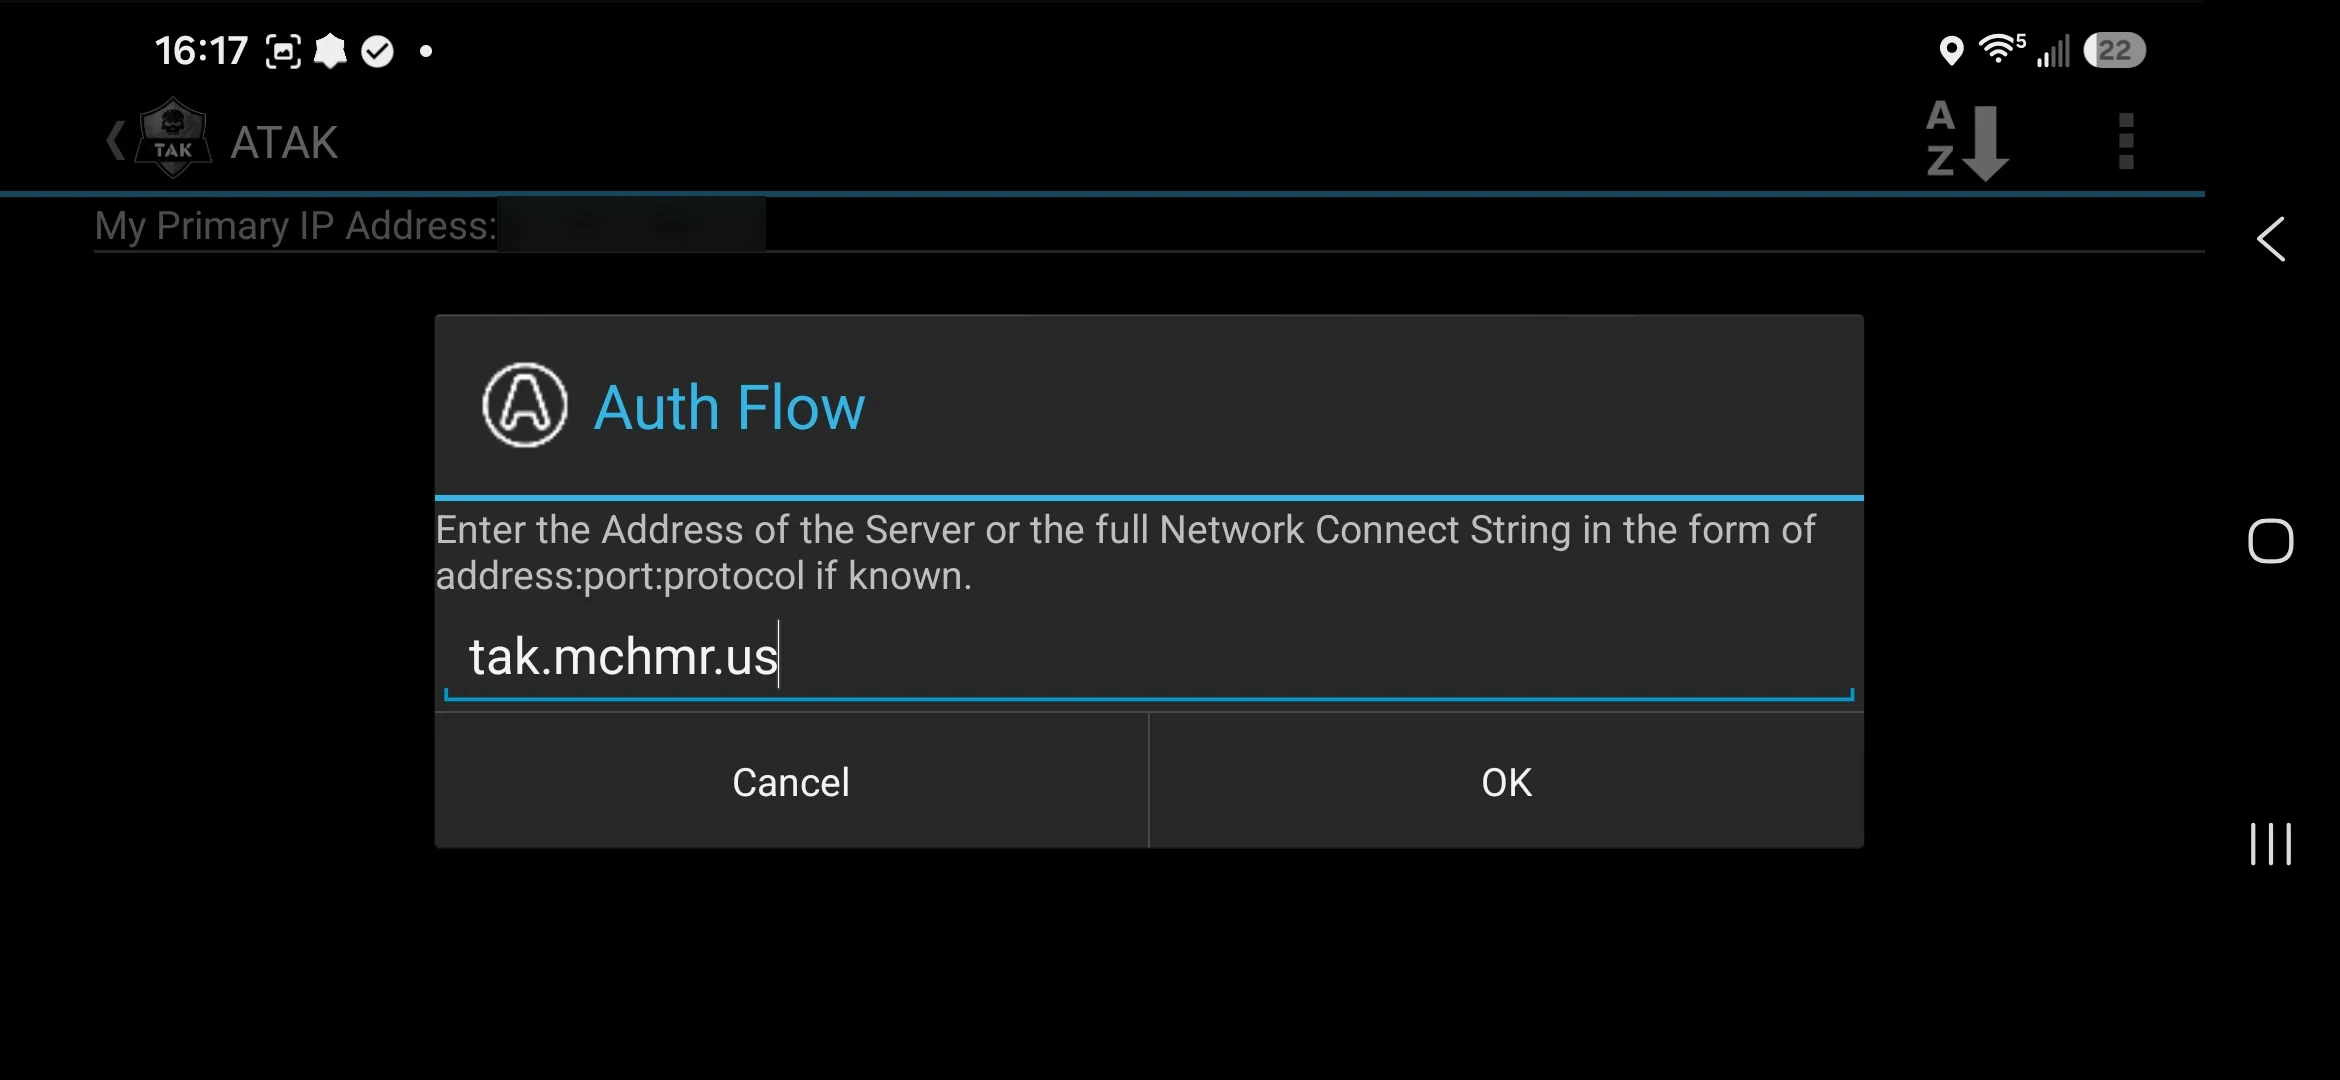
-
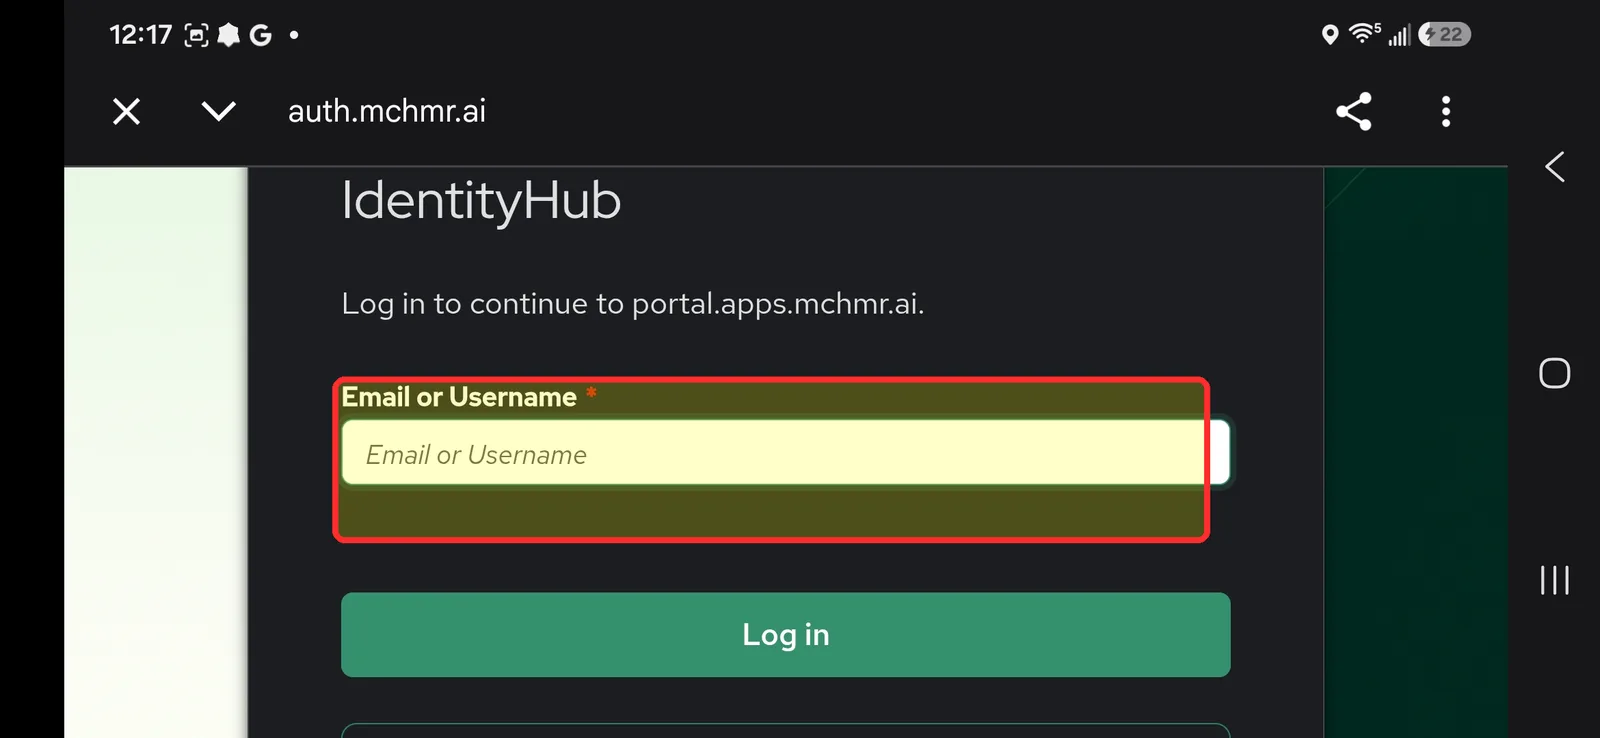
The Tactical ID login page opens in your browser. Enter your Tactical ID email or username and tap Log in, then enter your password on the next screen and continue.
-
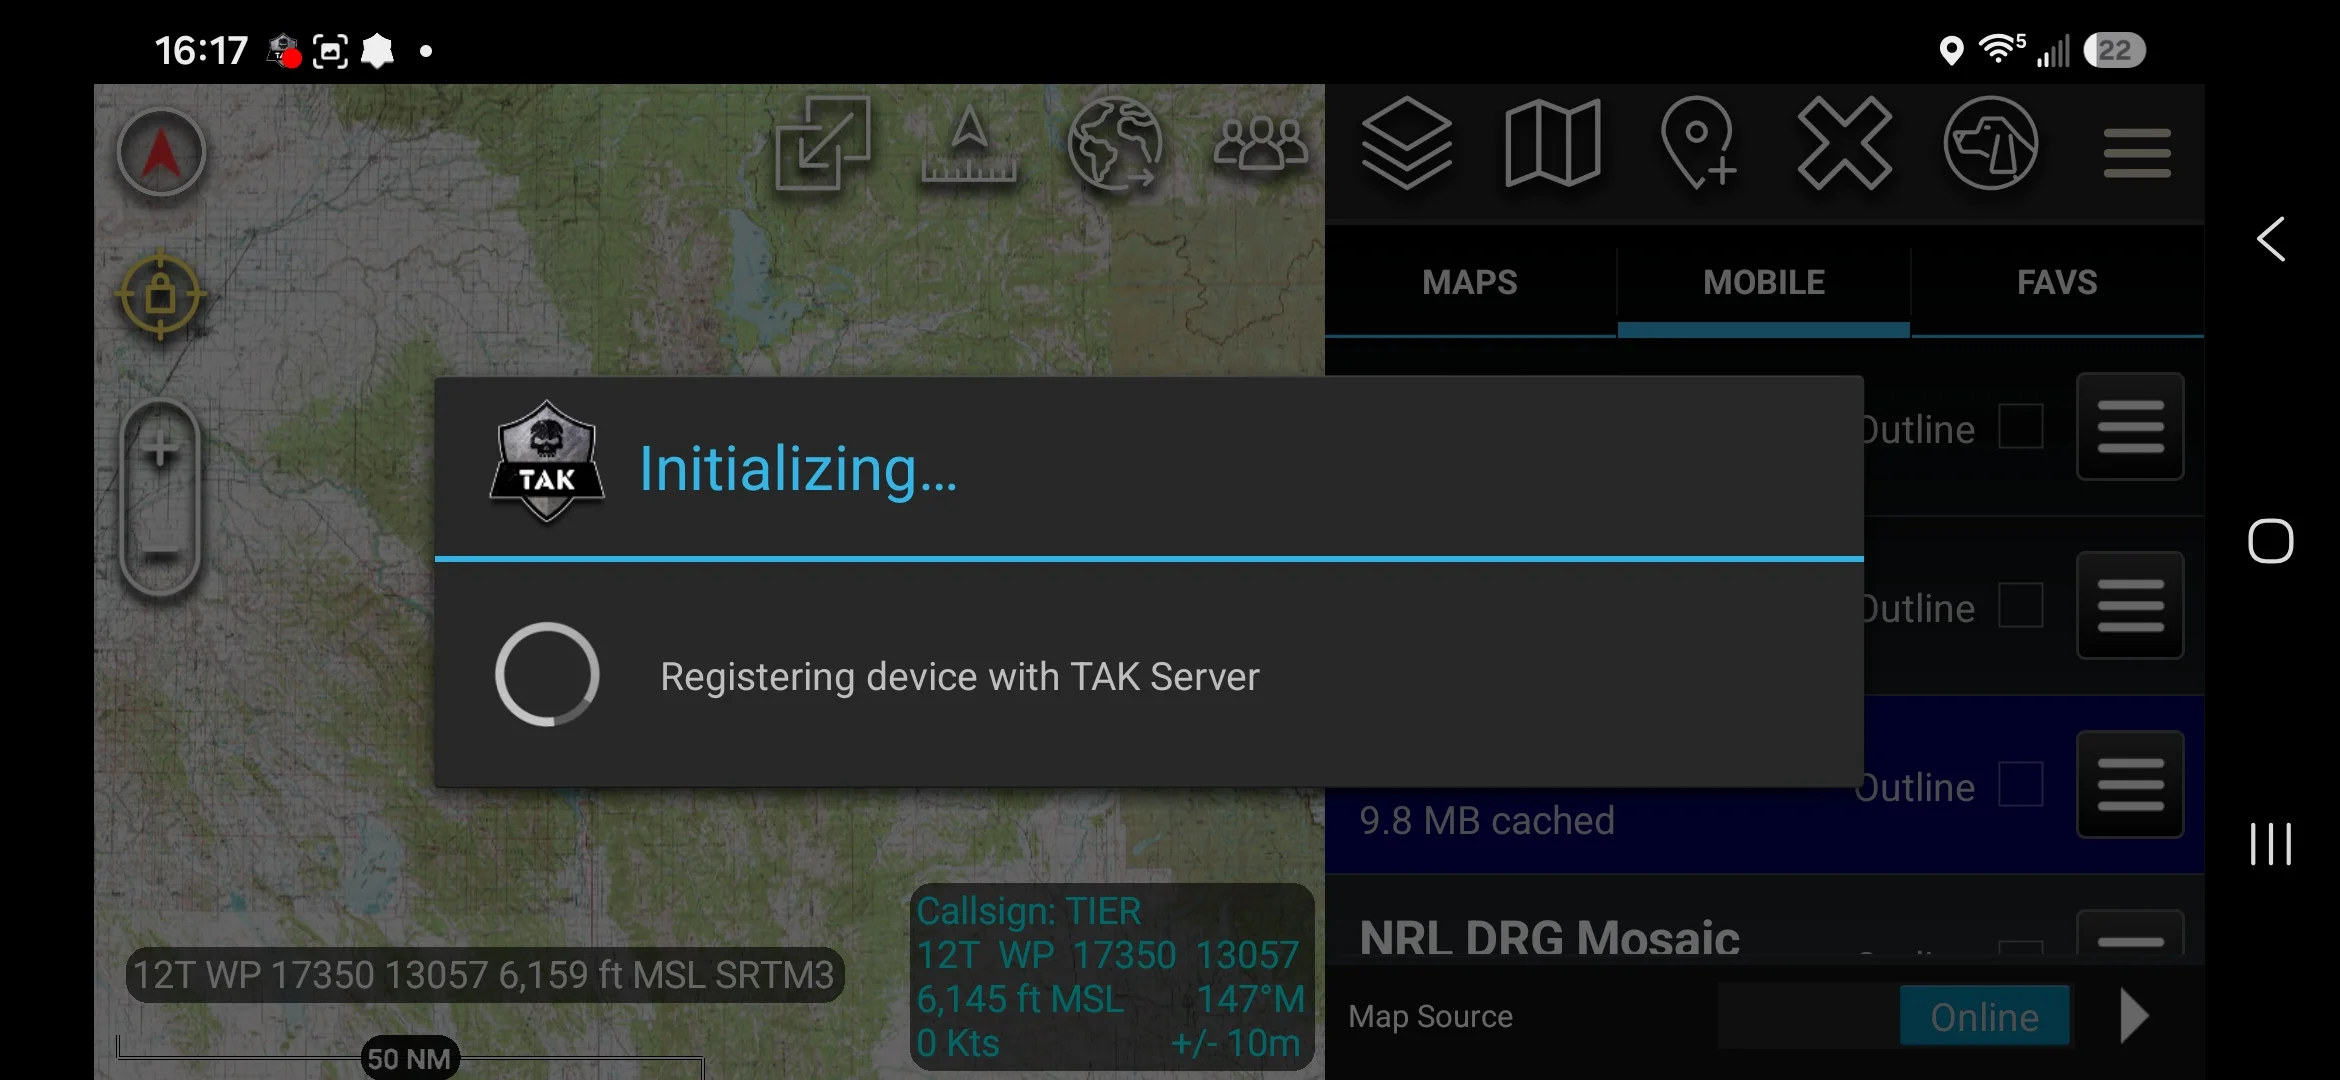
After you log in, you're returned to ATAK, which shows Initializing… Registering device with TAK Server. Wait for it to finish.
-
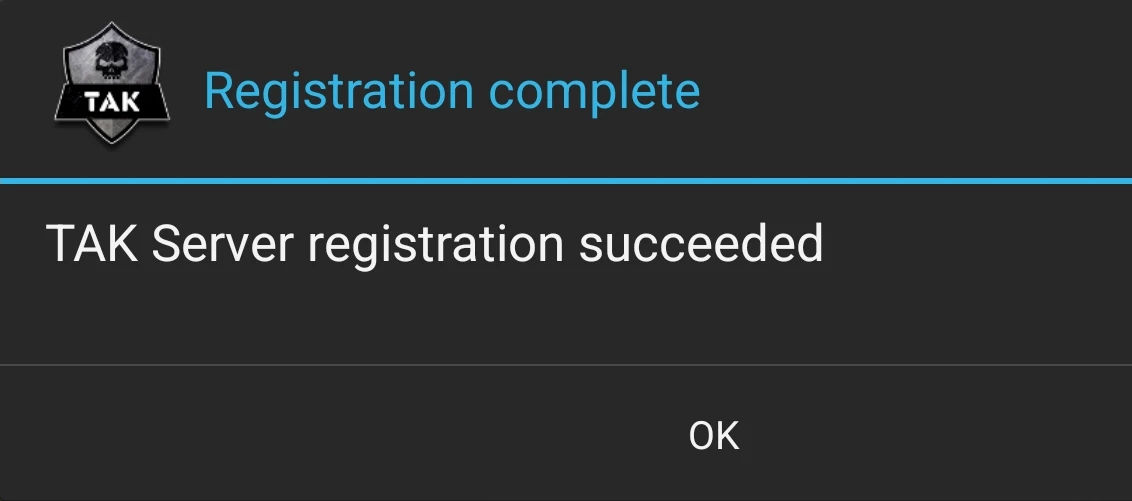
When registration finishes, a Registration complete message reads TAK Server registration succeeded. Tap OK. You are now authenticated to the MCHMR TAK Server.
Troubleshooting
- Registration doesn't succeed after logging in: you should see TAK Server registration succeeded (Step 18). If not, check the two preferences below and try again from Step 9.
- Login fails with a registration error: double-check Username claim is set to the literal value
email(see Step 7). - Certificate errors when connecting: confirm Select truststore is set to Trust all certs (see Step 8).
- AuthFlow isn't listed in the Auth Flow menu or preferences: confirm AuthFlow 1.1 is installed — see Upgrading to AuthFlow 1.1.
Related modules
- Upgrading to AuthFlow 1.1
- AuthFlow 0.1 Configuration (previous version)
- Installing ATAK