Updating the WaveRelay Key on the MPU5
Overview
The WaveRelay key is the mesh network's core encryption key — every node needs the same key to see and talk to the rest of the network. This procedure updates the WaveRelay key on an MPU5 node from the Security > Key Management screen.
Two common reasons to do this:
- Bringing a new or replacement node onto an existing network — copy the WaveRelay key off an already-configured node and enter it on the new one.
- Rotating the key on an existing network — generate a fresh key and push it out.
This is a different key from the one used to set up Cloud Relay. See Setting Up Cloud Relay on the MPU5 for the separate Preshared Key used for that gateway connection — updating one does not affect the other.
Prerequisites
- The MPU5 radio is powered on and reachable at its local IP address
- You have the local admin password (Management Password) for the radio's web management interface
- You have the WaveRelay key you intend to use on hand — either copied from an existing node's Key Management screen (use the eye icon next to that node's WaveRelay Key field to reveal and copy it) or ready to generate fresh with the Generate button
- You know whether this update should apply to this node alone or to other nodes as well, and — if it's more than just this node — you've confirmed this node's Node List (its list of other managed nodes) is accurate before you save; see the warning in Step 3
Steps
Step 1: Log in to the Wave Relay Management Interface
If you haven't already physically connected a management computer to the MPU5 and reached its Web Management Interface, see Connecting to an MPU5 first.
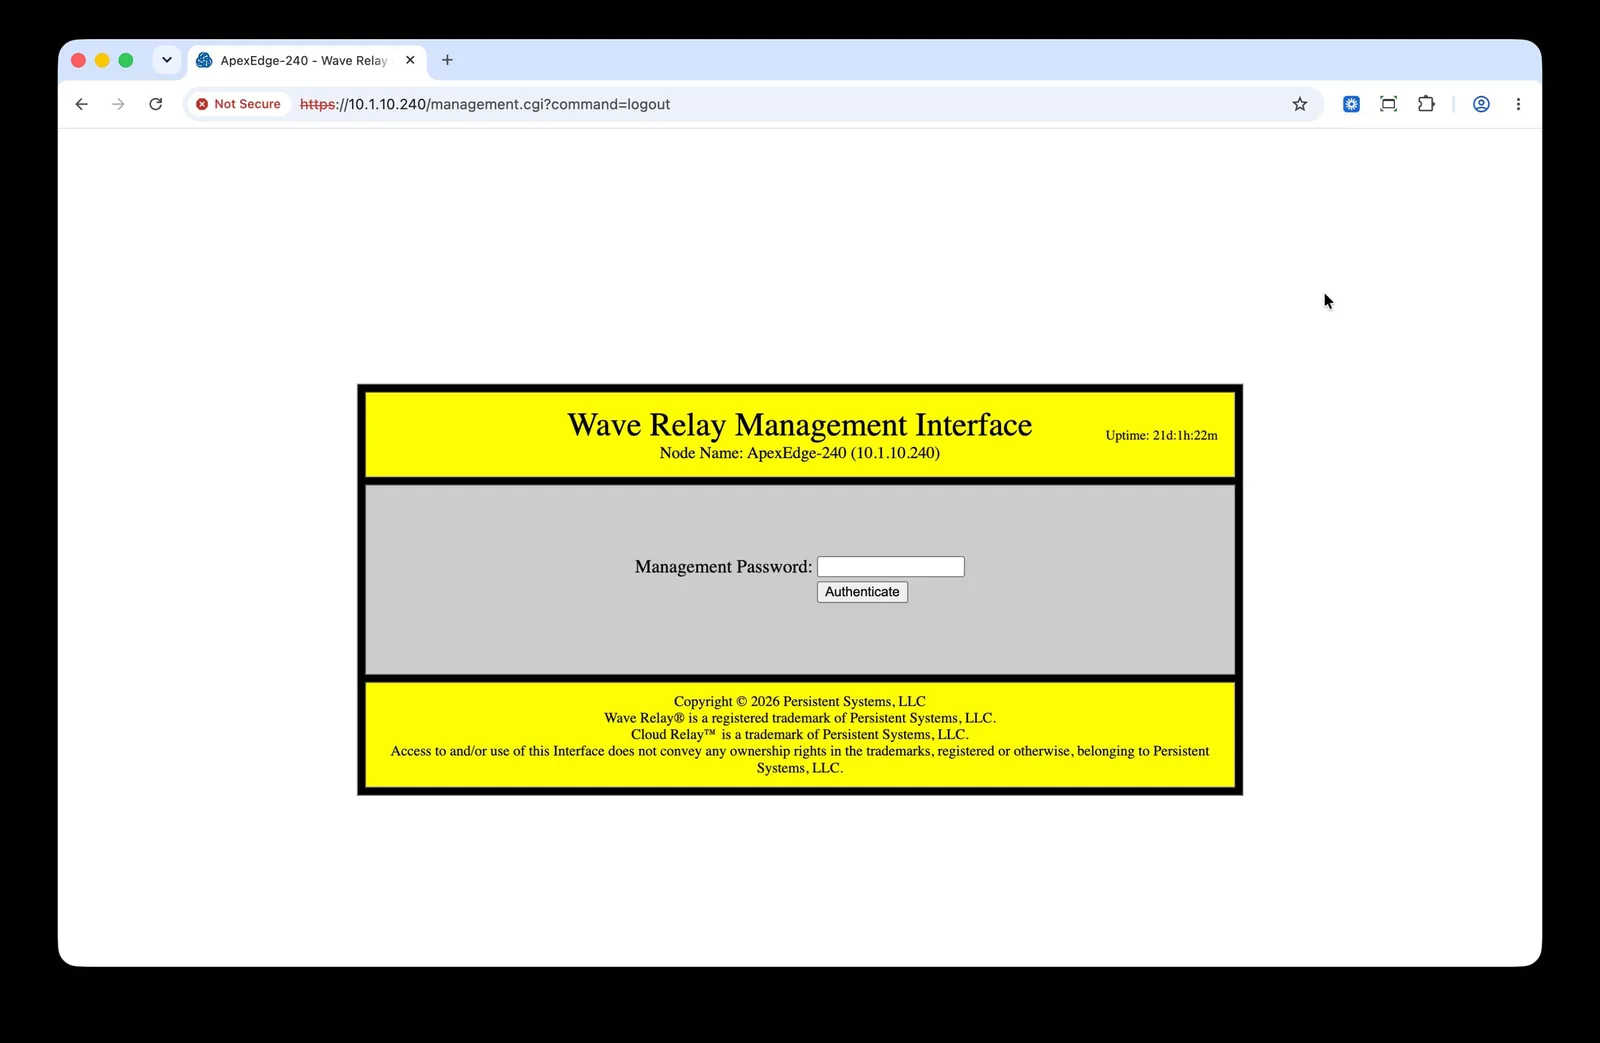
- Open a web browser and navigate to the MPU5 radio's local IP address (or, for a remote node, select it from MANET Monitor).
- Enter your Management Password and click Authenticate.
Step 2: Open Key Management
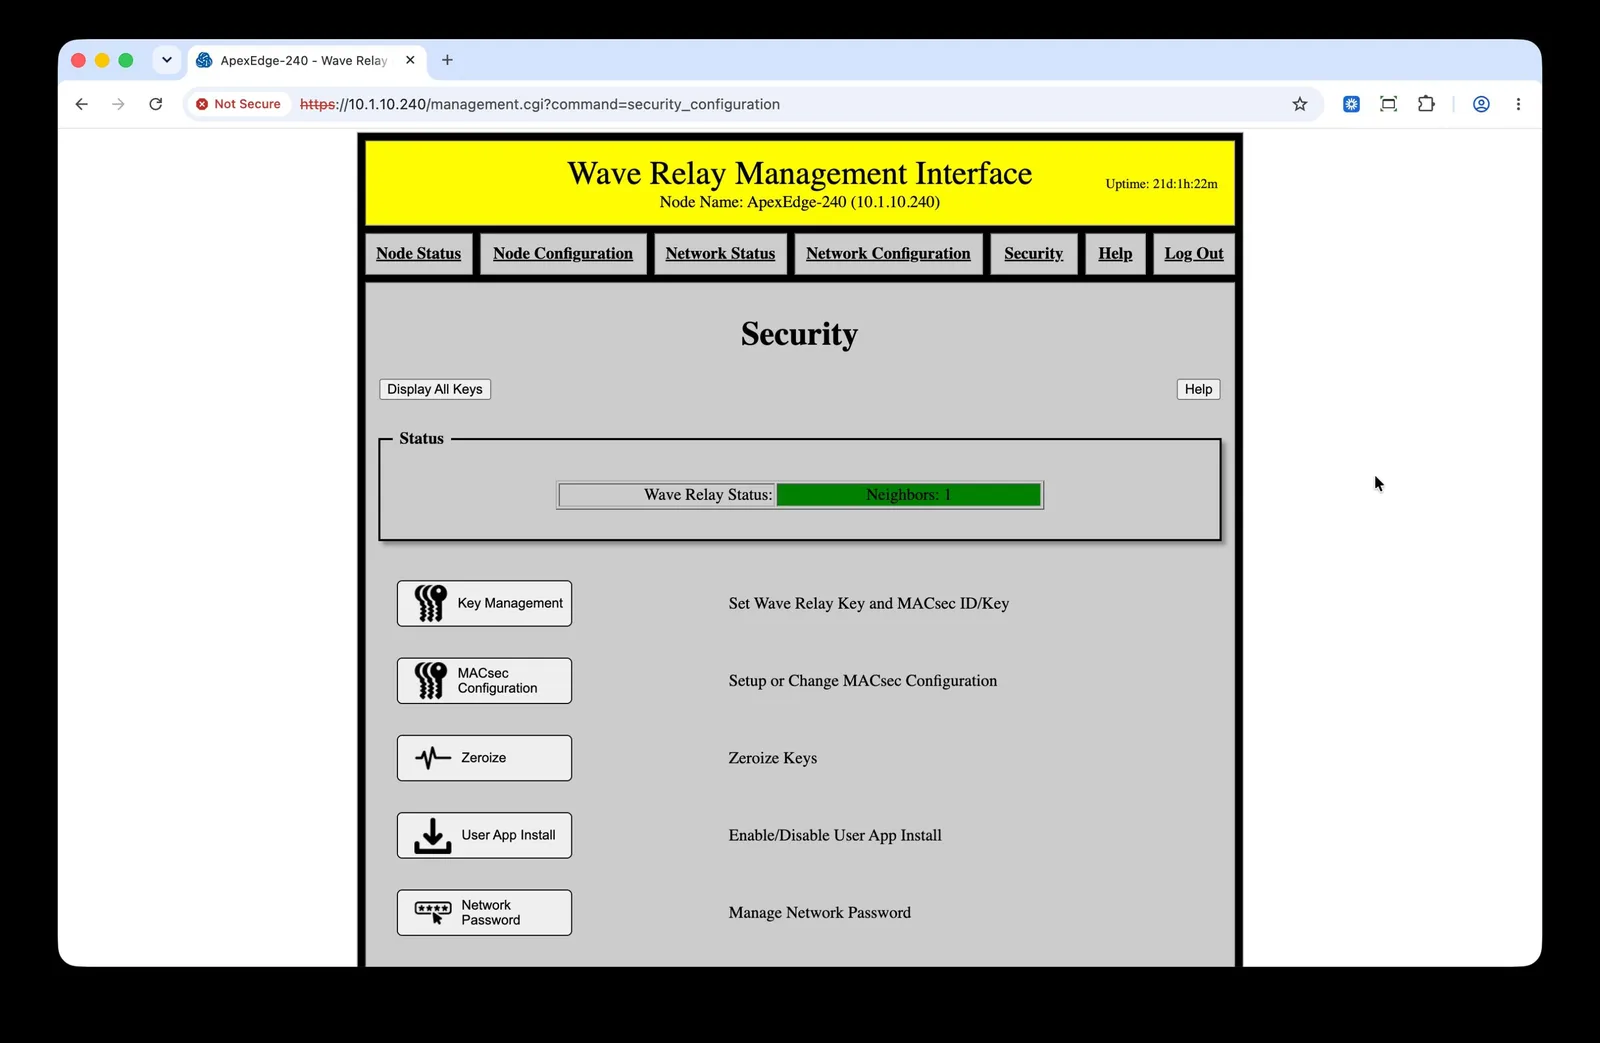
- Navigate to Security in the top menu.
- Click Key Management — "Set Wave Relay Key and MACsec ID/Key."
Step 3: Enter or generate the WaveRelay key
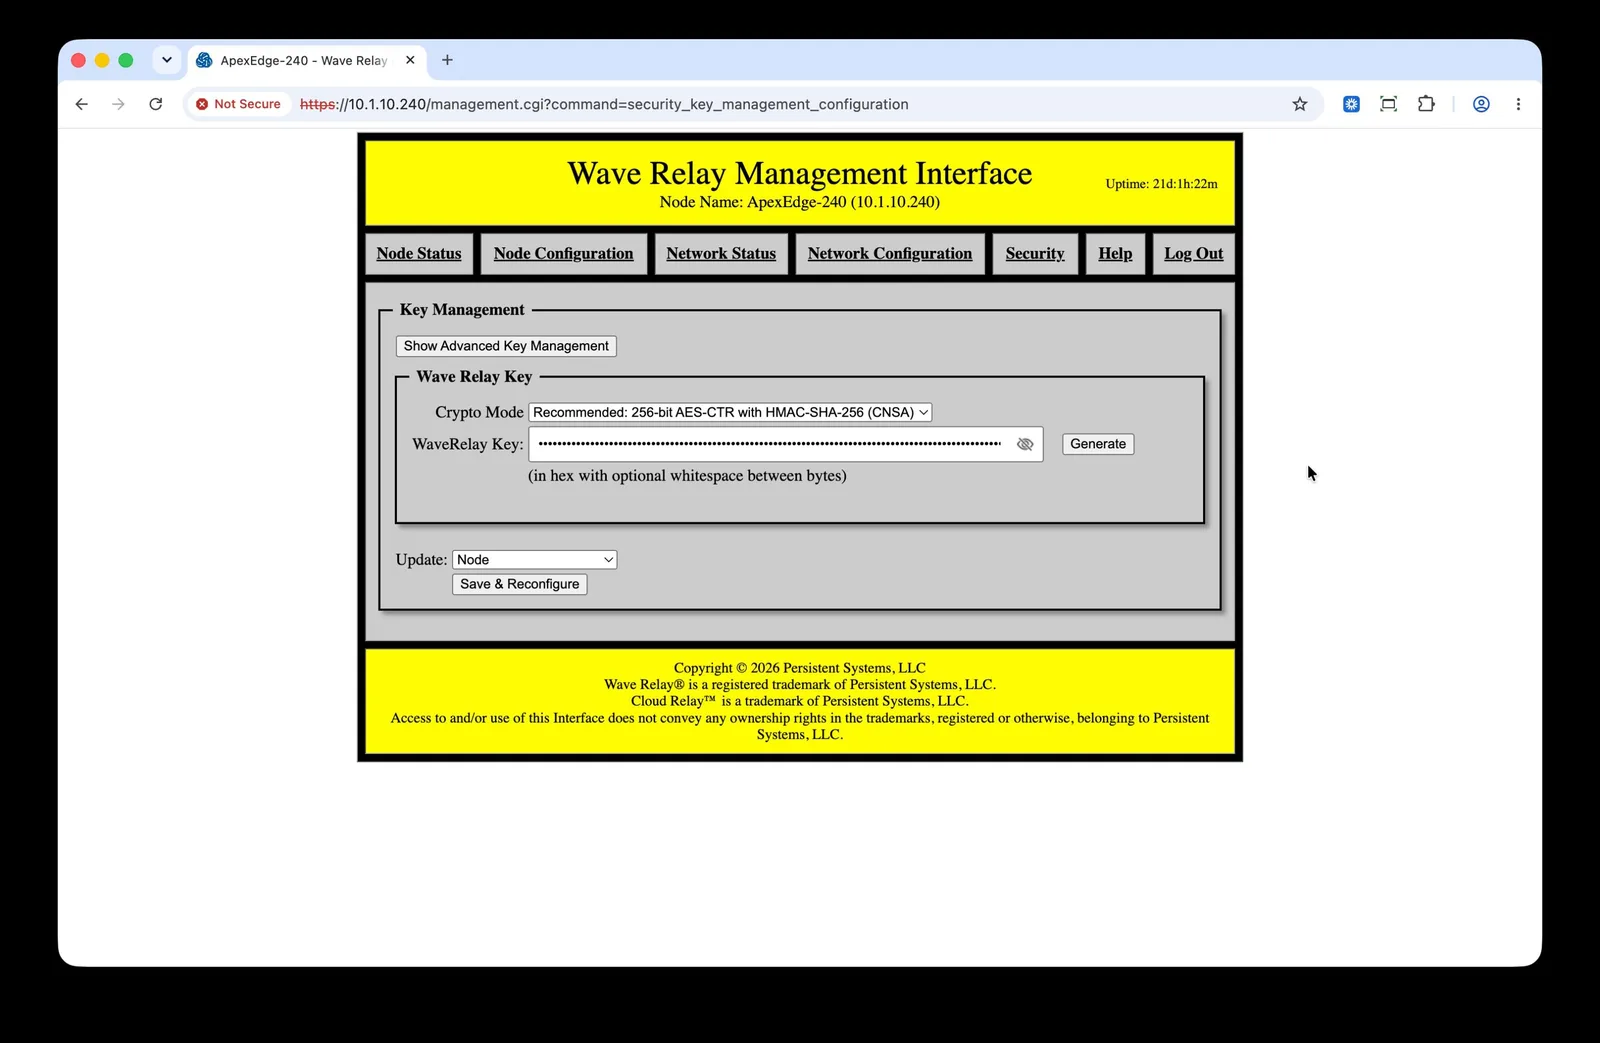
- On the Key Management screen, confirm Crypto Mode matches what the rest of the network uses (default: Recommended: 256-bit AES-CTR with HMAC-SHA-256 (CNSA)) — don't change this unless your network administrator has told you to.
- In the WaveRelay Key field, either:
- Paste in the key copied from an existing, already-configured node, or
- Click Generate to create a brand-new key.
- Set Update to the scope you intend for this change:
- Node — updates only the node you're currently logged into.
- Network - require all — updates every node on this node's Node List at the same time; if any listed node can't be reached, the update does not go through.
- Network - any available — updates whichever nodes on the Node List are currently reachable, skipping the rest.
Select Node unless you've confirmed this node's Node List is correct. Either Network option pushes the new key to every reachable node on this node's Node List — not just the ones you have in mind. If that list includes nodes you didn't intend to touch (or is missing ones you did), a network-scoped update will re-key the wrong set of radios. Review the Node List before choosing anything broader than Node.
Step 4: Save and reconfigure
- Double-check the WaveRelay Key value and the Update scope you selected.
- Click Save & Reconfigure.
This procedure is complete once all of the following are true:
- The node reconnects, and the Security page's Wave Relay Status panel shows the expected neighbor count
- Any other nodes you intended to update also come back online with the new key
- No nodes you didn't intend to update show a dropped or mismatched connection
Troubleshooting
- Node drops to 0 neighbors after saving: the new WaveRelay key doesn't match the rest of the network — confirm you copied or generated the correct key, and that every node meant to be on this network has the same key entered.
- Nodes you didn't mean to touch lost connectivity: the Update scope was likely set to Network - require all or Network - any available with an inaccurate Node List — check which nodes were actually on that list before you saved, and coordinate with Apex Edge before re-running this on affected nodes.
- Still not connecting: contact Apex Edge for support at support@apexedge.cloud.