Neros Archer TAK Setup
Overview
Covers connecting a Neros Archer UAS ground station to ATAK through the UAS Tool plugin, then configuring that connection to broadcast the drone's video feed to MCHMR so it's viewable in TAK.
Prerequisites
- ATAK is already installed on your Android device and you're logged in.
- The Neros Ground Station is powered on and ready to connect.
- You know the drone's name (e.g.
ARCHER2) — you'll need it to build the broadcast identifier.
Steps
Part 1: Initial UAS Tool Configuration
Step 1: Open the UAS Tool plugin
- Tap the hamburger menu, then find UAS Tool in the Tools panel (scroll down if it's not visible, or tap its icon directly from the main toolbar if it's already pinned there).
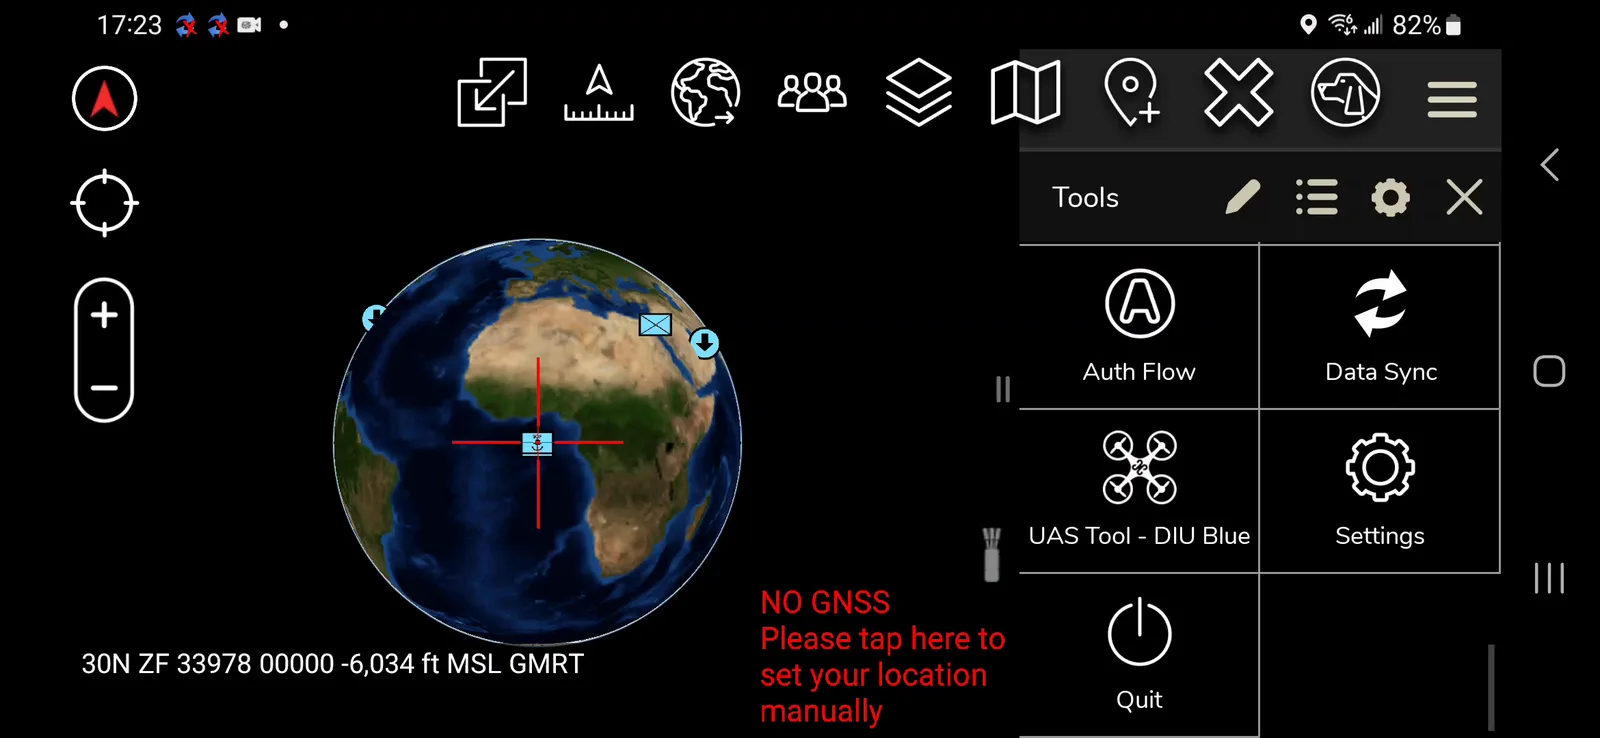
If the Neros Ground Station connection was already set up previously, you can instead just plug the phone into the ATAK port on the GCS, wait a few seconds, and tap the play button that appears — skip ahead to Part 2: Initial Broadcast Setup. Otherwise, continue below to set it up for the first time.
Step 2: Add the drone
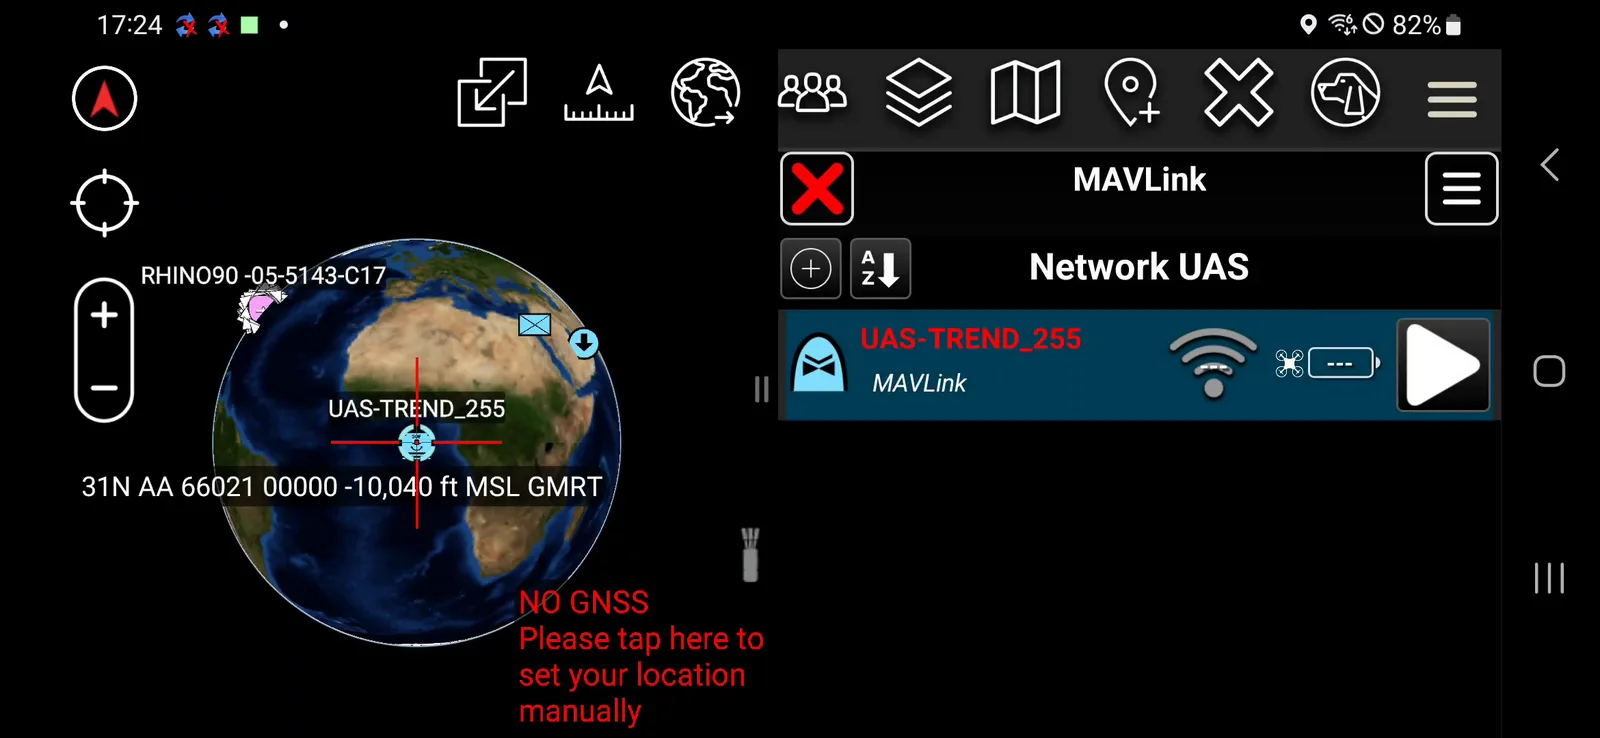
- Tap the + icon to add a new platform, and set Platform to MAVLink.
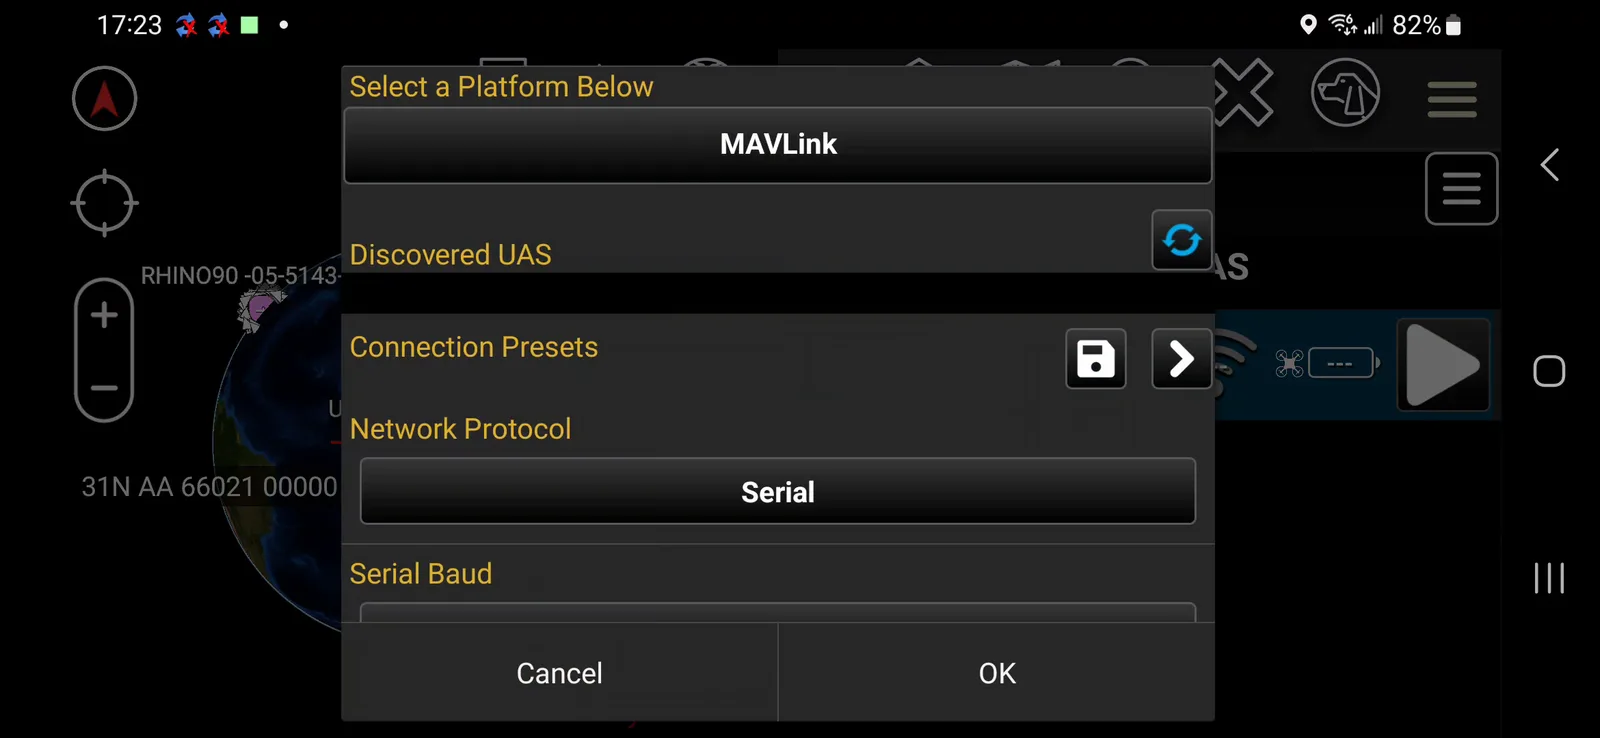
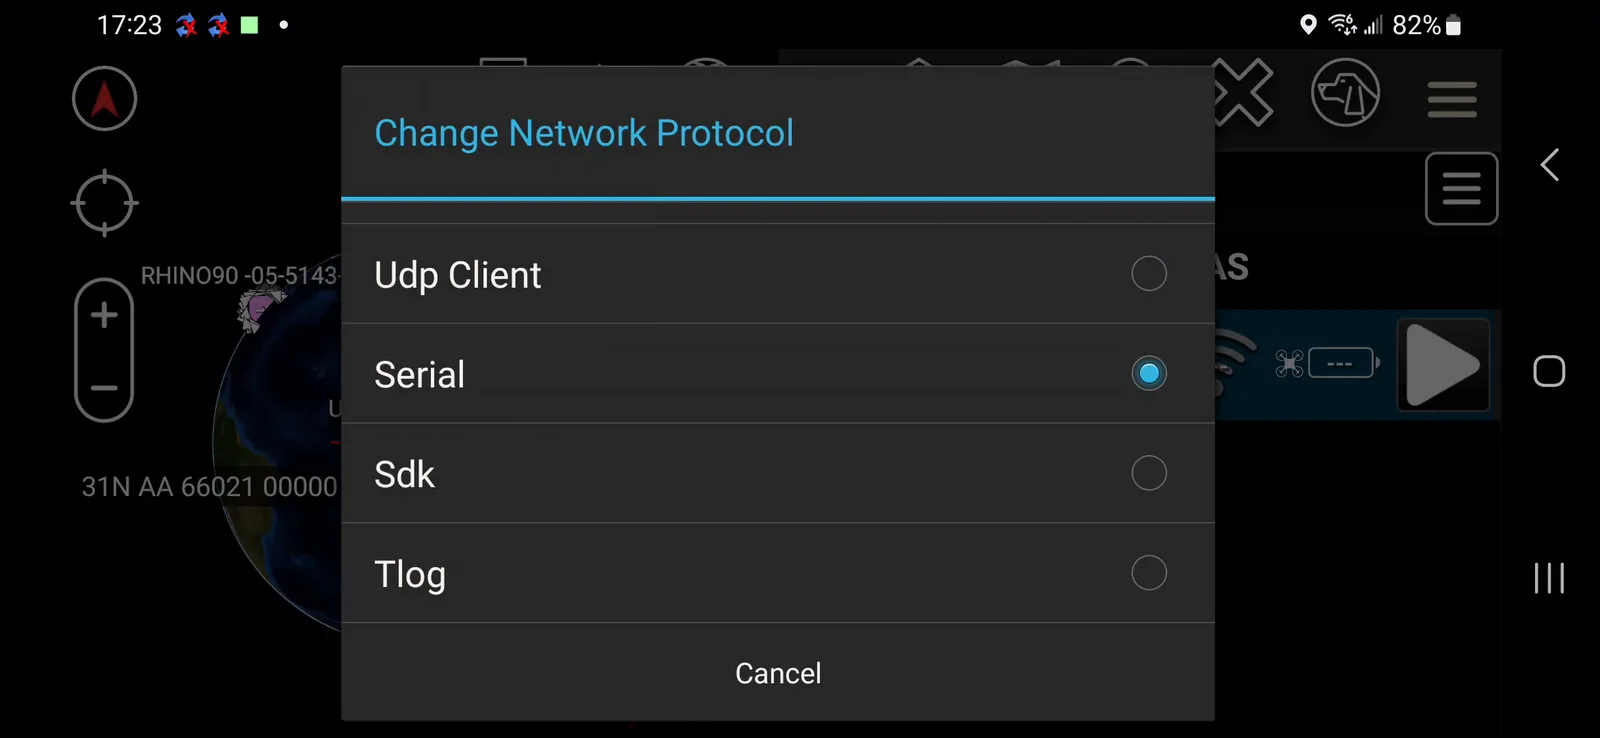
- Set Network Protocol to Serial.
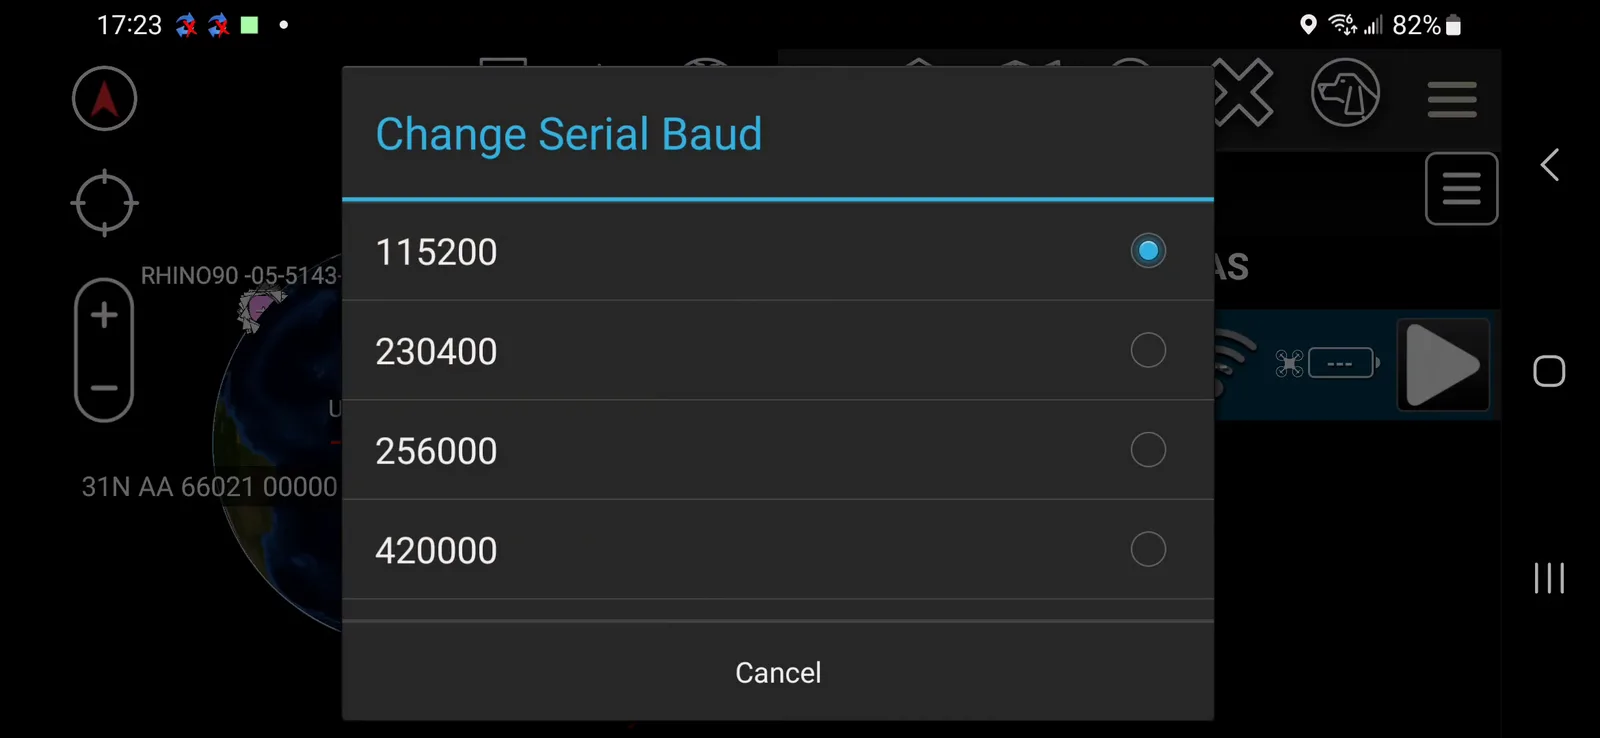
- Set Serial Baud to 115200.
- Set Serial Device to Neros Ground Station.
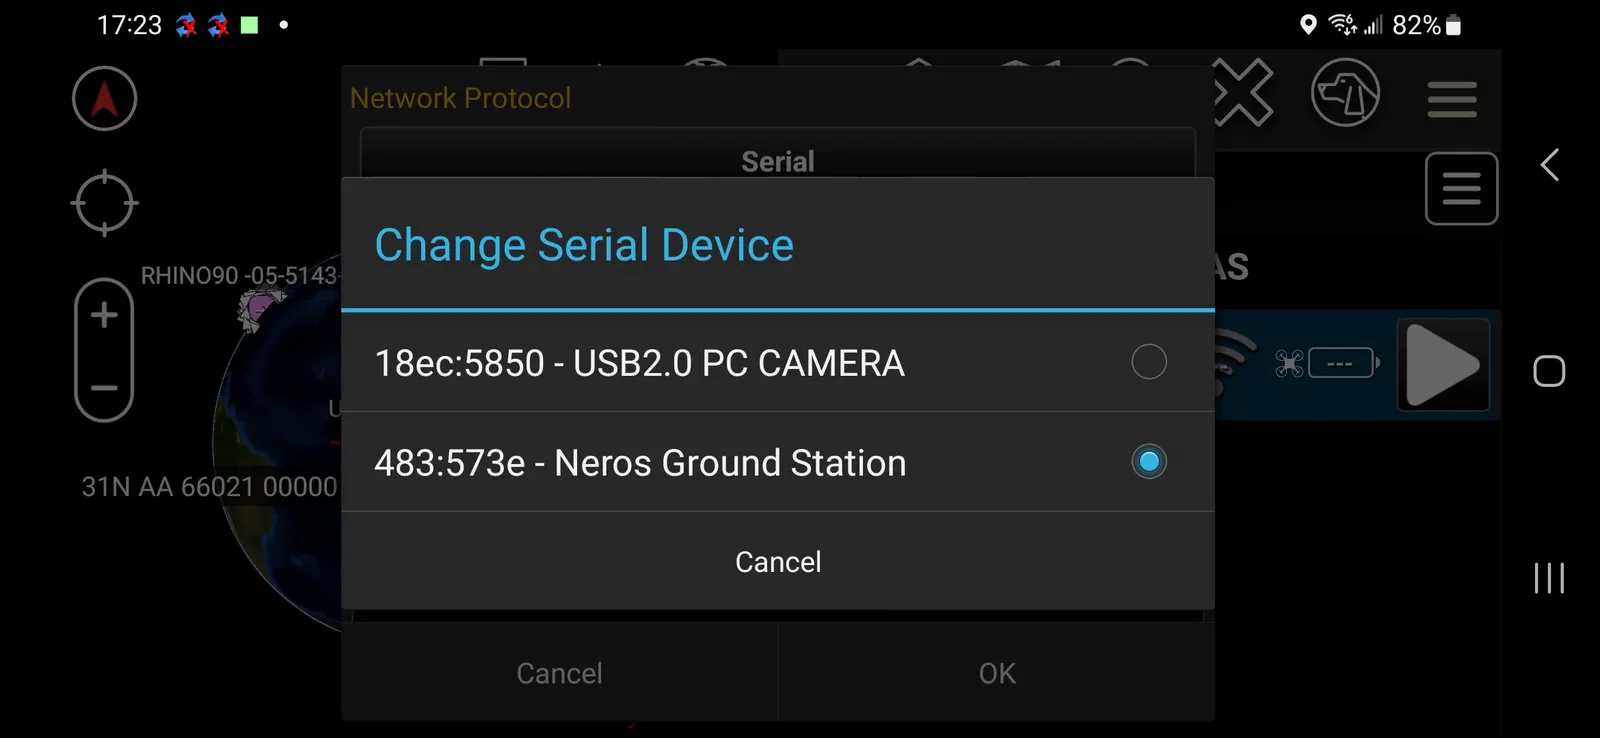
- Set Camera Component to USB Camera, and Video Source Adapter to USB2.0 PC Camera.
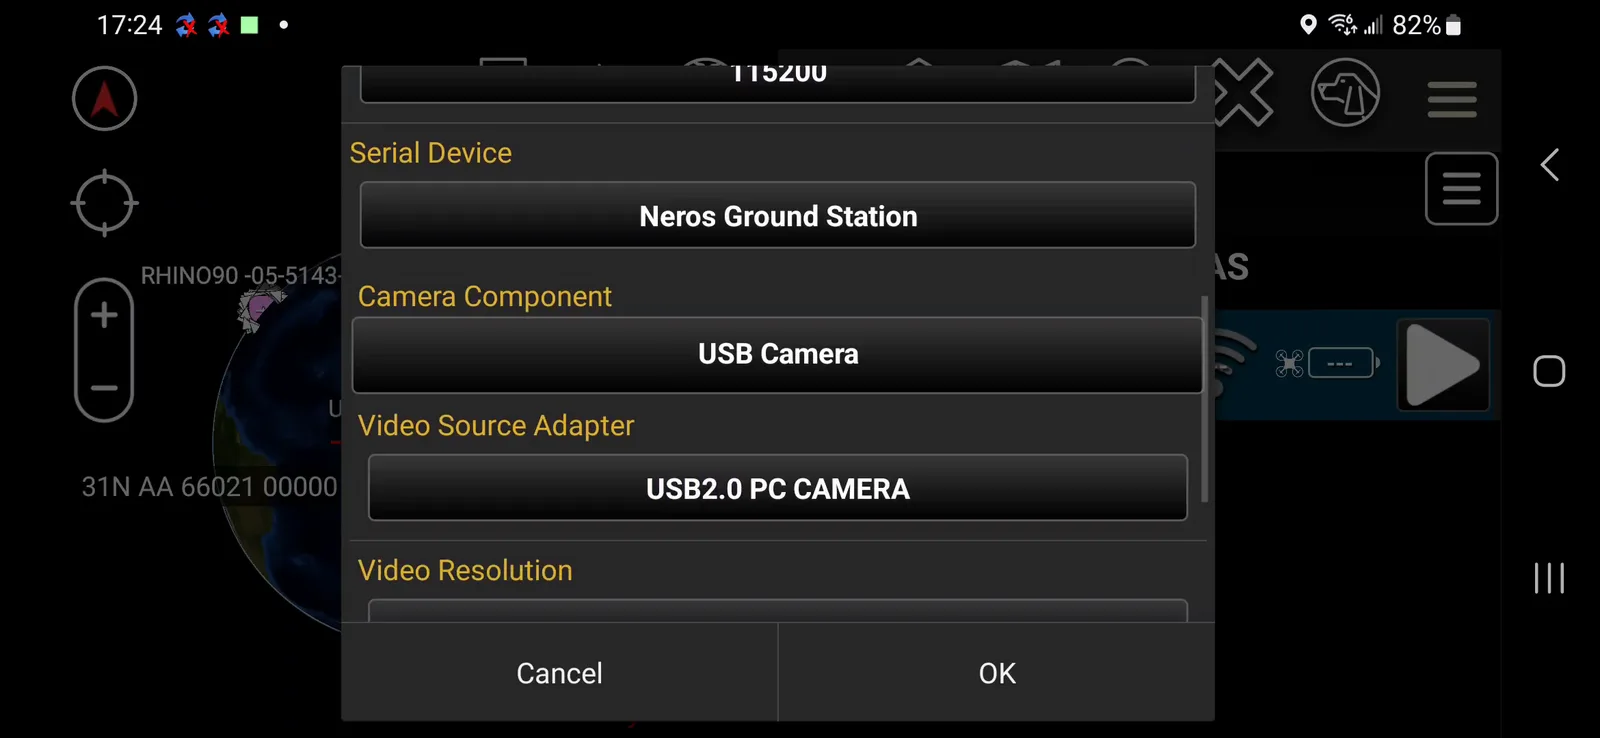
Serial Device automatically populates with Neros Ground Station once the phone is plugged into the GCS's TAK port — you don't need to have it plugged in beforehand, but it has to be connected before you can select it here. Much of this configuration should have options pre-selected or readily selectable; if a field isn't populating correctly, close and reopen ATAK, then unplug and replug the TAK cable. Everything (phone, GCS, ground station) needs to be plugged in with power for this to work.
Step 3: Grant permissions and connect
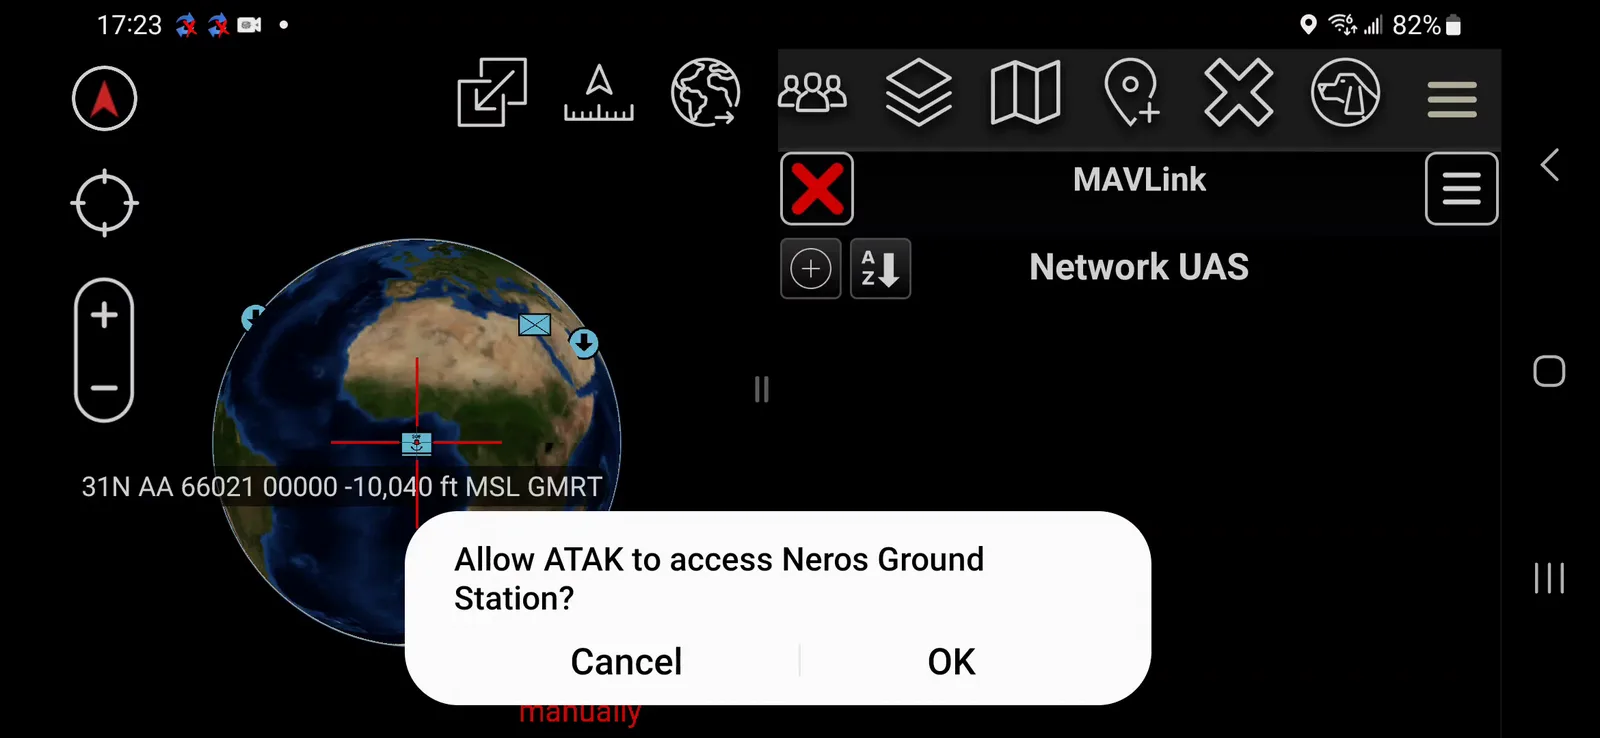
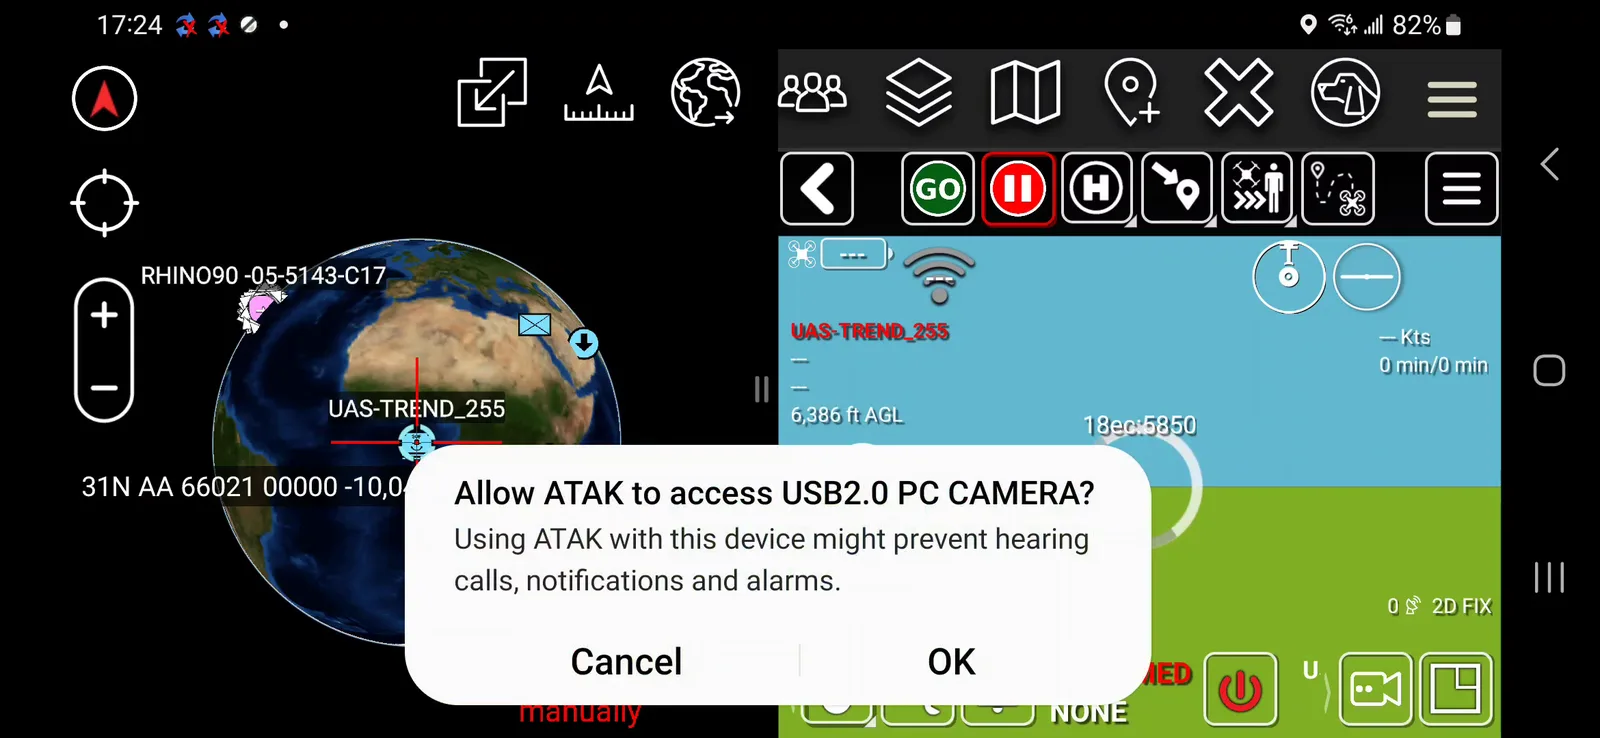
- Tap OK when ATAK prompts for permission to access the Neros Ground Station.
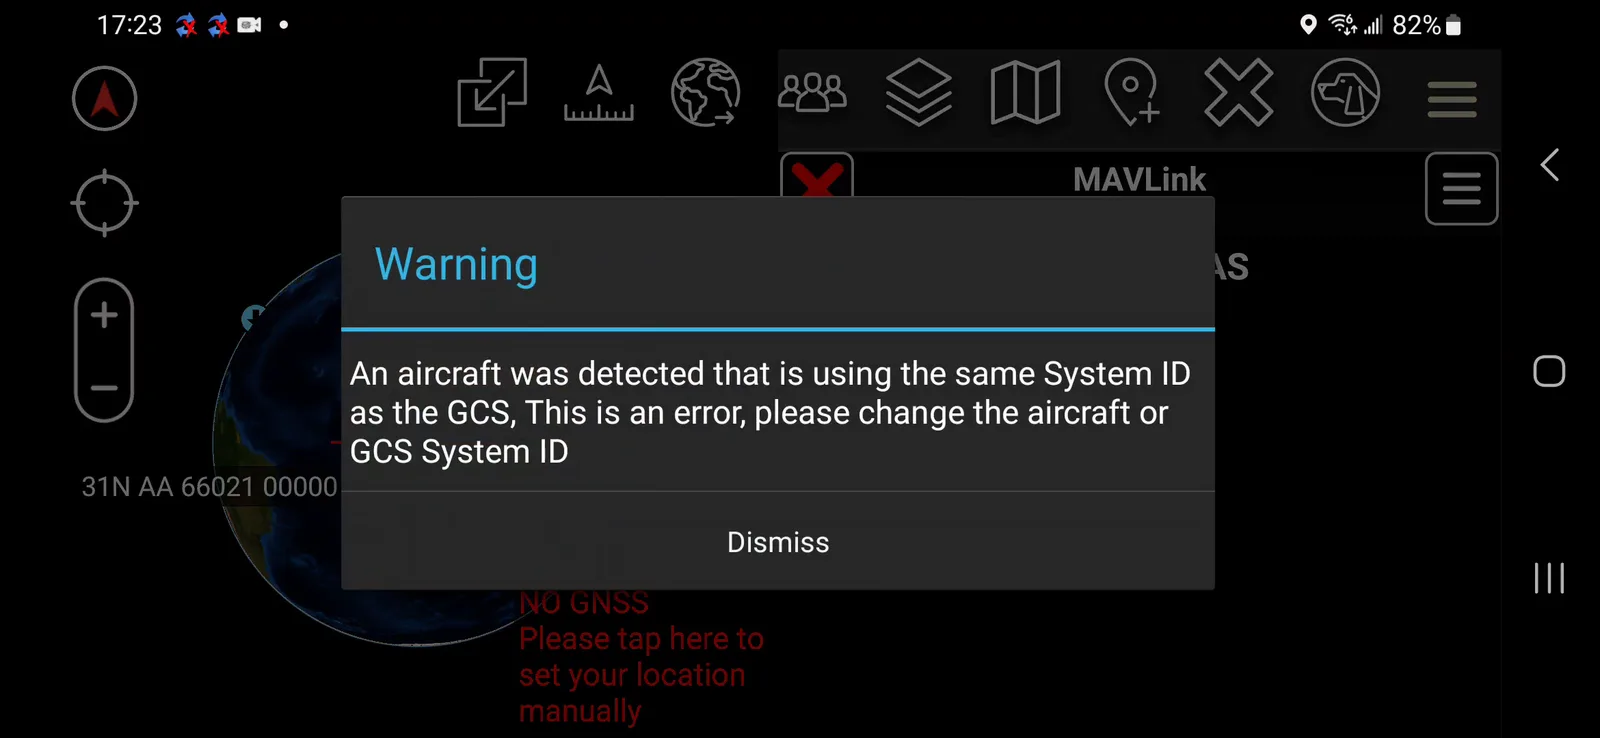
- Dismiss any warning pop-ups that appear (see Troubleshooting below for what one of these means), then tap OK on any remaining connect prompts.
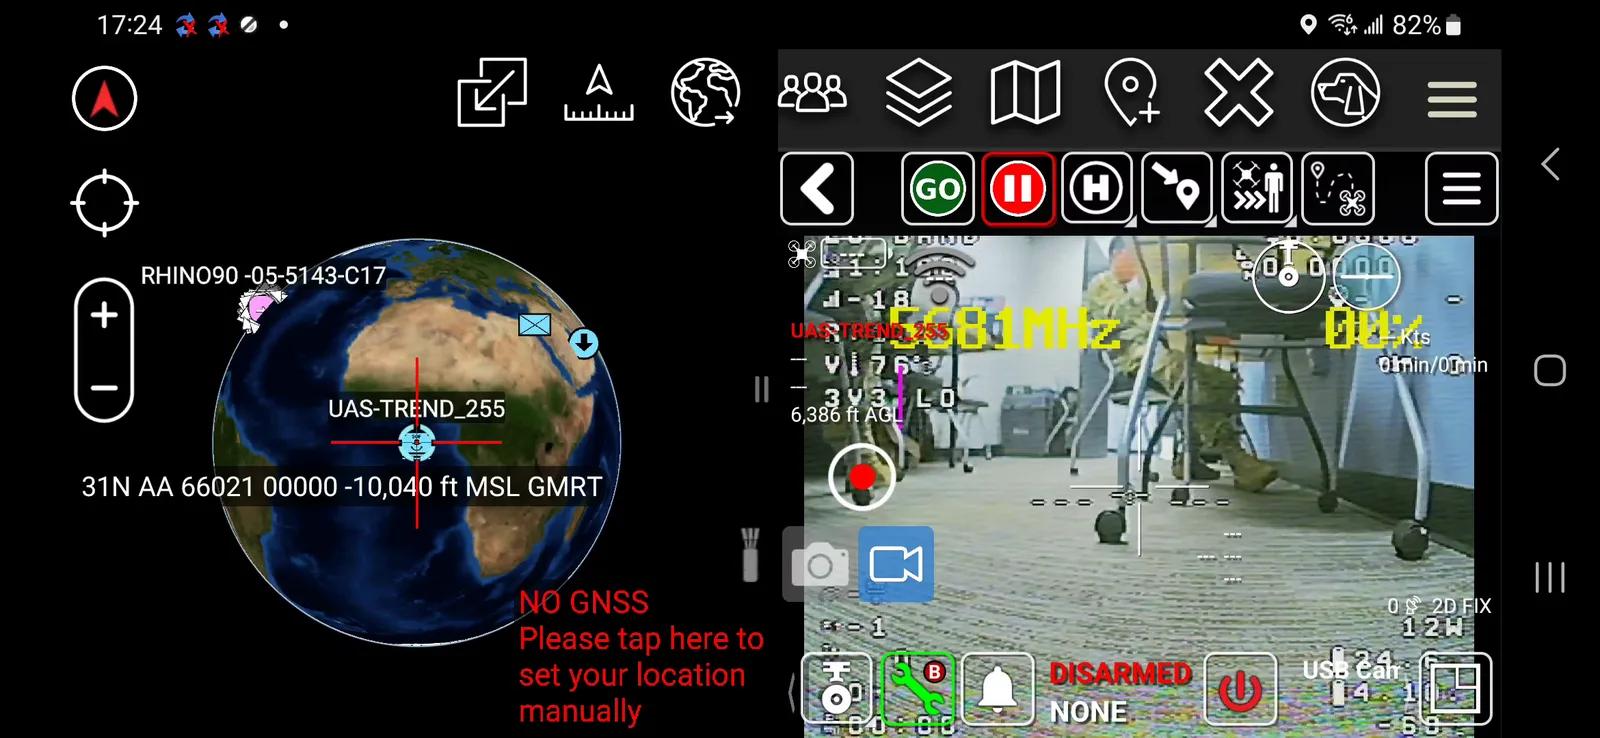
- Once the platform is listed and shows a wifi/connection icon, tap the Play button and wait a few moments for the video feed to appear.
- Tap OK on the camera permission prompt.
- Once connected, the video feed appears alongside the map.
Part 2: Initial Broadcast Setup
Step 4: Open Video Broadcast settings
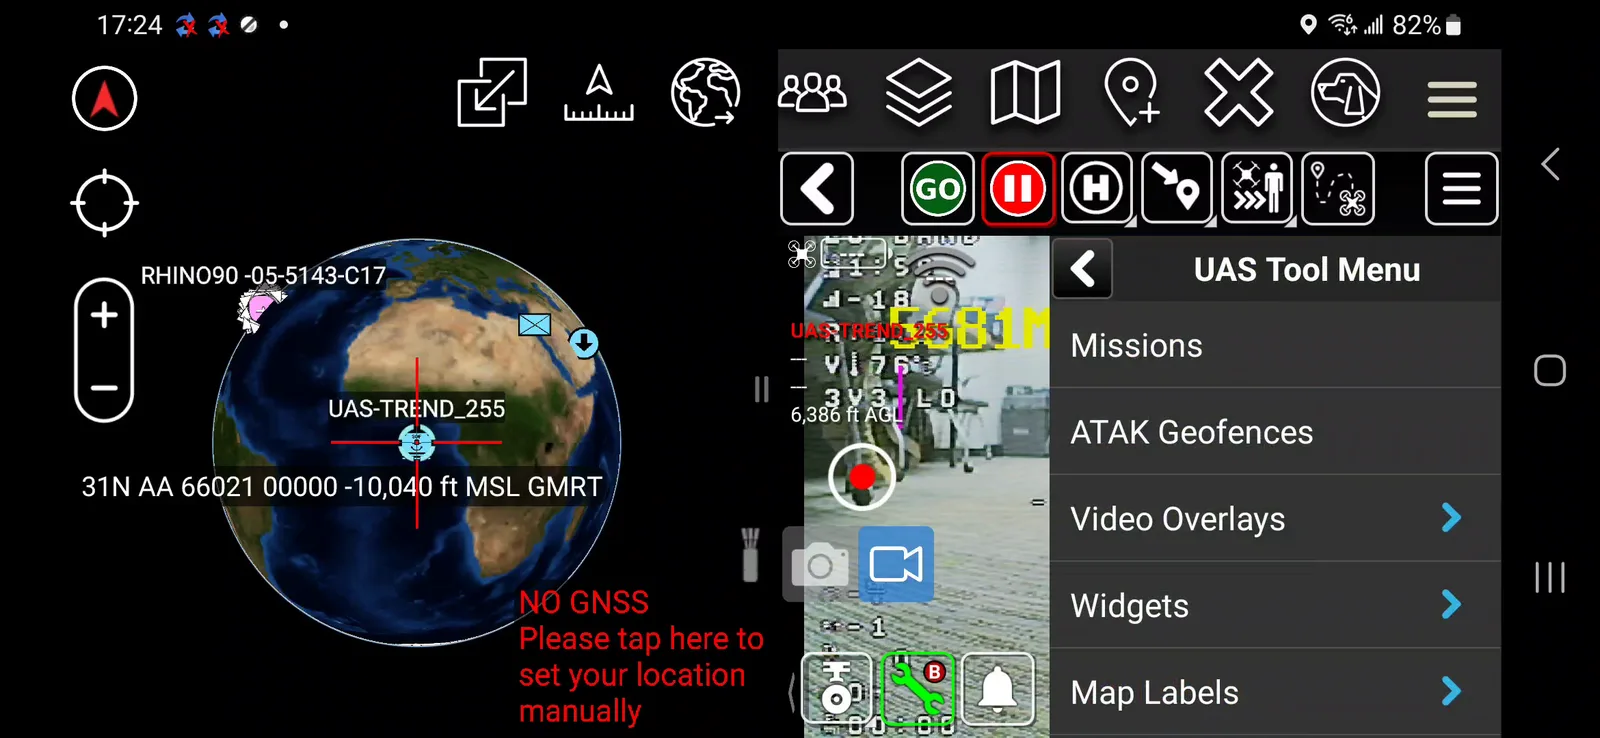
- From the UAS Tool, tap the hamburger icon to open the UAS Tool Menu, then go to Settings → Video Broadcast.
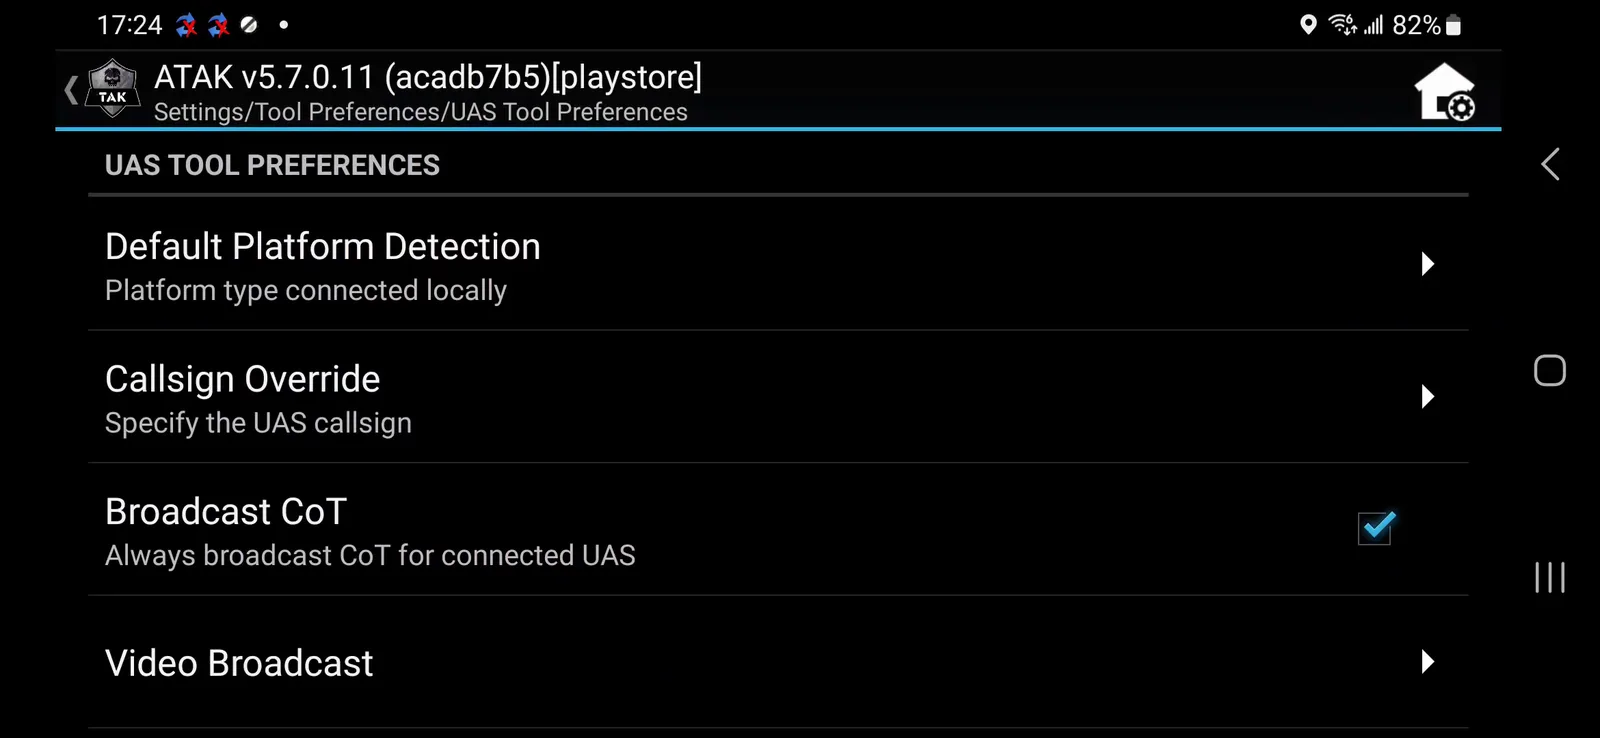
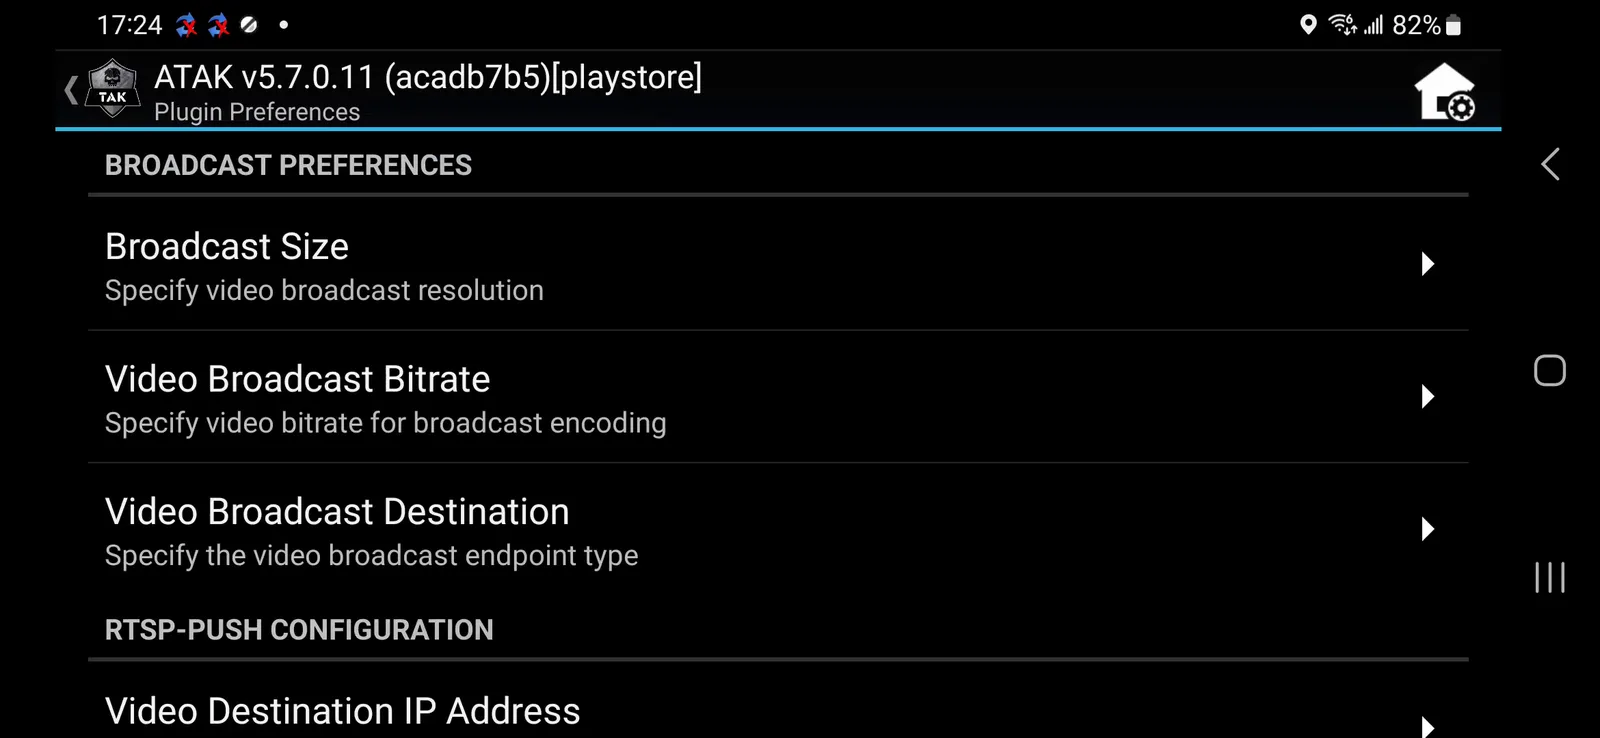
Step 5: Configure the broadcast destination
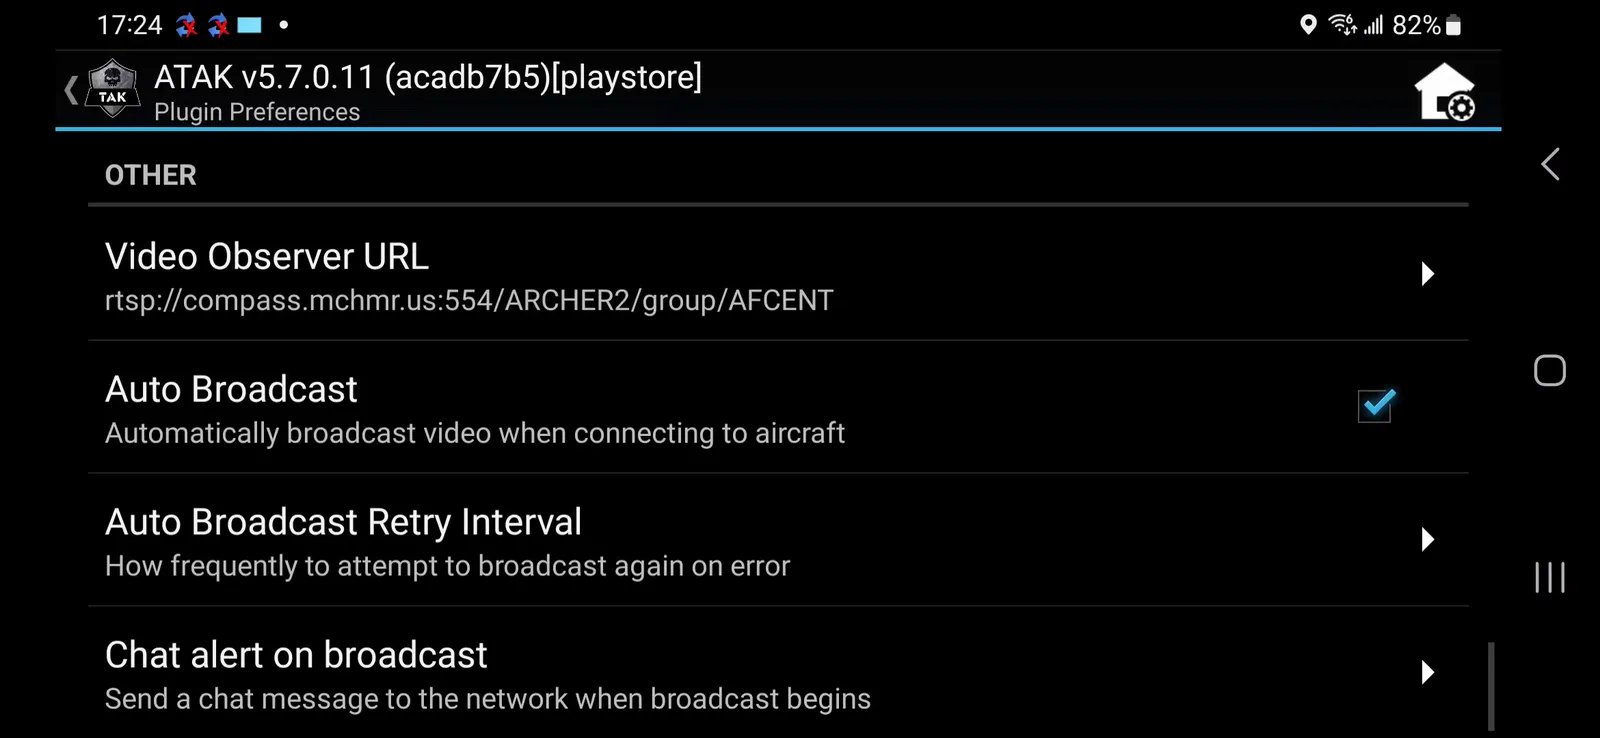
- Set Video Broadcast Destination to RTSP-Push.
- Set Video Destination IP Address to
compass.mchmr.us(the MCHMR server).
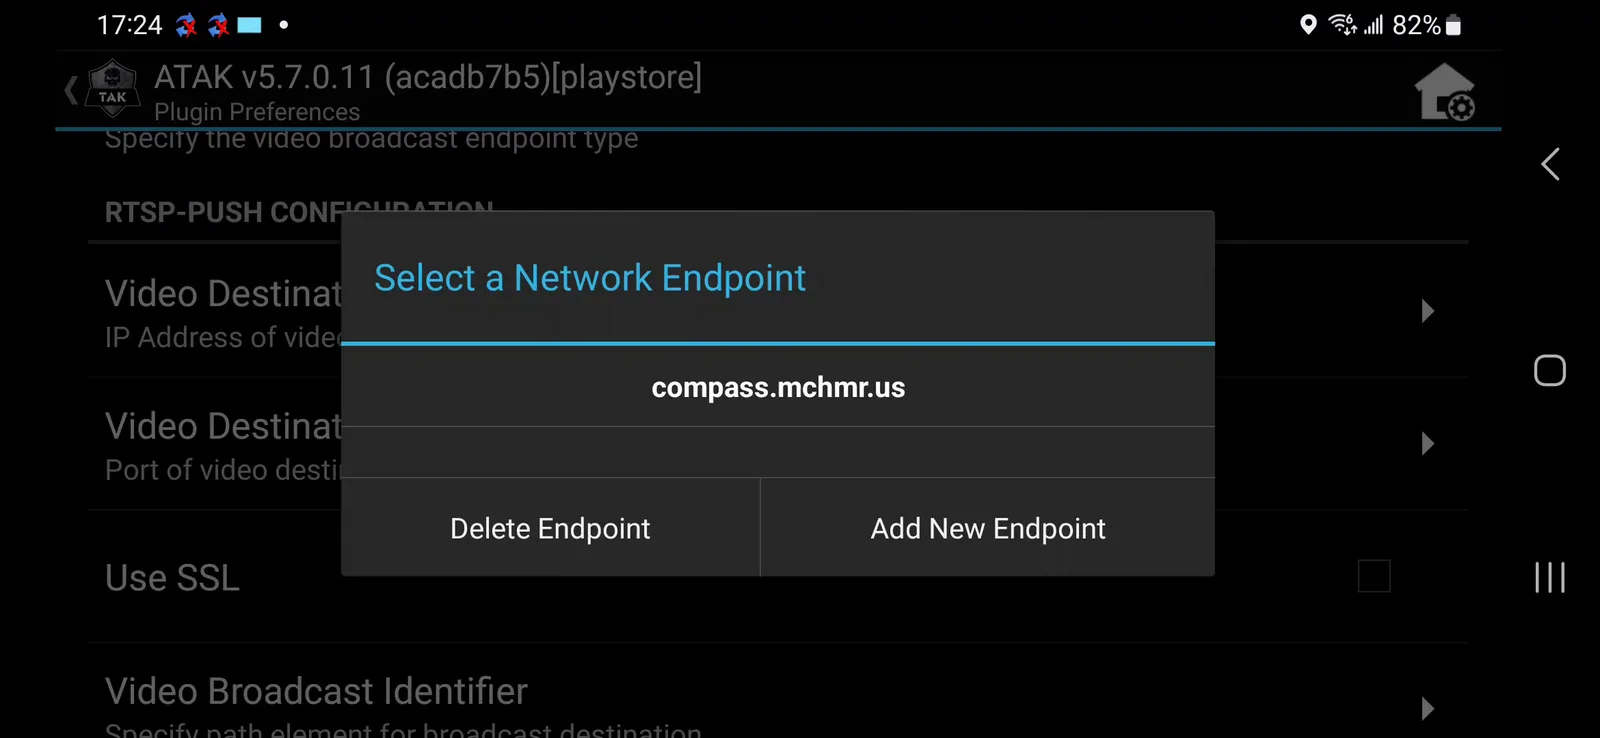
- Set Video Destination Port to
554.
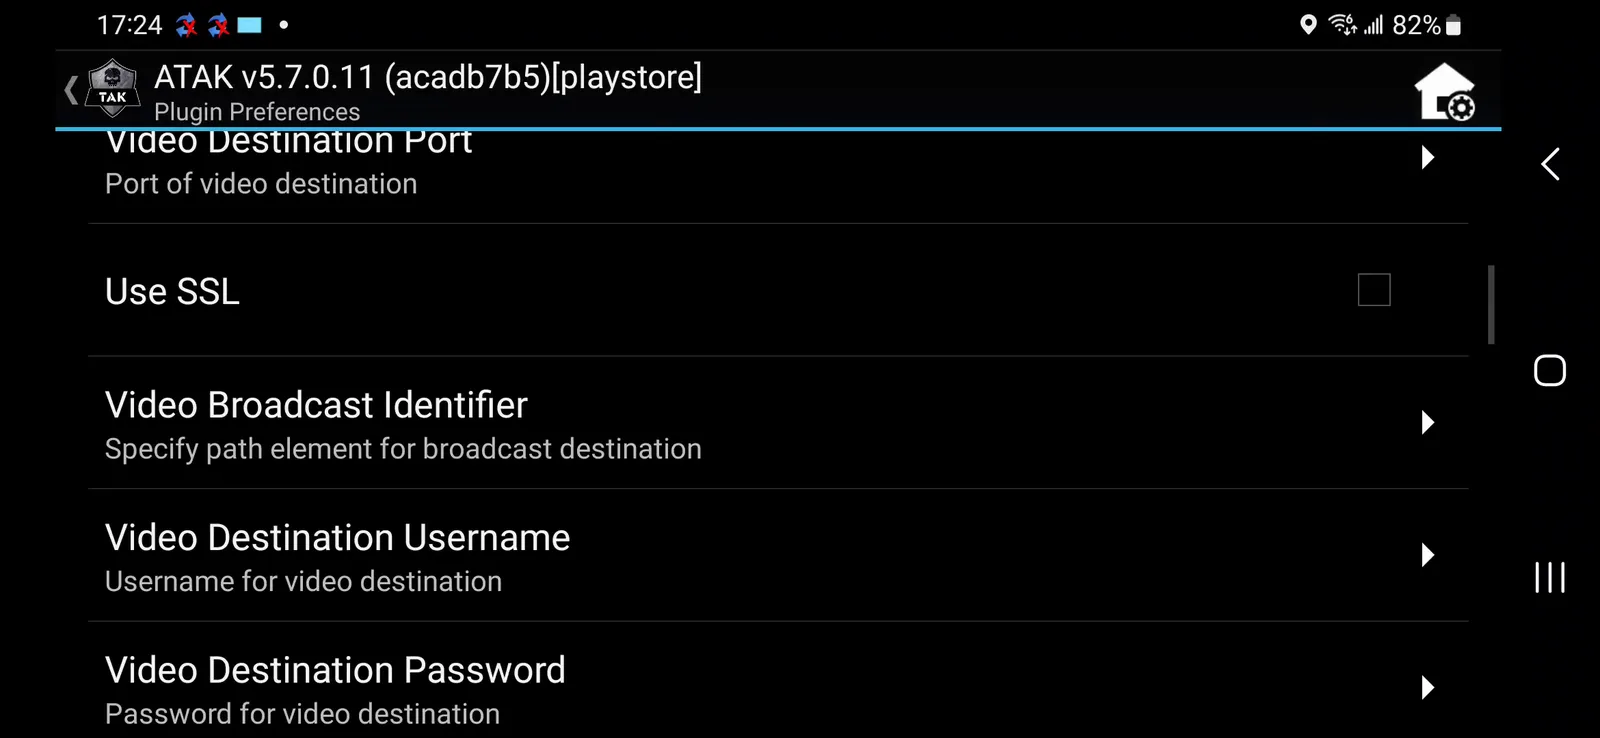
- Set Video Broadcast Identifier to
[drone name]/group/AFCENT— e.g.ARCHER2/group/AFCENT.
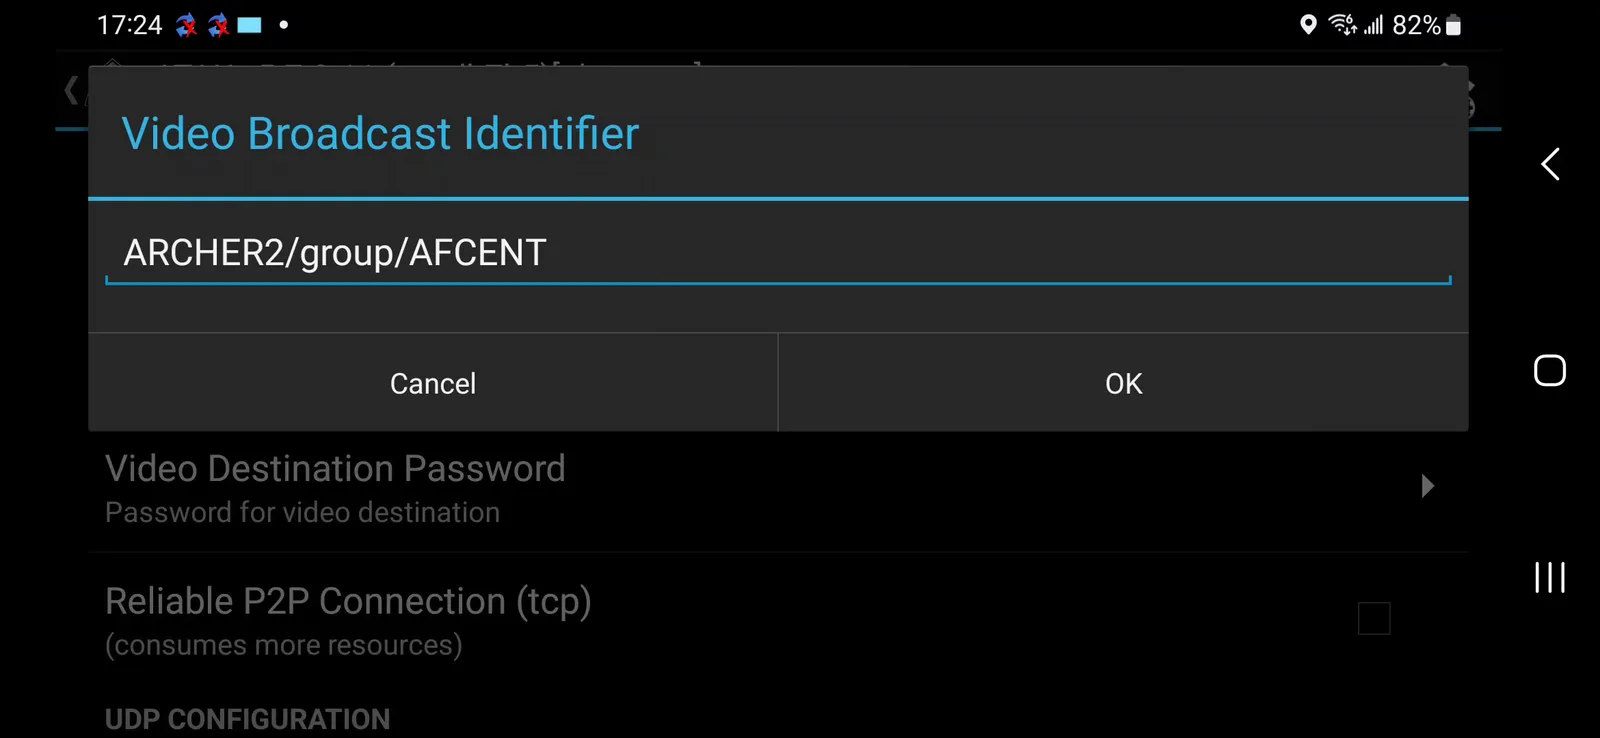
- Leave Video Destination Username and Password unset, and Reliable P2P Connection off.
The Video Observer URL builds itself automatically from the settings above — you don't need to enter it separately.
To View Archer Broadcasts on TAK
Once you've verified the remote site is broadcasting, log into MCHMR and select the appropriate image — this links the stream into TAK.
This section is incomplete — it still needs real MCHMR login steps and screenshots before it's finished.
This procedure is complete once all of the following are true:
- The Neros Archer's video feed appears live in ATAK after tapping Play
- The Video Observer URL auto-populates with the correct address
- The broadcast reaches MCHMR and is visible in TAK once linked
Troubleshooting
- Video does not show up on the phone: exit the app and forcibly close it from its app settings, reopen ATAK and UAS Tool, tap the + icon to open the setup screen, then repeat the Initial UAS Tool Configuration steps again — even for settings that already appear selected, including the video resolution option. For most other issues not listed here, a forcible shutdown and reopen of ATAK will often resolve it.
- "An aircraft was detected that is using the same System ID as the GCS": this is an error — the aircraft and GCS System IDs must be different. Change one of them before continuing; the connection will not work correctly while they collide.